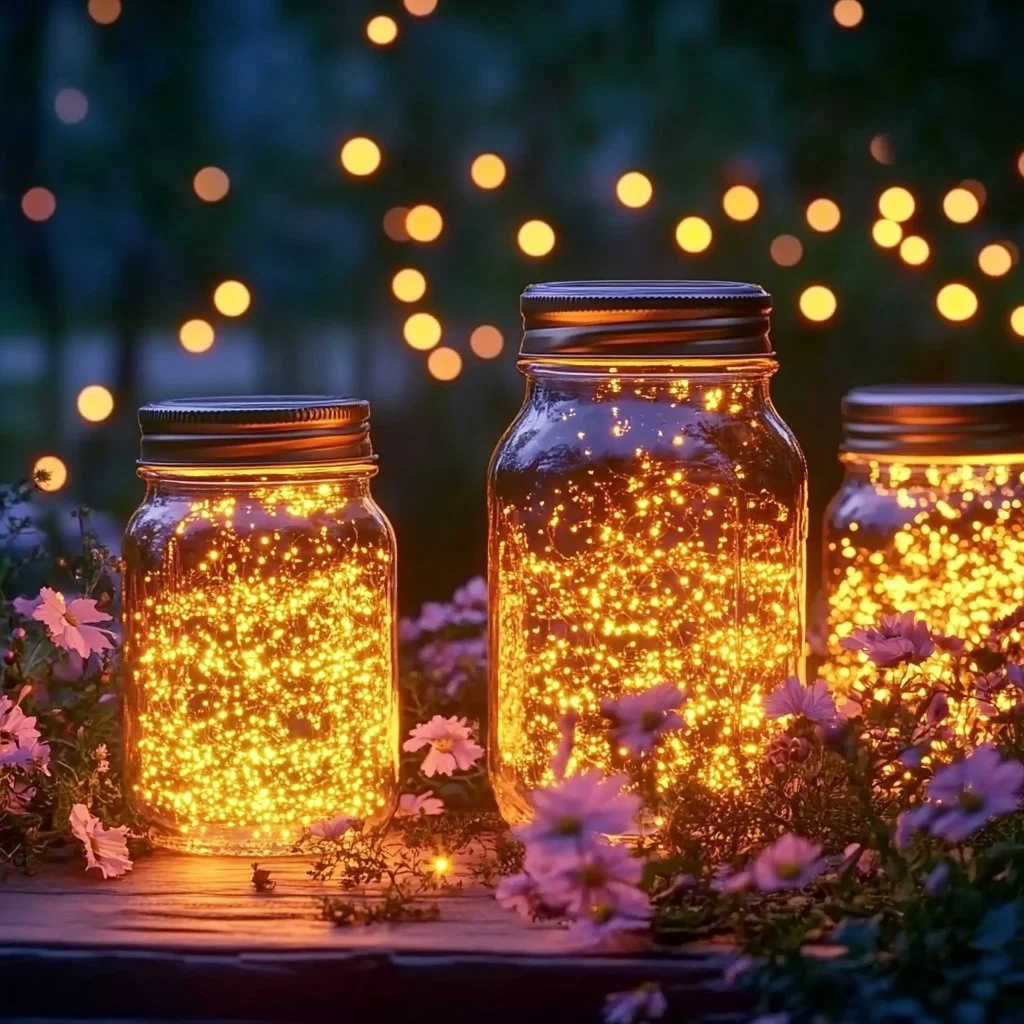
Creating DIY Glow Firefly Jars is a magical and enchanting activity that brings a touch of whimsy to your evenings. Whether you’re looking for a charming nightlight, a unique centerpiece for a party, or just a fun craft to do with kids, these glow-in-the-dark jars are versatile and simple to make. The gentle glow they emit can transform any space into a serene and atmospheric wonderland, perfect for outdoor gatherings or cozy nights in.
Not only do these glowing jars capture the essence of summer nights spent catching fireflies, but they also offer an engaging way to express creativity. With minimal materials and straightforward instructions, you’ll find that making your own glow firefly jars is both delightful and rewarding. Let’s dive into this exciting craft project!
Why You’ll Love This DIY Glow Firefly Jars:
- Simple and Affordable: Most materials are inexpensive and easily found at home.
- Family-Friendly: A great activity for kids and adults to enjoy together.
- Creative Customization: Personalize your jars with different colors and decorations.
- Glow Effect: Watch your jars come to life as they glow in the dark!
- Memorable Gift: Unique handmade gifts for friends or family.
- Versatile Decor: Perfect for any occasion, indoors or outdoors.
Materials
- Glass jars (mason jars work well)
- Glow-in-the-dark paint or glow stick liquid
- Soft paintbrush or sponge
- Glitter (optional)
- Twine, ribbons, or lace for decoration
- Small LED tea lights (optional for safety)
- Scissors (if using twine/ribbons)
Full Step-by-Step
Step 1: Prepare Your Jars
- Clean the glass jars thoroughly, removing any labels and residue.
- Dry completely to ensure proper adhesion of the paint.
Step 2: Apply the Glow Material
- If using glow paint:
- Use a soft paintbrush or sponge to apply the glow-in-the-dark paint inside the jar.
- Make sure to cover the surfaces evenly.
- If using glow stick liquid:
- Carefully break a glow stick and pour the liquid into the jar.
- Swirl it around to coat the inner surfaces.
Step 3: Add Glitter (Optional)
- For an extra sparkle, sprinkle glitter inside the jar while the glow paint or liquid is still wet.
- This will enhance the glow effect and add a whimsical touch.
Step 4: Let it Dry
- Important: Allow the jars to dry completely in a well-ventilated area. Follow paint manufacturer’s drying instructions if applicable.
Step 5: Decorate Your Jars
- Once dry, you can tie ribbons, twine, or lace around the jar’s neck for an aesthetic finish.
- Consider adding small embellishments like faux flowers or stickers.
Step 6: Illuminate Your Creation
- For additional safety and a brighter glow, place small LED tea lights inside the jars.
- Turn off the lights and enjoy the enchanting glow of your firefly jars!
Tips & Variations
- Customize Paint Colors: Experiment with different glow paint colors for varied effects.
- Use Different Jar Sizes: Combine small and large jars for an interesting display.
- Outdoor Decor: Add waterproof LED tea lights for outdoor use.
- Seasonal Themes: Change decorations based on holidays or seasons, like autumn leaves or winter snowflakes.
Frequently Asked Questions
1. Can I use plastic containers instead of glass jars?
Yes, plastic containers can work but may not provide the same glow effect. Ensure they are clear for optimal visibility.
2. How long does the glow last?
The glow duration depends on the paint or glow sticks used; typical glow paints last a few hours. Recharging under light helps prolong their glow.
3. Is it safe for children to make these jars?
Yes, this craft is generally safe for children, particularly if you supervise and avoid using sharp or small components.
4. Can I store my firefly jars outside?
Yes, if you use waterproof materials and LED lights. However, store them indoors during harsh weather to maintain their integrity.
Suggestions
- Create a glow jar for each family member, letting everyone personalize their own.
- Use your glow jars as centerpieces for parties, pairing with fairy lights for added ambiance.
- Arrange the jars along pathways or steps for beautiful outdoor lighting.
Final Thoughts
Making DIY Glow Firefly Jars offers a delightful opportunity to spark creativity and foster family connections. They shine brightly in any setting and their magical glow is sure to inspire joy. We’d love to hear how your versions turned out! Share your creations or leave a comment with your thoughts or any other ideas. Happy crafting!
Print
DIY Glow Firefly Jars
- Total Time: 30 minutes
- Yield: 4 jars
- Diet: N/A
Description
Create enchanting glow-in-the-dark firefly jars that add whimsy to any space.
Ingredients
- Glass jars (mason jars work well)
- Glow-in-the-dark paint or glow stick liquid
- Soft paintbrush or sponge
- Glitter (optional)
- Twine, ribbons, or lace for decoration
- Small LED tea lights (optional for safety)
- Scissors (if using twine/ribbons)
Instructions
- Clean the glass jars thoroughly, removing any labels and residue. Dry completely.
- If using glow paint: Apply glow-in-the-dark paint inside the jar with a soft paintbrush or sponge. If using glow stick liquid: Break a glow stick and pour the liquid into the jar, swirling to coat the surfaces.
- For extra sparkle, sprinkle glitter inside the jar while the glow material is still wet.
- Allow the jars to dry completely in a well-ventilated area.
- Once dry, tie ribbons, twine, or lace around the jar’s neck for decoration.
- For safety, place small LED tea lights inside the jars, turn off the lights, and enjoy the glow!
Notes
Customize paint colors and use different jar sizes for creative displays. Ensure proper supervision for children while making.
- Prep Time: 30 minutes
- Cook Time: 0 minutes
- Category: Craft
- Method: Crafting
- Cuisine: N/A
Nutrition
- Serving Size: 1 jar
- Calories: 0
- Sugar: 0g
- Sodium: 0mg
- Fat: 0g
- Saturated Fat: 0g
- Unsaturated Fat: 0g
- Trans Fat: 0g
- Carbohydrates: 0g
- Fiber: 0g
- Protein: 0g
- Cholesterol: 0mg

