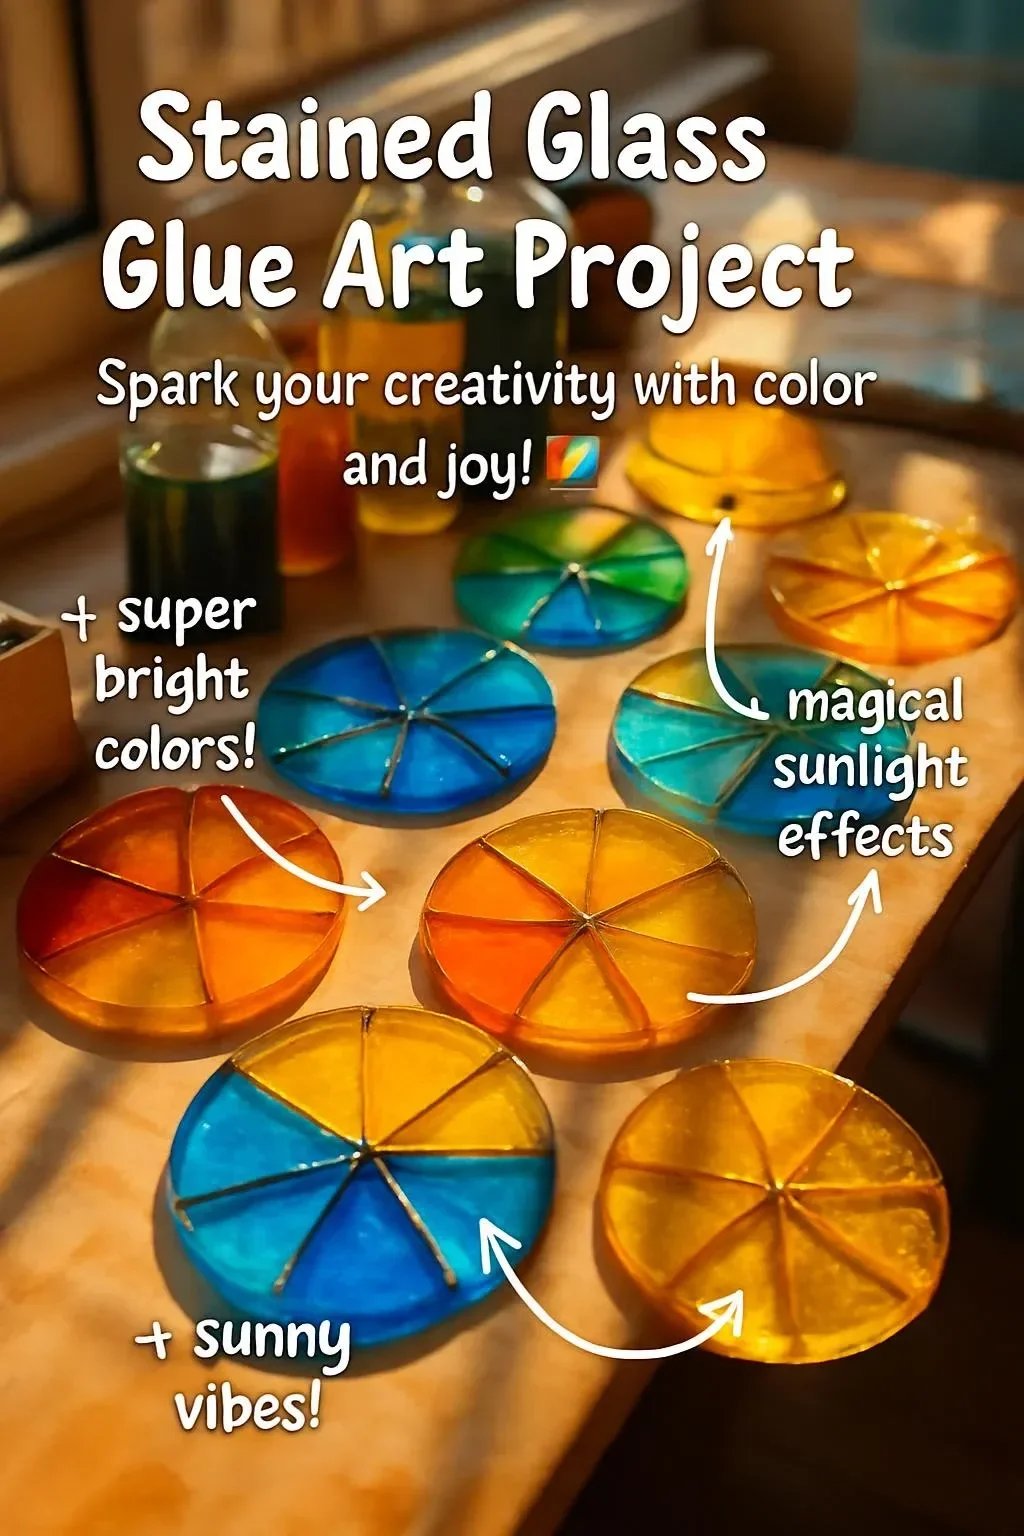
Stained glass art is a captivating way to add splashes of color and creativity to your home décor. Whether you’re a seasoned crafter or a beginner looking for a new hobby, this stained glass glue project offers an exciting outlet for self-expression. Using opaque pieces of glass or glass-like materials, you can create stunning designs that bring life to any space. The best part? You don’t need specialized equipment or skills to achieve beautiful results. In this guide, we will walk you through the materials required, step-by-step instructions, and tips to make your crafting experience enjoyable and successful. Let’s get started on this colorful journey!
Why You’ll Love This Stained Glass Glue Art Project:
- Easy and Accessible: No advanced skills needed; great for beginners.
- Customizable: Personalize your designs to match your style and preferences.
- Sensory Experience: Enjoy the textures and colors while creating.
- Fun for All Ages: A great activity for family bonding or gatherings.
- Unique Home Décor: Create beautiful pieces that can brighten up any room.
Materials:
- Clear or colored glass sheets (or glass-like materials)
- Stained glass or craft glue
- Craft knife or glass cutter (if using glass sheets)
- Scissors (if using glass-like materials)
- Pencil or marker for tracing
- Cutting mat or protective surface
- Frame or base (optional)
- Safety goggles (for cutting glass)
Full Step-by-Step:
1. Design Your Art
- Choose a design for your stained glass piece. Consider geometric shapes, nature scenes, or abstract art.
- Use a pencil or marker to sketch your design onto paper.
2. Cut Your Materials
- If using glass sheets, wear safety goggles and carefully cut your pieces according to your design using a glass cutter.
- For glass-like materials, use scissors to cut your shapes.
3. Assemble Your Pieces
- Lay out your glass pieces on your work surface according to your design.
- Arrange pieces to ensure they fit together aesthetically.
4. Apply Glue
- Carefully apply stained glass glue to the edges of each piece where they touch or overlap.
- Use a toothpick or small applicator to control the amount of glue and avoid excess.
5. Allow to Dry
- Let the glue dry according to the manufacturer’s instructions. This may take several hours or overnight.
- Ensure a stable surface for your artwork to set without disturbance.
6. Optional Framing
- Once dry, consider framing your artwork for added stability and to enhance the display.
Tips & Variations:
- Experiment with Colors: Use various colors and transparency levels to create depth and interest.
- Use Different Shapes: Try circles, triangles, or leaves to diversify your design.
- Layer Your Pieces: For a more complex look, layer glass over each other to create dimensionality.
- Swap Materials: Instead of glass, try using clear plastic sheets, acrylic, or other translucent substances.
Frequently Asked Questions:
Q1: Can I use regular glue instead of stained glass glue?
A1: It’s best to use stained glass glue for optimum adhesion and transparency. Regular glue may not hold or look as good.
Q2: How do I cut glass safely?
A2: Always wear safety goggles, and use a glass cutter on a protective surface. Follow the manufacturer’s instructions for best practices.
Q3: What if I don’t have a frame?
A3: You can display your stained glass piece on a window ledge, hang it with fishing line, or create a DIY frame.
Q4: How can I make my design more intricate?
A4: Consider adding smaller pieces or combining multiple designs to create a more complex scene. Alternatively, look for templates online for inspiration.
Suggestions:
- Create seasonal decorations for holidays using themed colors or shapes.
- Work on small items like coasters or sun catchers for easy, quick projects.
- Host a crafting party and create a collaborative piece with friends.
Final Thoughts
Stained glass glue art projects provide a wonderful opportunity to unleash your creativity and make something truly unique. We encourage you to share your creations or ask questions in the comments below. Have fun crafting, and we can’t wait to see your beautiful stained glass masterpieces!
Print
Stained Glass Glue Art
- Total Time: 150 minutes
- Yield: 1 art piece
- Diet: N/A
Description
Create beautiful stained glass art pieces using simple materials and techniques, perfect for both beginners and experienced crafters.
Ingredients
- Clear or colored glass sheets (or glass-like materials)
- Stained glass or craft glue
- Craft knife or glass cutter (if using glass sheets)
- Scissors (if using glass-like materials)
- Pencil or marker for tracing
- Cutting mat or protective surface
- Frame or base (optional)
- Safety goggles (for cutting glass)
Instructions
- Design Your Art: Choose a design and sketch it onto paper.
- Cut Your Materials: Wear safety goggles and cut glass or use scissors for glass-like materials.
- Assemble Your Pieces: Lay out your pieces according to your design.
- Apply Glue: Apply stained glass glue to the edges of touching pieces.
- Allow to Dry: Let the glue dry according to the manufacturer’s instructions.
- Optional Framing: Frame your artwork for added stability.
Notes
Experiment with colors and shapes to create various designs. Always prioritize safety when handling glass.
- Prep Time: 30 minutes
- Cook Time: 120 minutes
- Category: Craft
- Method: Crafting
- Cuisine: Art & Craft
Nutrition
- Serving Size: 1 project
- Calories: 0
- Sugar: 0g
- Sodium: 0mg
- Fat: 0g
- Saturated Fat: 0g
- Unsaturated Fat: 0g
- Trans Fat: 0g
- Carbohydrates: 0g
- Fiber: 0g
- Protein: 0g
- Cholesterol: 0mg

