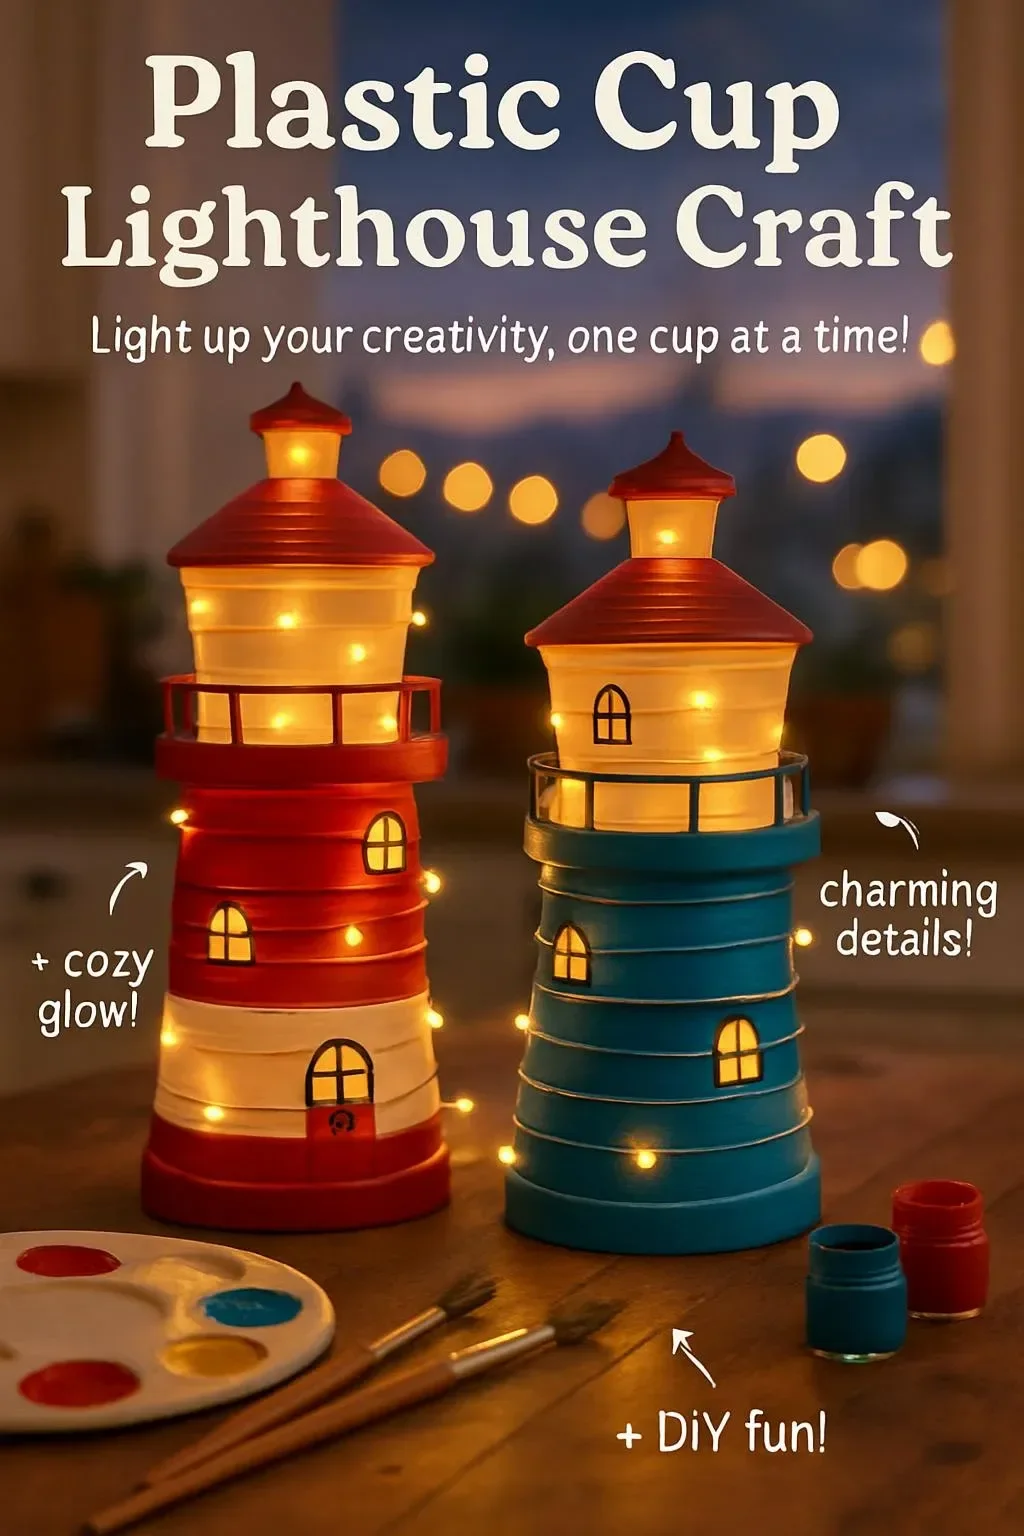
Unleash your creativity with this delightful Plastic Cup Lighthouse craft! Perfect for both kids and adults, this project adds a splash of color to your home décor while fostering imaginative play. Whether you’re preparing for a beach-themed party, creating an educational display, or simply looking for a fun and engaging activity to share with your loved ones, crafting a lighthouse from plastic cups is an exciting way to spark creativity. Plus, this eco-friendly project encourages recycling and repurposing materials you already have at home. Get ready to create a stunning lighthouse that glows with personality!
Why You’ll Love This Plastic Cup Lighthouse Craft:
- Fun for All Ages: Suitable for kids, teens, and adults alike.
- Low Cost: Uses inexpensive, common materials.
- Easy to Make: Simple steps and minimal tools required.
- Educational: Teaches about lighthouses and coastal themes.
- Promotes Creativity: Customize colors and designs to suit your style.
- Great Gift Idea: Perfect for friends or as a unique décor piece.
Materials
- 15-20 plastic cups (red, white, or any color you prefer)
- A small LED tea light (battery-operated)
- Craft paint (acrylic works best)
- Paintbrush
- Scissors
- Hot glue gun and glue sticks
- Craft foam sheets (black or gray for details)
- Marker or embellishments (stickers, gems, etc.)
Full Step-by-Step
Step 1: Prepare Your Base
- Start with a sturdy base like a cardboard circle or square. This will support your lighthouse.
- Secure it with a layer of tape to prevent movement.
Step 2: Paint Your Cups
- Paint the plastic cups in your chosen colors: traditional red and white, or go creative with patterns.
- Allow them to dry completely before proceeding.
Step 3: Assemble the Lighthouse Structure
- Begin stacking the cups on your base, alternating colors as desired.
- Start from the bottom and work your way up, using hot glue to secure each cup.
Step 4: Create the Light
- Take the LED tea light and place it on top of your lighthouse.
- Ensure it’s stable and secured with glue if needed.
Step 5: Add Finishing Touches
- Cut shapes from the craft foam to make windows, doors, or a railing.
- Glue them onto the lighthouse for details.
- Personalize your lighthouse with embellishments like stickers or gems for a unique touch.
Tips & Variations
- Color Themes: Try other color schemes to match different seasons or holidays.
- Personalize: Add names or messages on the cups for birthday parties.
- Swap Materials: Use paper cups if plastic is not available, but ensure you seal them properly for durability.
- Outdoor Option: If you want a more permanent display outside, consider using waterproof paint and a sturdier base.
Frequently Asked Questions
1. Can I use paper cups instead of plastic?
Absolutely! Paper cups can work; just be mindful about their durability and ensure they are reinforced.
2. How can I make it more stable?
You can add a heavier base, such as a larger piece of cardboard or even a flower pot base filled with stones to give it more weight.
3. What do I do if I don’t have a hot glue gun?
You can use craft glue or strong tape but ensure that your items are properly secured for stability.
4. Can children do this craft alone?
While older children may manage independently, younger ones will benefit from adult supervision, especially when using hot glue.
Suggestions
- Host a lighthouse-themed craft party, where everyone can create their own design and share ideas.
- Consider using glow-in-the-dark paint for a mystical effect at night.
- Pair this activity with a storytime session focused on ocean tales or lighthouses.
Final Thoughts
Creating your own Plastic Cup Lighthouse is not just a craft; it’s an opportunity to explore creativity and enjoy quality time with loved ones. Don’t forget to share your versions of this project or leave a comment below to inspire others! Happy crafting!
Print
Plastic Cup Lighthouse Craft
- Total Time: 30 minutes
- Yield: 1 lighthouse 1x
- Diet: N/A
Description
Craft a colorful lighthouse from plastic cups for a fun and engaging activity that promotes creativity and recycling.
Ingredients
- 15–20 plastic cups (red, white, or any color)
- A small LED tea light (battery-operated)
- Craft paint (acrylic works best)
- Paintbrush
- Scissors
- Hot glue gun and glue sticks
- Craft foam sheets (black or gray for details)
- Marker or embellishments (stickers, gems, etc.)
Instructions
- Prepare Your Base: Start with a sturdy base like a cardboard circle or square, and secure it with tape.
- Paint Your Cups: Paint the cups in chosen colors and allow them to dry.
- Assemble the Lighthouse Structure: Stack the cups on the base, alternating colors and using hot glue to secure them.
- Create the Light: Place the LED tea light on top of the lighthouse and secure it if needed.
- Add Finishing Touches: Cut shapes from foam for windows and embellish with stickers or gems.
Notes
Use waterproof paint for outdoor displays. Personalize with names or messages.
- Prep Time: 30 minutes
- Cook Time: 0 minutes
- Category: Craft
- Method: Crafting
- Cuisine: N/A
Nutrition
- Serving Size: 1 craft
- Calories: 0
- Sugar: 0g
- Sodium: 0mg
- Fat: 0g
- Saturated Fat: 0g
- Unsaturated Fat: 0g
- Trans Fat: 0g
- Carbohydrates: 0g
- Fiber: 0g
- Protein: 0g
- Cholesterol: 0mg

