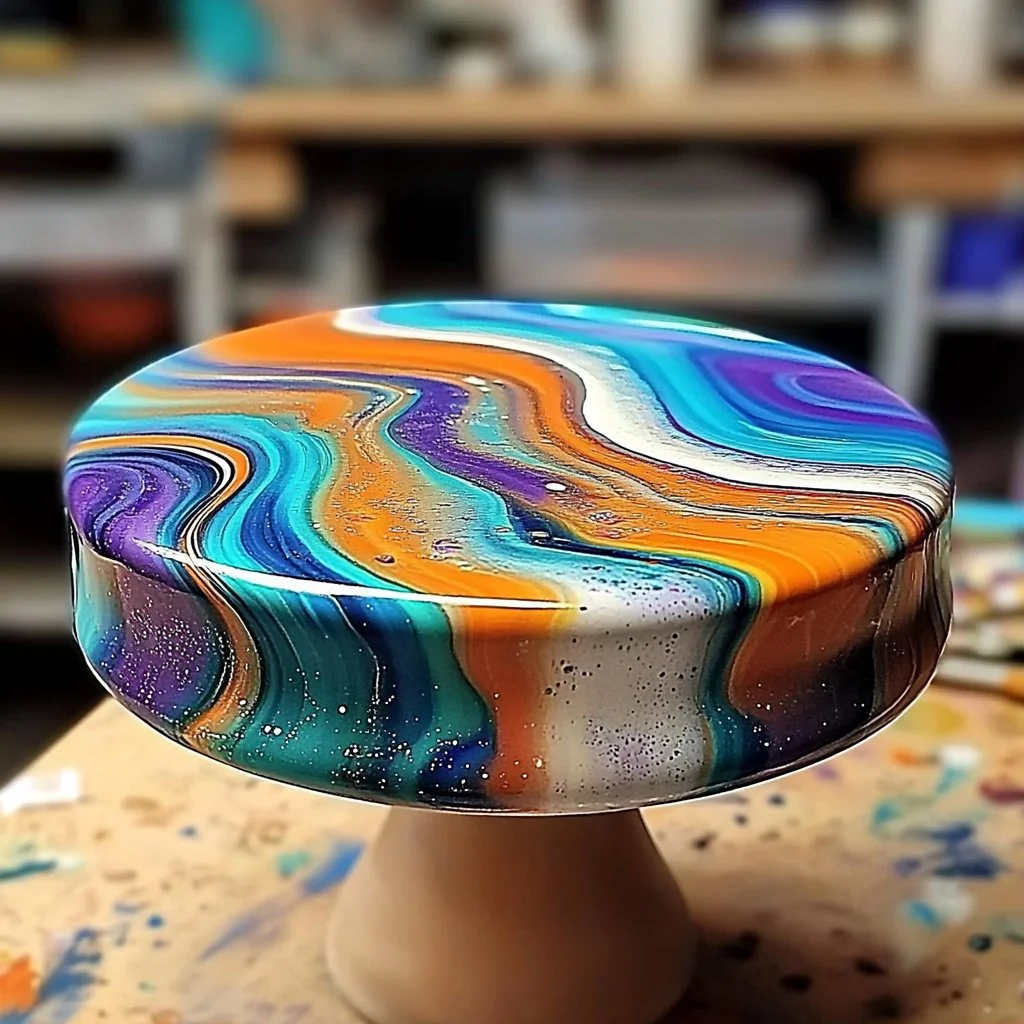
Making your own coasters can be a fun and creative way to personalize your home while simultaneously protecting your surfaces. One of the trendy methods to create unique coasters is the Dutch Pour Painting technique, which combines fluid art and practicality. Not only does this craft allow you to experiment with vibrant colors, but it also results in beautiful, one-of-a-kind pieces that can be functional or decorative. Whether you are a seasoned painter or a beginner, this DIY project is a perfect way to unleash your artistic side. Gather your materials, and let your creativity flow as you embark on this colorful adventure.
Why You’ll Love This DIY Dutch Pour Painting Coasters:
- Unique Designs: Each coaster is one-of-a-kind, showcasing vibrant and fluid artwork.
- Easy Technique: Beginners can master the Dutch Pour Painting technique with minimal practice.
- Personalization: Customize colors to match your decor or personal style.
- Fun Activity: Enjoy a relaxing and creative process that’s perfect for solo or group crafting.
- Practical: Create beautiful, functional coasters that protect your furniture from spills.
Materials:
- Acrylic paints (various colors)
- Pouring medium
- Silicone oil (optional for cells)
- Canvas or ceramic tiles (4” x 4” for coasters)
- Plastic cups for mixing
- Stir sticks
- Hair dryer or heat gun
- Plastic gloves
- Drop cloth or newspapers (to protect your workspace)
Full Step-by-Step:
Prepare Your Workspace
- Lay down a drop cloth or newspapers to catch any spills.
- Ensure your workspace is well-ventilated.
Mix Your Paint
- In plastic cups, mix your acrylic paint with pouring medium at a 1:1 ratio.
- Stir well until both components are fully blended.
- If desired, add a drop of silicone oil for a cell effect and stir gently.
Base Layer Application
- Pour a small amount of one color onto the center of the coaster to create a base layer.
- Let it spread and thin out slightly.
Dutch Pour Technique
- Alternate pouring different colors around the base layer, allowing them to gently touch.
- Use a hair dryer or heat gun on a low setting to blow the paint around, creating fluid movements. Watch the colors blend and merge.
Finishing Touches
- Allow the coaster to dry completely, which can take up to 24 hours.
- Optionally, apply a clear resin or sealant for added protection and shine after the paint has cured.
Tips & Variations:
- Color Customization: Experiment with different color combinations to match your decor.
- Swapping Materials: Use different types of paint (like watercolor) for varied effects.
- Add Patterns: Try adding stencils or additional designs after the initial pour has dried.
- Size Variations: Experiment with larger tiles or decorative plates for a different look.
Frequently Asked Questions:
Q: Can I use any type of paint?
A: While acrylic paint is recommended for its fluidity and drying time, other pourable paints may work. Ensure they can mix with pouring medium.
Q: Do I need a pouring medium?
A: Yes, a pouring medium helps to improve the consistency of the paint, allowing for a smoother pour and flow.
Q: How do I clean up the mess?
A: Use water to clean up immediately after spills. Dried paint may require a solvent depending on the paint type.
Q: How should I store my coasters once they’re finished?
A: Store coasters flat in a cool, dry place to avoid warping or damage before they are sealed.
Suggestions:
- Consider gifting your coasters as a personalized present.
- Match coasters with other painted items in your home.
- Create themed coasters for holidays or special occasions.
Final Thoughts
Creating DIY Dutch Pour Painting coasters is not only a delightful craft but also a meaningful way to express your creativity. The process is relaxing, and the results are stunning. We invite you to share your own versions of this project or leave a comment about your crafting experience! Happy pouring!
Print
DIY Dutch Pour Painting Coasters
- Total Time: 1455 minutes
- Yield: 4 coasters
- Diet: N/A
Description
Learn how to create unique and vibrant coasters using the Dutch Pour Painting technique. Perfect for personalizing your home and protecting surfaces.
Ingredients
- Acrylic paints (various colors)
- Pouring medium
- Silicone oil (optional for cells)
- Canvas or ceramic tiles (4” x 4” for coasters)
- Plastic cups for mixing
- Stir sticks
- Hair dryer or heat gun
- Plastic gloves
- Drop cloth or newspapers (to protect your workspace)
Instructions
- Prepare your workspace by laying down a drop cloth or newspapers.
- Mix acrylic paint with pouring medium at a 1:1 ratio in plastic cups.
- Add a drop of silicone oil (optional) and stir gently.
- Pour a small amount of one color onto the center of the coaster for the base layer.
- Pour different colors around the base layer and use a hair dryer or heat gun to blow the paint around.
- Allow the coaster to dry completely for up to 24 hours.
- Optionally, apply a clear resin or sealant for added protection.
Notes
Experiment with colors and techniques for personalized designs. Clean up spills immediately with water.
- Prep Time: 15 minutes
- Cook Time: 1440 minutes
- Category: Craft
- Method: Pouring
- Cuisine: N/A
Nutrition
- Serving Size: 1 coaster
- Calories: N/A
- Sugar: N/A
- Sodium: N/A
- Fat: N/A
- Saturated Fat: N/A
- Unsaturated Fat: N/A
- Trans Fat: N/A
- Carbohydrates: N/A
- Fiber: N/A
- Protein: N/A
- Cholesterol: N/A

