Introduction
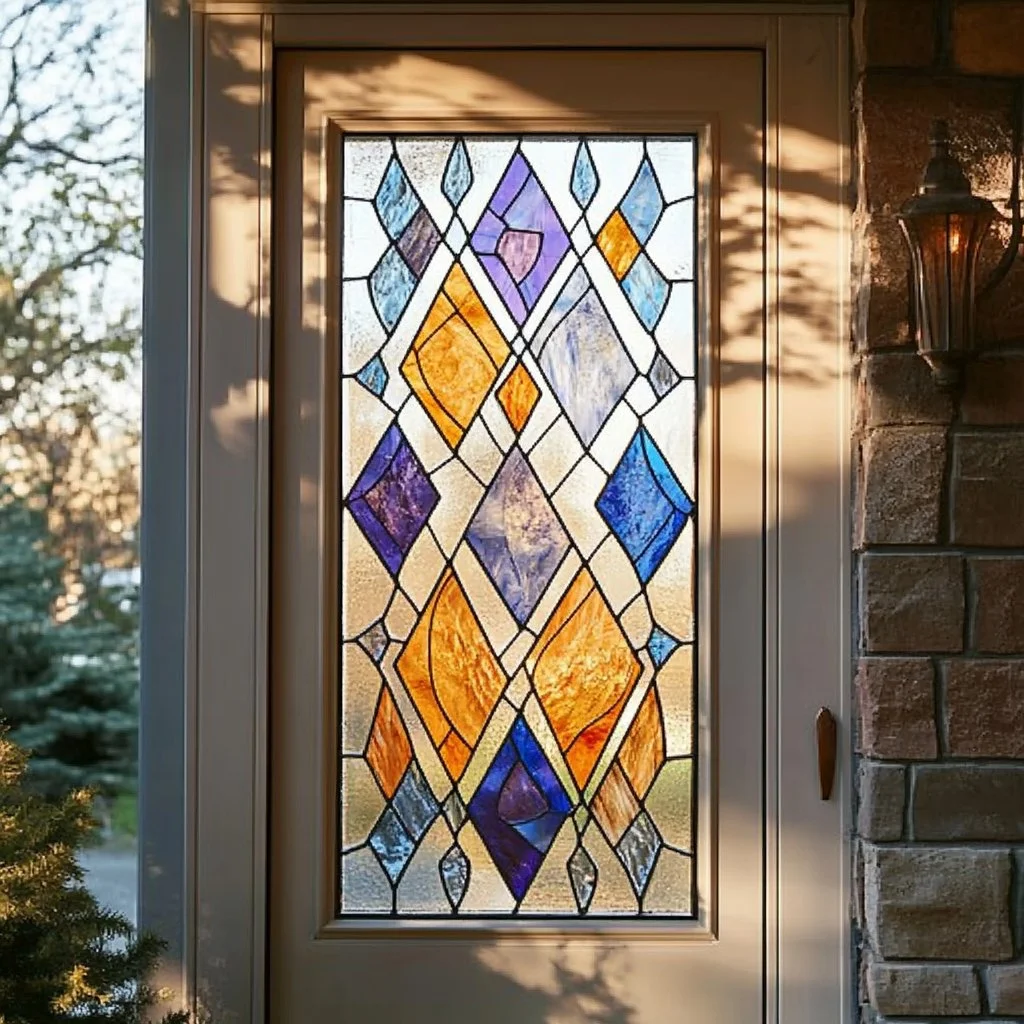
Creating DIY light-catching windows is a delightful way to brighten your home and engage in a fun craft that the whole family can enjoy. These vibrant decorations not only utilize simple materials but also allow you to express your creativity by exploring various colors and designs. As sunlight filters through these beautiful creations, it creates a mesmerizing play of colors that can invigorate any room or outdoor space. Whether you’re looking to add character to your windows, entertain your children with a fun project, or simply enjoy the beauty of handmade decor, these light-catching windows are sure to delight. Let’s dive into why you’ll love this craft and how to get started!
Why You’ll Love This DIY Light Catching Windows:
- Brightens Your Space: Infuses your environment with playful colors and light.
- Easy and Fun: A straightforward craft that’s perfect for both kids and adults.
- Budget-Friendly: Utilizes materials you likely already have at home.
- Customizable: Personalize with different colors, shapes, and themes.
- Encourages Creativity: A fun way to experiment with designs and techniques.
- Great for All Seasons: Suitable for year-round decoration with seasonal motifs.
Materials
- Transparent plastic sheets or window film
- Clear adhesive or glue
- Scissors
- Permanent markers or stained glass paints
- Painter’s tape or masking tape
- Optional: Glitter, sequins, or other embellishments
Full Step-by-Step
Step 1: Prepare Your Workspace
- Find a clean, flat surface to work on. Lay down some newspaper to catch any mess.
Step 2: Cut the Plastic Sheets
- Measure and cut the transparent plastic sheets to your desired size. Keep in mind that larger pieces will catch more light.
Step 3: Design Your Art
- Use permanent markers or stained glass paints to sketch your designs directly onto the plastic. Consider using vibrant colors and various patterns.
- Sensory Cue: Notice the smooth glide of the marker as you draw.
Step 4: Add Embellishments (Optional)
- If desired, sprinkle glitter or attach sequins to your designs while the paint is still wet to create an extra sparkle.
- Sensory Cue: Feel the texture of the glitter as you sprinkle it on.
Step 5: Attach to Window
- Use painter’s tape to secure the edges of your completed art to the window or a chosen space, ensuring it’s fully stuck down.
- Key Action: Make sure to press firmly to avoid any lifting around the edges.
Tips & Variations
- Customize Colors: Explore using pastel colors or metallic paints for unique effects.
- Try Different Materials: Experiment with tissue paper or colored cellophane.
- Create Themes: Change designs by seasons or holidays, such as snowflakes for winter or flowers for spring.
- Mix Designs: Create a patchwork of designs by combining multiple smaller pieces together.
Frequently Asked Questions
1. Can I use regular paper instead of plastic sheets?
Regular paper won’t catch light as beautifully as transparent materials, but you can try it for a softer effect. Just keep in mind it may not be weather-resistant.
2. How do I remove the light catchers once I’m done?
Simply peel off the tape or gently lift the artwork. If you used a strong adhesive, taking care to remove it slowly will help avoid any damage to your window.
3. Can this project work outdoors?
Definitely! Just ensure you’re using materials that are weather-resistant if you want them to last outside.
4. What should I do if my paint smudges?
If paint smudges, try using a different type of medium next time, like markers or a sealant spray after the paint dries to prevent smudging.
Suggestions
- Consider making this a group activity for birthdays or family gatherings.
- Use light-catching windows as gifts for friends and family.
- Combine with other spring crafts, such as flower pots or garden decorations.
Final Thoughts
DIY light-catching windows are not only a fantastic way to brighten your home but also an opportunity to unleash your creativity. We hope you enjoy this craft as much as we do! We invite you to share your versions or leave a comment below about your experience, variations, and colorful designs. Happy crafting!
Print
DIY Light-Catching Windows
- Total Time: 15 minutes
- Yield: Varies based on design size
- Diet: N/A
Description
Brighten your home with these delightful DIY light-catching windows, a fun and easy craft for all ages.
Ingredients
- Transparent plastic sheets or window film
- Clear adhesive or glue
- Scissors
- Permanent markers or stained glass paints
- Painter’s tape or masking tape
- Optional: Glitter, sequins, or other embellishments
Instructions
- Prepare Your Workspace: Find a clean, flat surface and lay down newspaper to catch any mess.
- Cut the Plastic Sheets: Measure and cut the transparent plastic sheets to your desired size.
- Design Your Art: Use permanent markers or stained glass paints to sketch your designs on the plastic.
- Add Embellishments (Optional): Sprinkle glitter or attach sequins while the paint is still wet.
- Attach to Window: Use painter’s tape to secure the edges of your completed art to the window.
Notes
Customize colors, experiment with different materials, and consider creating seasonal themes for your designs.
- Prep Time: 15 minutes
- Cook Time: 0 minutes
- Category: Craft
- Method: Crafting
- Cuisine: N/A
Nutrition
- Serving Size: 1 completed window decoration
- Calories: 0
- Sugar: 0g
- Sodium: 0mg
- Fat: 0g
- Saturated Fat: 0g
- Unsaturated Fat: 0g
- Trans Fat: 0g
- Carbohydrates: 0g
- Fiber: 0g
- Protein: 0g
- Cholesterol: 0mg

