Introduction
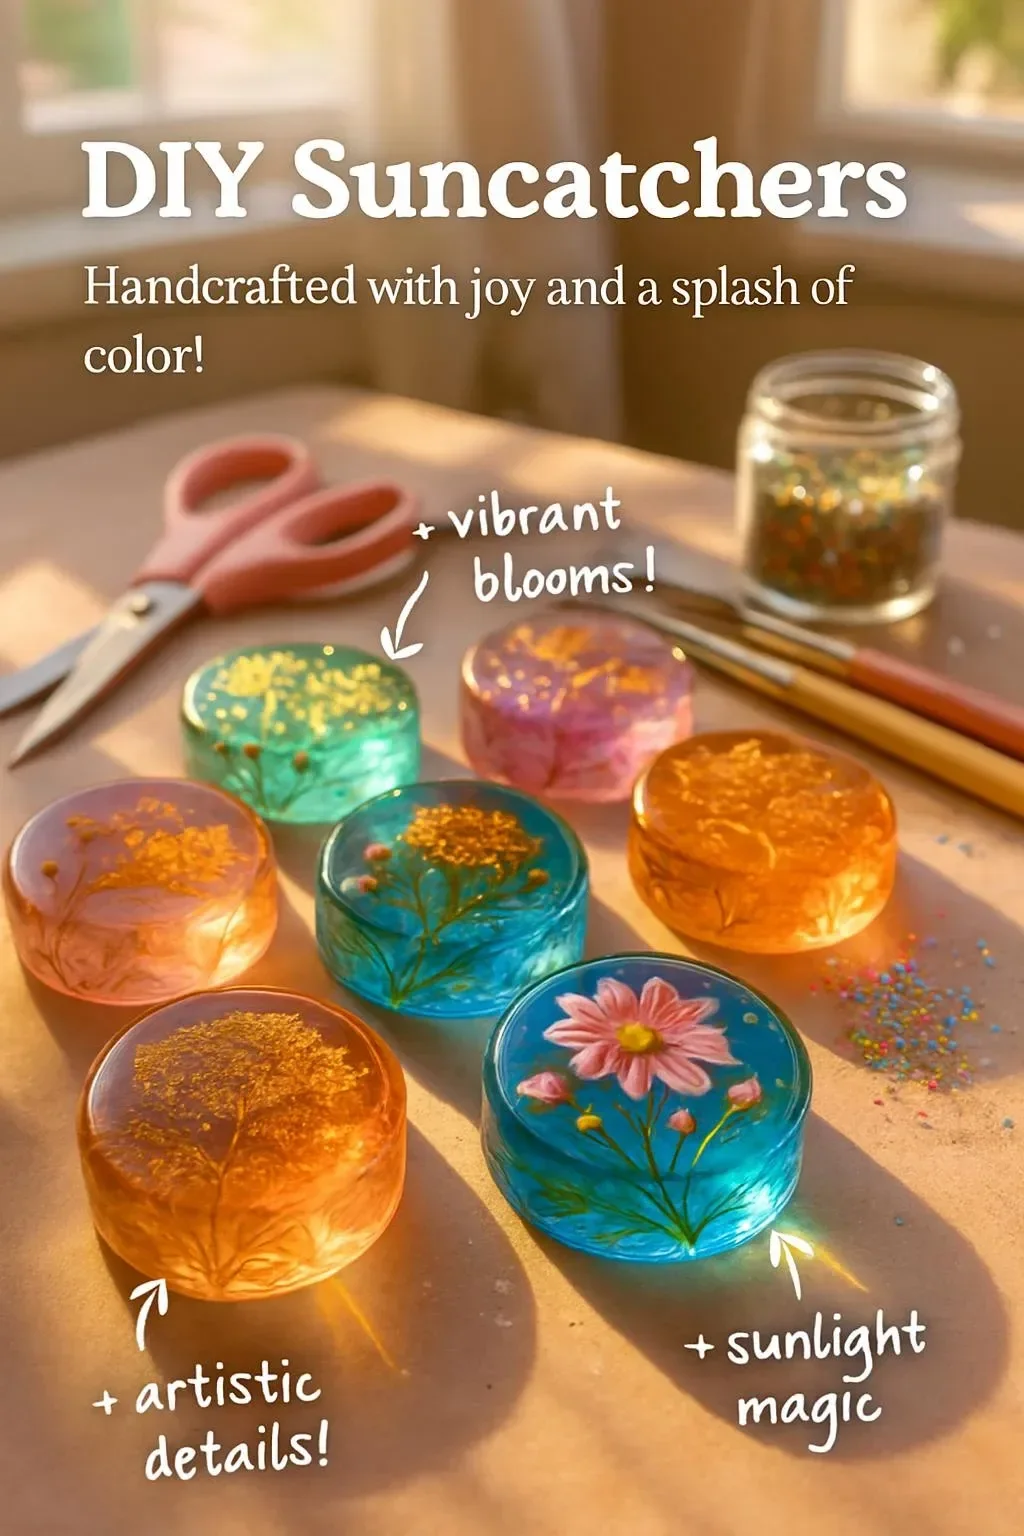
Creating DIY suncatchers is a delightful and colorful craft that both kids and adults can enjoy! This simple activity not only brightens your living space but also allows for personal expression through art. With the sun’s rays streaming through these vibrant creations, you can transform any room into a whimsical wonderland. Whether you’re looking for a fun afternoon project or a meaningful gift, DIY suncatchers are an excellent choice. Plus, this craft encourages creativity while providing an insightful experience in color and light manipulation.
Why You’ll Love This DIY Suncatchers:
- Easy and Fun: Perfect for all ages, making it a great family activity.
- Customizable: Tailor your suncatcher to reflect your style and preferences.
- Affordable Materials: Most supplies can be found around your home or at a low cost.
- Beautiful Home Decor: Brighten your windows with stunning, handmade pieces.
- Promotes Creativity: Foster artistic skills and encourage imaginative play.
Materials
- Clear plastic sheets or transparency sheets
- Permanent markers (various colors)
- Scissors
- Adhesive (craft glue or double-sided tape)
- String or ribbon (for hanging)
- Hole puncher (optional)
- Paintbrush (optional, for spreading glue)
Full Step-by-Step
1. Prepare the Base
- Start with your clear plastic sheet as the foundation for your suncatcher.
- Cut it into the desired shape (circle, heart, star) using scissors.
2. Design Your Artwork
- Use permanent markers to draw colorful designs, patterns, or images on the surface of the plastic.
- Experiment with different color combinations. Allow your creativity to shine!
3. Add Glue (Optional)
- If you want a layered effect, apply a light layer of glue over your design to create a colorful blend. Use a brush for even application.
4. Punch a Hole
- If you plan to hang your suncatcher, use a hole puncher to create a hole at the top of your piece.
5. Attach String
- Cut a length of string or ribbon and thread it through the hole. Tie a secure knot.
6. Hang and Enjoy
- Find a sunny window and hang your suncatcher. Step back and watch as the light refracts through your artwork, creating beautiful colors in your space!
Tips & Variations
- Mix Materials: Swap out plastic sheets for old CDs or use colored tissue paper for a different look.
- Theme It: Create seasonal themes (e.g., flowers for spring, snowflakes for winter).
- Layering: Add multiple layers of designs or use varying thicknesses of markers for depth.
- Make a Mobile: Create several suncatchers and assemble them into a hanging mobile.
Frequently Asked Questions
1. Can I use regular markers?
No, it’s best to use permanent markers, as they are designed to adhere to plastic and won’t smudge.
2. What if I don’t have clear plastic sheets?
You can use transparency sheets from old projectors or even clear packaging materials.
3. How do I clean my suncatcher?
Use a soft, damp cloth to gently wipe off any dust or grime. Avoid abrasive cleaners.
4. Can I make these outdoors?
Absolutely! Just make sure the wind doesn’t disturb your workspace.
Suggestions
- Create suncatchers to represent family memories, such as a pet or vacation spot.
- Host a suncatcher-making party with friends—everyone can create their unique designs!
- Consider incorporating natural elements like pressed flowers for a more organic look.
Final Thoughts
DIY suncatchers are not only simple to make but also serve as lasting memories of creativity and fun. We encourage you to share your unique suncatcher creations or leave a comment with your thoughts and experiences. What colors did you use? What themes emerged in your designs? Let’s inspire one another! Happy crafting!
Print
DIY Suncatchers
- Total Time: 10 minutes
- Yield: 1 suncatcher
- Diet: N/A
Description
A fun and colorful craft project that allows you to create beautiful suncatchers to decorate your windows.
Ingredients
- Clear plastic sheets or transparency sheets
- Permanent markers (various colors)
- Scissors
- Adhesive (craft glue or double-sided tape)
- String or ribbon (for hanging)
- Hole puncher (optional)
- Paintbrush (optional, for spreading glue)
Instructions
- Prepare the Base: Start with your clear plastic sheet as the foundation for your suncatcher. Cut it into the desired shape (circle, heart, star) using scissors.
- Design Your Artwork: Use permanent markers to draw colorful designs, patterns, or images on the surface of the plastic. Experiment with different color combinations.
- Add Glue (Optional): If you want a layered effect, apply a light layer of glue over your design. Use a brush for even application.
- Punch a Hole: Use a hole puncher to create a hole at the top of your piece if you plan to hang your suncatcher.
- Attach String: Cut a length of string or ribbon and thread it through the hole. Tie a secure knot.
- Hang and Enjoy: Find a sunny window and hang your suncatcher. Watch as the light refracts through your artwork!
Notes
Mix materials for varied effects, create seasonal themes, or even make a hanging mobile with multiple suncatchers.
- Prep Time: 10 minutes
- Cook Time: 0 minutes
- Category: Craft
- Method: Crafting
- Cuisine: N/A
Nutrition
- Serving Size: 1 suncatcher
- Calories: 0
- Sugar: 0g
- Sodium: 0mg
- Fat: 0g
- Saturated Fat: 0g
- Unsaturated Fat: 0g
- Trans Fat: 0g
- Carbohydrates: 0g
- Fiber: 0g
- Protein: 0g
- Cholesterol: 0mg

