Introduction
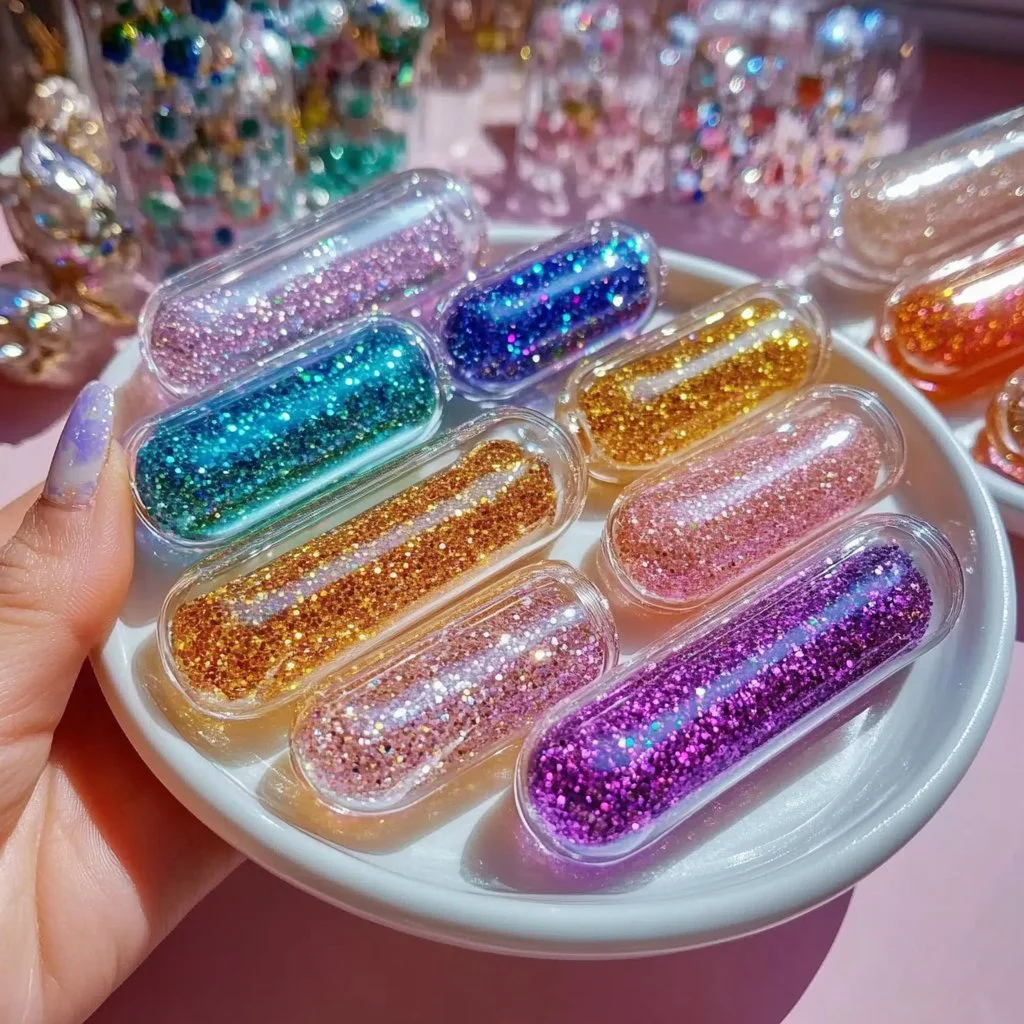
Crafting is a delightful way to express creativity, and making DIY glitter tube bracelets is an enchanting project that can be enjoyed by all ages. These charming accessories not only sparkle beautifully but also serve as a great means for personal expression. Whether you’re looking to make a unique statement piece for yourself or a thoughtful gift for a friend, these bracelets are a fun and engaging activity. Perfect for parties, craft afternoons, or cozy evenings at home, this project is simple yet offers endless customization possibilities. Gather your materials, let your imagination shine, and step into the colorful world of DIY glitter tube bracelets!
Why You’ll Love This DIY Glitter Tube Bracelets:
- Sparkling Personalization: Customize designs with different colors and glitter types.
- Easy to Create: Simple steps make it beginner-friendly.
- Endless Variety: Mix and match materials for unique looks.
- Fun for All Ages: Perfect activity for kids, teens, and adults alike.
- Great for Gifts: Handmade gifts are always treasured.
- Reusable Materials: Use recycled items like old tubes or bottles.
Materials
- Clear plastic tubes (e.g., empty glitter tubes or small test tubes)
- Assorted glitter (fine, chunky, or holographic)
- Colorful beads
- Ribbon or elastic cord
- Scissors
- Funnel (optional)
- Hot glue gun or strong adhesive (optional)
Full Step-by-Step
Prepare Your Workspace
- Choose a clean, flat surface to work on. Lay down newspaper or an old cloth to catch any glitter spills.
Fill the Tubes
- Use a funnel to pour glitter into the clear tubes. Experiment with different layers and colors for a stunning effect.
- Sensory cue: Listen to the soft rustle of glitter as it slides in.
Add Beads
- Drop colorful beads into the tubes. Mix various shapes and sizes to create visual interest.
Seal the Tubes
- If desired, secure the tops with a hot glue gun for extra safety. Allow to dry completely.
Create the Bracelet
- Cut a length of ribbon or elastic cord to fit your wrist, leaving some extra for knots.
- Thread the sealed tubes onto the cord in your desired order.
- Tie off the ends securely, ensuring a snug fit.
Tips & Variations
- Customize Glitter: Use themed glitters – holiday colors or favorite sports teams.
- Add Photos: Insert tiny printed pictures or charms inside the tubes for a personal touch.
- Change Tube Size: Try various tube sizes for different bracelet styles.
- Experiment with Textures: Mix in sequins, tiny shells, or beads with different materials for added texture.
Frequently Asked Questions
Q1: Can I use other types of tubes?
A1: Yes! Any clear tube that can be sealed, like small jars or vials, works great.
Q2: What if I don’t have a funnel?
A2: You can create a makeshift funnel using cardstock or simply pour slowly to prevent spills.
Q3: How do I clean up glitter spills?
A3: Use tape to pick up stubborn glitter, or dampen a cloth slightly to gather it.
Q4: Is this project safe for younger children?
A4: Yes, but adult supervision is recommended, especially with hot glue guns and small beads.
Suggestions
- Theme Parties: Organize a crafting party and have guests create bracelets based on themes.
- Seasonal Crafts: Make holiday-specific glitter tubes for festive gifts.
- Add Small Charms: Incorporate tiny charms that represent interests or hobbies.
Final Thoughts
Creating DIY glitter tube bracelets is not only a delightful way to spend your time but also results in personalized treasures you can wear or gift. We hope you enjoy making your own sparkling creations and express your individuality through this craft. Don’t forget to share your versions or leave a comment below – we can’t wait to see your beautiful bracelets! Happy crafting!
Print
DIY Glitter Tube Bracelets
- Total Time: 10 minutes
- Yield: 1 bracelet
- Diet: N/A
Description
Create beautiful and personalized glitter tube bracelets that sparkle with creativity. Perfect for gifts or personal expression.
Ingredients
- Clear plastic tubes (e.g., empty glitter tubes or small test tubes)
- Assorted glitter (fine, chunky, or holographic)
- Colorful beads
- Ribbon or elastic cord
- Scissors
- Funnel (optional)
- Hot glue gun or strong adhesive (optional)
Instructions
- Prepare your workspace by laying down newspaper or an old cloth to catch glitter spills.
- Use a funnel to pour glitter into the clear tubes in layers for stunning effects.
- Add colorful beads, mixing various shapes for visual interest.
- Secure the tops with a hot glue gun if desired and allow to dry completely.
- Cut a length of ribbon or elastic cord, leaving extra for knots.
- Thread the sealed tubes onto the cord in your desired order and tie off ends securely.
Notes
Customize your bracelets with themed glitters, photos, or different tube sizes for unique designs.
- Prep Time: 10 minutes
- Cook Time: 0 minutes
- Category: Craft
- Method: Crafting
- Cuisine: N/A
Nutrition
- Serving Size: 1 bracelet
- Calories: 0
- Sugar: 0g
- Sodium: 0mg
- Fat: 0g
- Saturated Fat: 0g
- Unsaturated Fat: 0g
- Trans Fat: 0g
- Carbohydrates: 0g
- Fiber: 0g
- Protein: 0g
- Cholesterol: 0mg

