Introduction
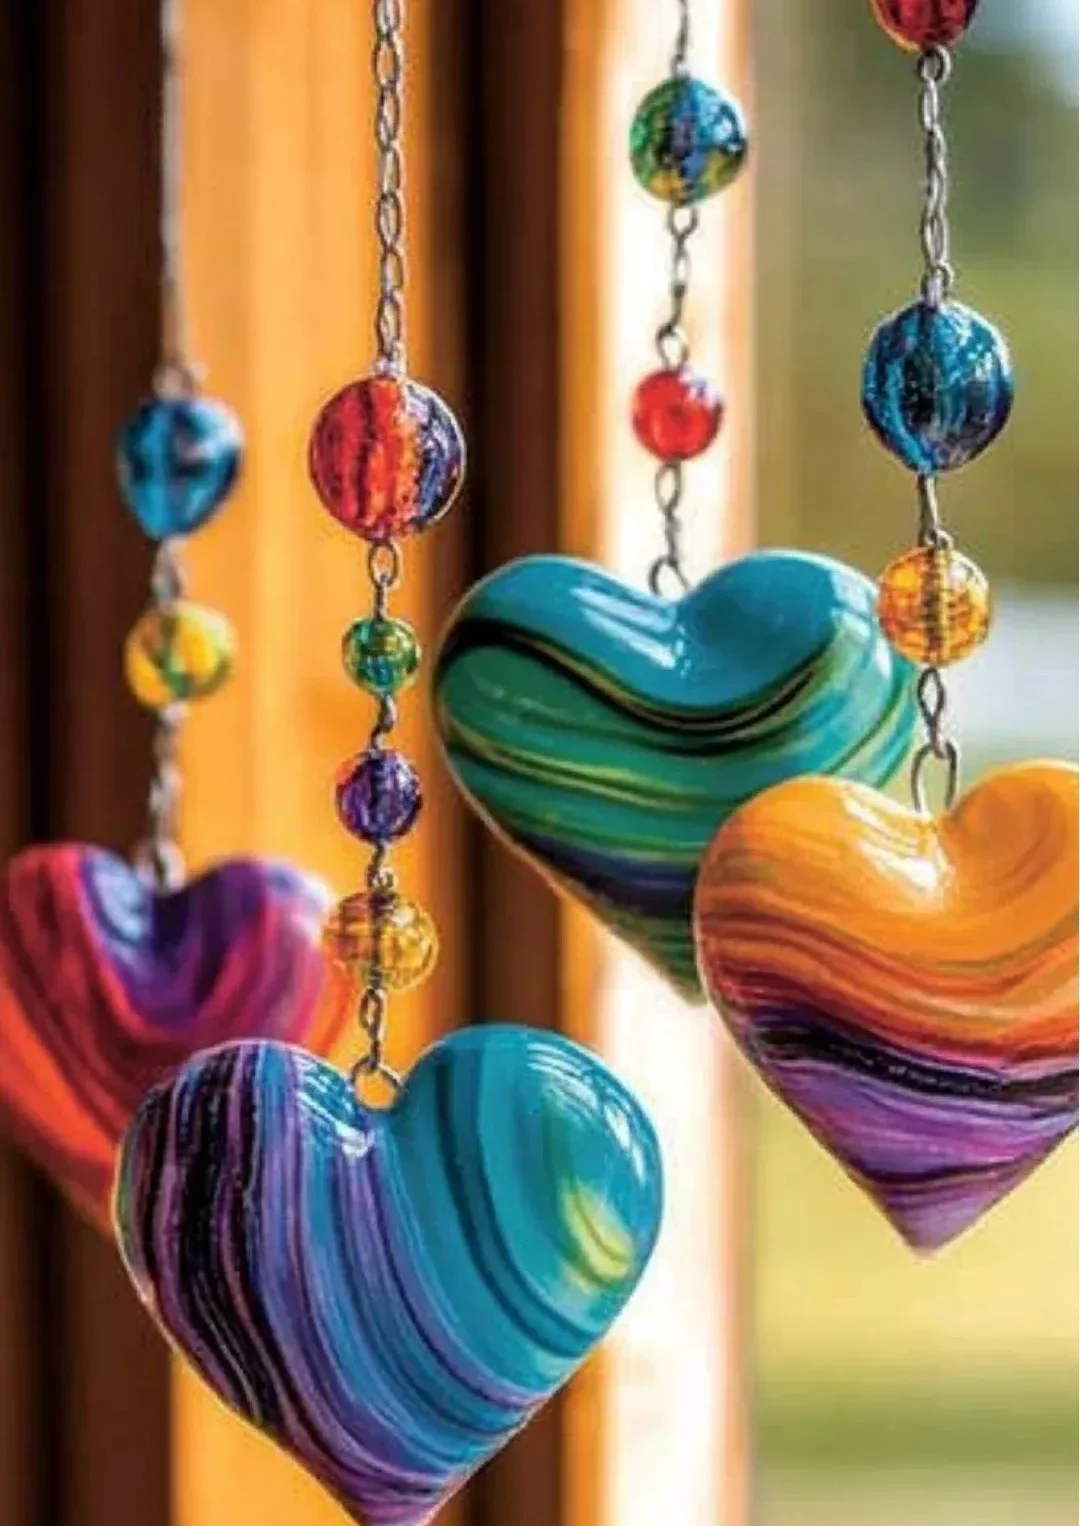
Crafting has a magical way of bringing creativity and joy into our lives. One such delightful craft that embodies that spirit is the Sun-Kissed Hearts from the Craft Drawer. This project combines simple materials with an easy step-by-step process, making it perfect for both beginners and seasoned crafters alike. Using vibrant colors and natural textures, these sun-kissed hearts will brighten any room and can be a wonderful gift or a fun family activity. So, gather your supplies, let your creativity flow, and watch as your handiwork captures the warmth of sunshine and the love you pour into each piece.
Why You’ll Love This Sun-Kissed Hearts from the Craft Drawer:
- Easy to Make: Simple steps that are easy to follow.
- Customizable: Personalize with different colors and designs.
- Sensory Experience: Engage with textures and colors that delight the senses.
- Great Gift Idea: Perfect for birthdays, anniversaries, or just because!
- Family-Friendly: A lovely way to bond with kids or friends.
- Seasonal Decor: Suitable for various seasons and celebrations.
Materials
- Colorful construction paper or cardstock
- Scissors
- Glue or double-sided tape
- String or ribbon (optional)
- Markers or crayons (for decoration)
- Glitter or sequins (optional for sparkle)
Full Step-by-Step
Step 1: Prepare Your Workspace
- Choose a clean, flat surface to work on.
- Gather all your materials within reach.
Step 2: Cut the Hearts
- Using scissors, cut out heart shapes from the construction paper.
- Tip: Vary the sizes for an interesting display!
Step 3: Decorate the Hearts
- Use markers or crayons to draw patterns or write messages on the hearts.
- Sensory Cue: Feel the textures as you embellish your creation—smooth paper, coarse glitter, etc.
Step 4: Assemble the Hearts
- Choose a design for layering—stack hearts of different sizes.
- Use glue or double-sided tape to secure them together.
Step 5: Add String (optional)
- If you want to hang your hearts, take a piece of string or ribbon.
- Attach it at the top of your heart using glue.
Step 6: Final Touches
- Make sure everything is secured and show off your colorful, sun-kissed hearts!
Tips & Variations
- Color Swaps: Use pastels for a softer look or metallic paper for a shimmering effect.
- Add Texture: Try using fabric scraps or textured papers for a multi-dimensional feel.
- Themed Variations: Create hearts for different holidays (e.g., red and pink for Valentine’s, orange and yellow for fall).
- Larger Creations: Use the same technique to make larger hearts for wall decor.
Frequently Asked Questions
Q1: Can I use regular paper instead of construction paper?
A1: Yes, regular paper works too, but construction paper is more durable for crafting.
Q2: What if I don’t have glue?
A2: You can use tape or even a stapler for quick assembly.
Q3: How can I store these crafts after making them?
A3: Keep them in a flat box or folder to prevent bending and damage.
Q4: Can younger kids join in on this project?
A4: Absolutely! Just supervise with scissors and help with more intricate steps.
Suggestions
- Create a string of hearts to hang as a cheerful garland.
- Use these hearts as gift tags to add a personal touch to presents.
- Organize a crafting party and encourage friends to make their own versions.
Final Thoughts
Unleashing your creativity with Sun-Kissed Hearts is not just about crafting; it’s about connecting with others and bringing joy into everyday life. We’d love to see your creations! Share your versions in the comments below and let’s inspire each other with our unique takes on this cheerful craft. Happy crafting!
Print
Sun-Kissed Hearts
- Total Time: 15 minutes
- Yield: Multiple hearts
Description
A delightful crafting project to create colorful, personalized sun-kissed hearts, perfect for decoration or gifts.
Ingredients
- Colorful construction paper or cardstock
- Scissors
- Glue or double-sided tape
- String or ribbon (optional)
- Markers or crayons (for decoration)
- Glitter or sequins (optional for sparkle)
Instructions
- Prepare Your Workspace: Choose a clean, flat surface to work on. Gather all your materials within reach.
- Cut the Hearts: Using scissors, cut out heart shapes from the construction paper. Vary the sizes for an interesting display!
- Decorate the Hearts: Use markers or crayons to draw patterns or write messages on the hearts. Engage with the textures as you embellish your creation.
- Assemble the Hearts: Choose a design for layering—stack hearts of different sizes and use glue to secure them together.
- Add String (optional): If you want to hang your hearts, attach a piece of string or ribbon at the top of your heart using glue.
- Final Touches: Ensure everything is secured and showcase your colorful, sun-kissed hearts!
Notes
Supervise younger kids when using scissors and help with intricate steps.
- Prep Time: 15 minutes
- Cook Time: 0 minutes
- Category: Craft
- Method: Crafting

