Introduction
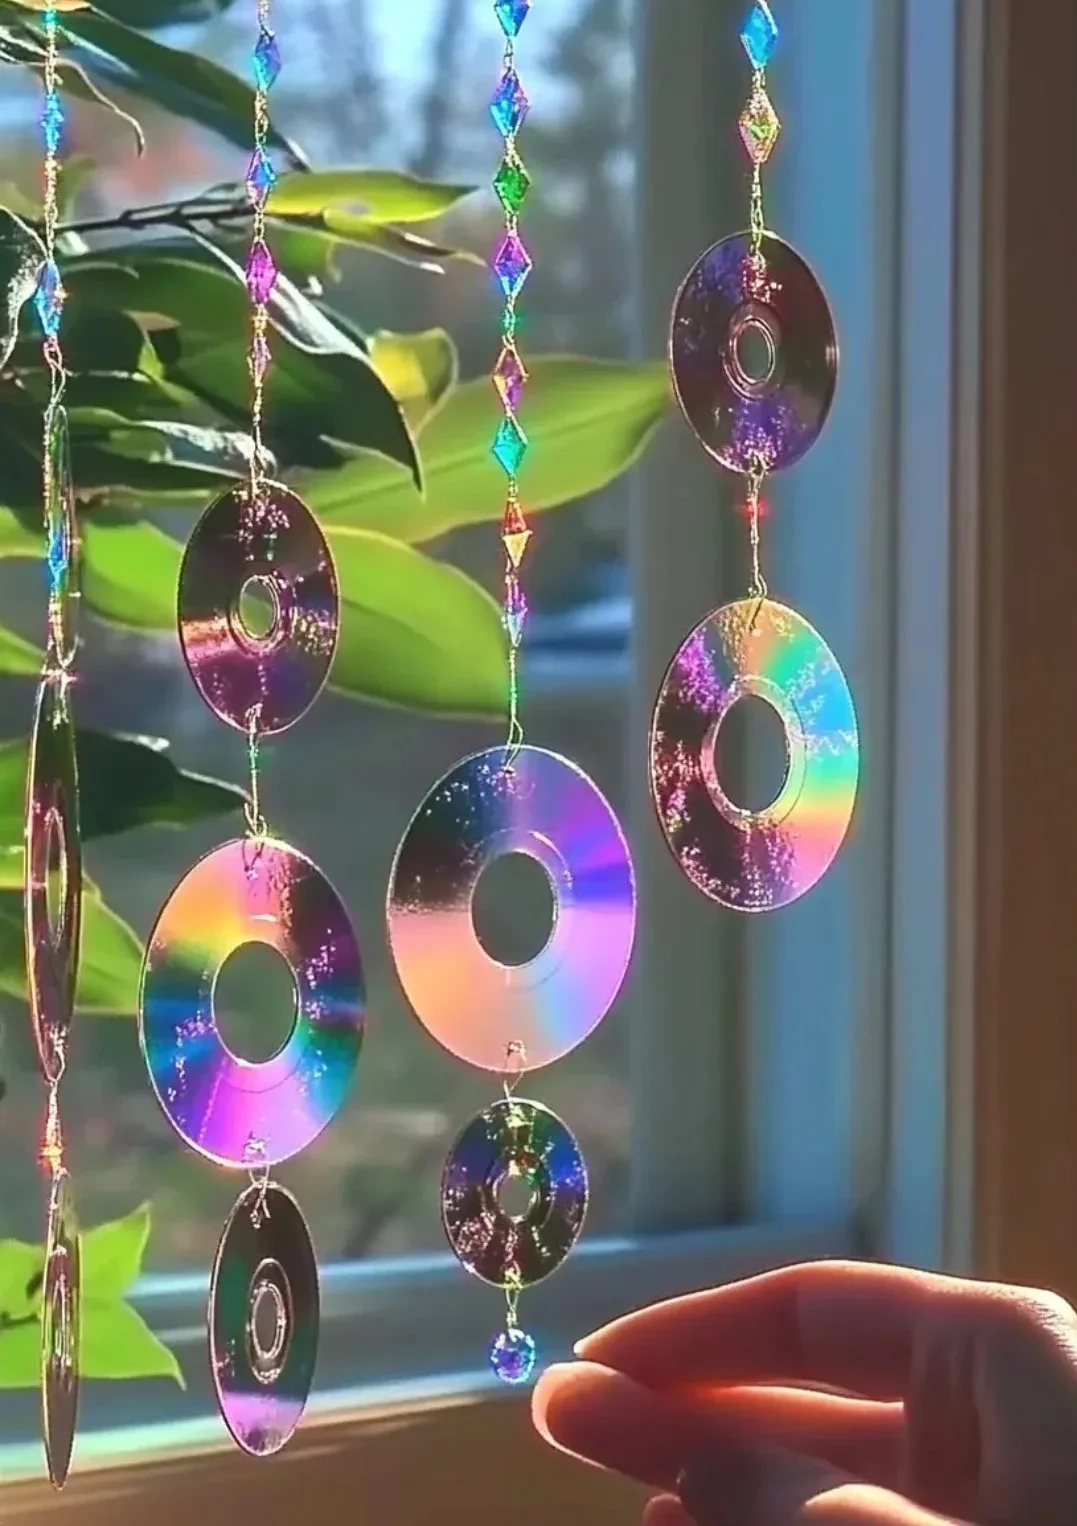
Crafting can be a delightful and fulfilling activity for both individuals and families. One of the most enjoyable and creative projects you can embark on this holiday season is making CD ornaments. With old compact discs gathering dust in your drawers, this project not only gives them a new purpose but also transforms them into beautiful decorations. Whether you’re looking to create simple ornaments for your Christmas tree or personalized gifts for loved ones, these crafty CD ornaments are a wonderful choice. Easy to make and customizable, they provide an excellent way to engage with friends or family while adding a unique touch to your holiday decor. Let’s explore why you’ll love this craft recipe and how to get started!
Why You’ll Love This Crafty CD Ornaments:
- Eco-friendly: Repurpose old CDs instead of throwing them away.
- Customizable: Add personal touches with various materials.
- Simple and quick: Perfect for crafting sessions with kids or friends.
- Unique designs: Create one-of-a-kind ornaments that stand out.
- Affordable: Use materials you may already have at home.
Materials
- Old CDs
- Acrylic paint or glue
- Glitter (optional)
- Washi tape or decorative paper
- Ribbons or strings for hanging
- Scissors
- Paintbrushes (if using paint)
- Clear sealer (optional for durability)
Full Step-by-Step
Prepare Your Workspace
- Lay out all your materials on a clean, flat surface.
- Consider covering the area with newspaper or a plastic sheet to protect from spills.
Decorate the CDs
- Painting: Apply a base coat of acrylic paint to your CD using a paintbrush. Let it dry completely.
- Glue & Glitter: If you prefer, coat sections of the CD with glue and sprinkle glitter over it for a sparkling effect.
- Washi Tape: Cut strips of washi tape and adhere them to the edges or sections of the CD for a pop of color.
Add a Hanging Mechanism
- Cut a length of ribbon or string, and glue it to the top part of the ornament. Ensure it’s secure for hanging.
Seal (Optional)
- If you want to ensure durability, apply a clear sealer over the decorated surface once everything is dry.
Tips & Variations
- Swap out the materials: Use scrapbooking paper instead of paint, or try using fabric for a softer look.
- Create themed ornaments: Use holiday or seasonal colors for a cohesive look.
- Personalize: Add names, dates, or special messages with markers or paint pens.
- Experiment with shapes: Instead of traditional round ornaments, try cutting the CDs into different shapes before decorating.
Frequently Asked Questions
Q1: Can I use other types of discs besides CDs?
A1: Yes! DVDs or even larger discs can work, but keep in mind that the thickness and weight may differ.
Q2: What if I don’t have acrylic paint?
A2: You can use permanent markers or even spray paint as alternatives for coloring your ornaments.
Q3: How do I hang my ornaments?
A3: Use a ribbon or string, tying it securely to the top of the ornament for hanging. Adhesive hooks can also be used for easy display.
Q4: Can these ornaments be used outdoors?
A4: If you plan to use them outside, it’s advisable to use a clear sealer to protect the decorations from the elements.
Suggestions
- Create a set of matching ornaments to gift to friends or neighbors.
- Host a crafting party where everyone can create their own unique designs.
- Use the decorated CDs as gift tags by writing a special message on the back.
Final Thoughts
Crafting these CD ornaments is not just a fun activity; it’s an opportunity to unleash creativity and promote sustainability. We hope you enjoy making these colorful decorations and share them with your loved ones. Have your own version? We’d love to see it! Please leave a comment or share your creations with us!
Print
Crafty CD Ornaments
- Total Time: 15 minutes
- Yield: Varies based on time and materials available
- Diet: N/A
Description
Transform old CDs into beautiful, eco-friendly ornaments that add a unique touch to your holiday decor.
Ingredients
- Old CDs
- Acrylic paint or glue
- Glitter (optional)
- Washi tape or decorative paper
- Ribbons or strings for hanging
- Scissors
- Paintbrushes (if using paint)
- Clear sealer (optional for durability)
Instructions
- Prepare Your Workspace: Lay out all your materials on a clean, flat surface. Consider covering the area with newspaper or a plastic sheet to protect from spills.
- Decorate the CDs: Apply a base coat of acrylic paint to your CD using a paintbrush and let it dry completely. Coat sections of the CD with glue and sprinkle glitter over it for a sparkling effect or cut strips of washi tape and adhere them to the edges.
- Add a Hanging Mechanism: Cut a length of ribbon or string, glue it to the top part of the ornament, and ensure it’s secure for hanging.
- Seal (Optional): Apply a clear sealer over the decorated surface once everything is dry for enhanced durability.
Notes
Feel free to swap out materials, create themed ornaments, and personalize your designs. Experiment with different shapes for added creativity!
- Prep Time: 15 minutes
- Cook Time: 0 minutes
- Category: Craft
- Method: Crafting
- Cuisine: N/A
Nutrition
- Serving Size: 1 ornament
- Calories: 0
- Sugar: 0g
- Sodium: 0mg
- Fat: 0g
- Saturated Fat: 0g
- Unsaturated Fat: 0g
- Trans Fat: 0g
- Carbohydrates: 0g
- Fiber: 0g
- Protein: 0g
- Cholesterol: 0mg

