Introduction
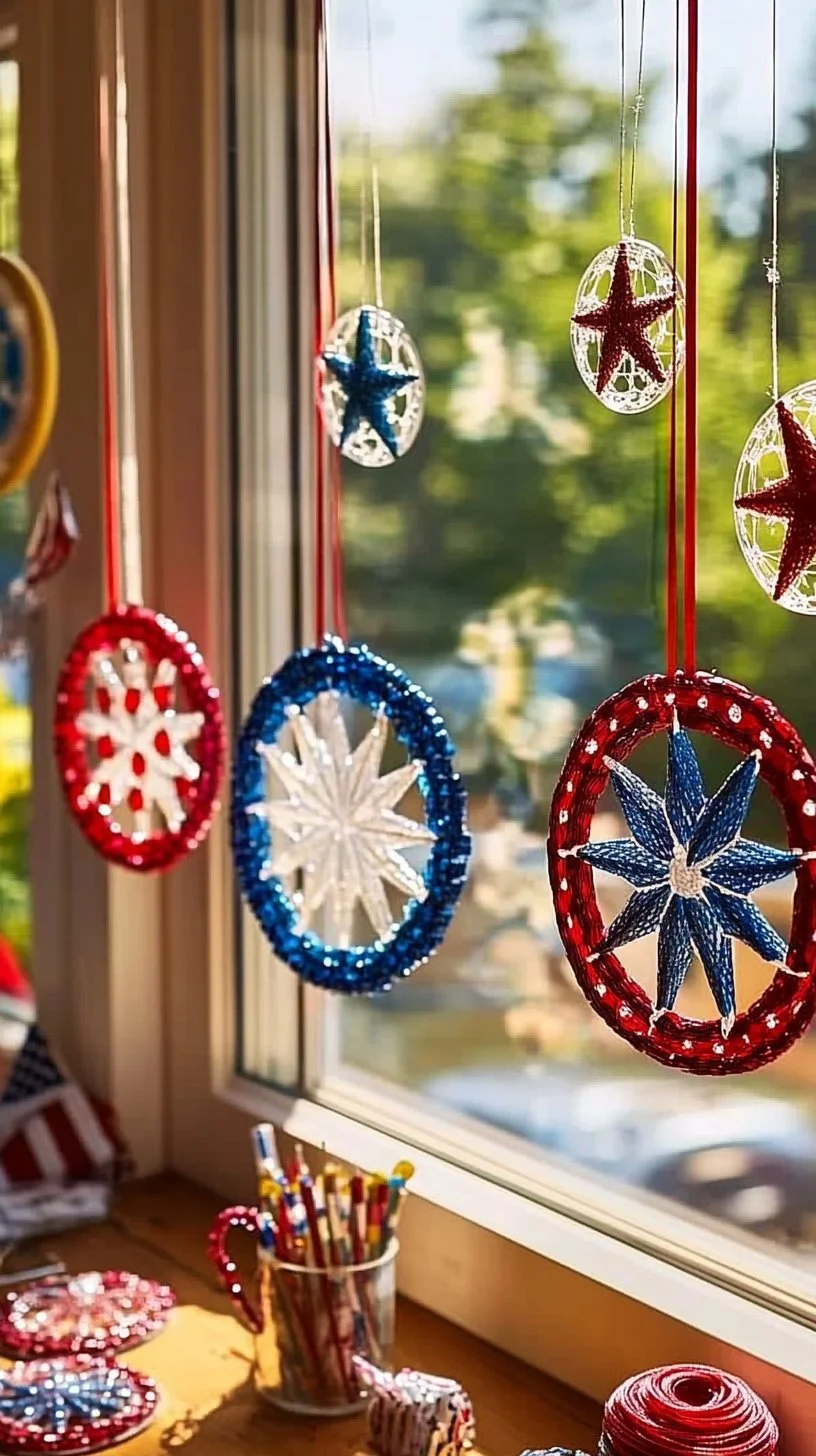
As the sun shines brightly on Independence Day, adding a splash of color to your celebrations can bring an extra bit of joy to your festivities. What better way to do this than by creating vibrant 4th of July suncatchers? These delightful crafts can enhance your home decor while providing a fun and engaging activity for all ages. Not only are they visually striking, but they also serve as a wonderful way to bond with family and friends, especially if you enjoy a hands-on project. With just a few simple materials and a little creativity, you can make unique suncatchers that reflect your patriotic spirit and delight viewers as they catch the light. Whether you hang them in your windows or use them as outdoor decorations, these suncatchers will be a cheerful addition to your holiday celebrations.
Why You’ll Love This 4th of July Suncatchers
- Easy to Make: Requires basic supplies and minimal skills.
- Customizable: Personalize with colors, designs, and shapes to fit your style.
- Family-Friendly: Fun activity suitable for both kids and adults.
- Affordable: Uses inexpensive materials that are easy to find.
- Colorful: Brighten up any space with beautiful, colorful designs.
- Versatile: Display indoors or outdoors for a festive touch.
Materials
- Clear contact paper or laminating sheets
- Red, white, and blue tissue paper
- Scissors
- Pencil
- Permanent markers (optional for details)
- String or fishing line (for hanging)
- Optional: Glitter, cardstock, or other decorative elements
Full Step-by-Step
1. Prepare Your Workspace
Set up a clean, flat surface where you can work comfortably. Make sure to cover the area to prevent any mess from the glue or tissue paper.
2. Cut the Tissue Paper
- Use scissors to cut the red, white, and blue tissue paper into small squares or shapes.
- Encourage creativity; triangles and stars are perfect for a patriotic theme!
3. Cut Contact Paper
- Cut a rectangle or your desired shape from the clear contact paper.
- Peel off one side to expose the sticky surface.
4. Create Your Design
- Place the contact paper sticky side up.
- Arrange the cut tissue paper pieces on the sticky surface, experimenting with layers and placement for visual interest.
5. Seal the Suncatcher
- Once satisfied with your design, peel up the remaining layer of contact paper.
- Carefully place another piece of contact paper on top to seal the tissue paper in between.
6. Cut Out the Shape
- Trim around your design, leaving a small border of contact paper.
- Cut out a shape of your choice (e.g., stars, hearts) for added flair.
7. Add a Hanging String
- Use a hole punch or scissors to create a small hole at the top.
- Thread a piece of string or fishing line through the hole for hanging.
Tips & Variations
- Customize Colors: Swap out the colors for any holiday or theme by adjusting tissue paper colors.
- Add Texture: Incorporate other materials, such as fabric scraps or sequins, for more visual dimension.
- Experiment with Shapes: Create different shapes like hearts or fireworks for added variety.
- Include Personal Touches: Use permanent markers to add names or messages to the finished suncatcher.
Frequently Asked Questions
Q1: Can I use regular paper instead of tissue paper?
A1: Yes, but tissue paper works best for a translucent effect. Regular paper will not allow light to pass through.
Q2: How can I hang my suncatcher?
A2: You can attach it with string or fishing line, or use removable adhesive hooks directly to the window.
Q3: How long will the suncatchers last?
A3: Their longevity depends on their exposure to sunlight. For longer-lasting results, keep them indoors away from direct sunlight.
Q4: Is there a way to make this project more environmentally friendly?
A4: Yes! Use recycled paper, or try nature elements like pressed flowers for a more eco-friendly approach.
Suggestions
- Host a suncatcher-making party for friends and family.
- Organize a craft station for kids during your holiday BBQ.
- Use your suncatchers as part of a festive tablescape.
Final Thoughts
Creating 4th of July suncatchers is a fantastic way to celebrate and express your creativity while bringing festive color into your home. We’d love to see how your suncatchers turn out! Share your creations in the comments below or tag us on social media to show off your patriotic art! Happy crafting!
Print
4th of July Suncatchers
- Total Time: 15 minutes
- Yield: 1 suncatcher
- Diet: N/A
Description
Create vibrant suncatchers to celebrate Independence Day with colorful designs and a fun, hands-on activity.
Ingredients
- Clear contact paper or laminating sheets
- Red, white, and blue tissue paper
- Scissors
- Pencil
- Permanent markers (optional for details)
- String or fishing line (for hanging)
- Optional: Glitter, cardstock, or other decorative elements
Instructions
- Prepare your workspace with a clean, flat surface.
- Cut the red, white, and blue tissue paper into small squares or shapes.
- Cut a rectangle or desired shape from the clear contact paper and expose the sticky side.
- Arrange the cut tissue paper pieces on the sticky surface.
- Seal the suncatcher by placing another piece of contact paper on top.
- Trim around your design, leaving a small border of contact paper.
- Create a small hole at the top and thread a piece of string or fishing line for hanging.
Notes
Customize colors and shapes for different holidays, incorporate textures, and add personal messages for a unique touch.
- Prep Time: 15 minutes
- Cook Time: 0 minutes
- Category: Craft
- Method: DIY Crafting
- Cuisine: American
Nutrition
- Serving Size: 1 suncatcher
- Calories: 0
- Sugar: 0g
- Sodium: 0mg
- Fat: 0g
- Saturated Fat: 0g
- Unsaturated Fat: 0g
- Trans Fat: 0g
- Carbohydrates: 0g
- Fiber: 0g
- Protein: 0g
- Cholesterol: 0mg

