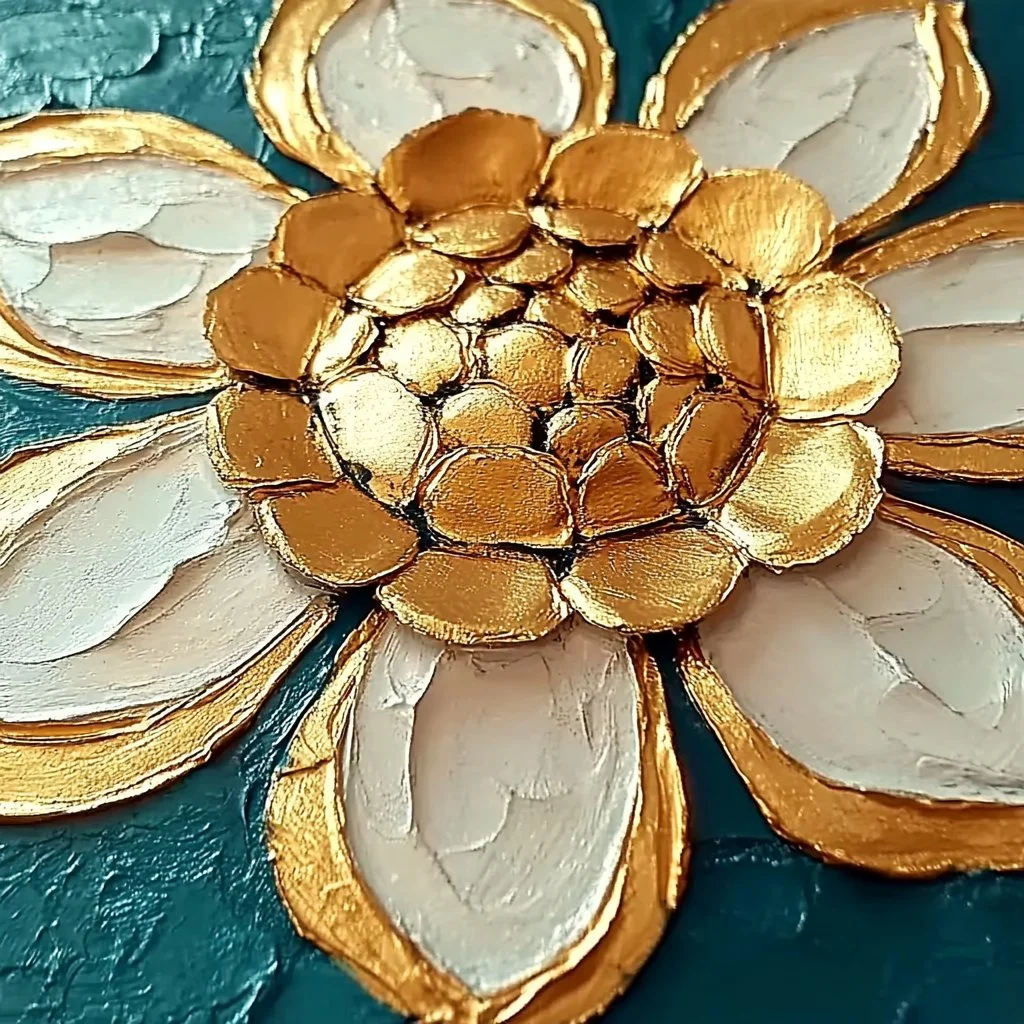
Creating textured wall art is an engaging way to express your creativity and add a unique touch to your home décor. This approachable craft project allows you to combine various materials to achieve stunning results, perfect for both beginners and experienced crafters. With just a few simple supplies and some imagination, you can transform an ordinary wall into a captivating canvas that reflects your personal style. The tactile quality of the texture adds depth and visual interest, making it an eye-catching focal point in any room. Whether you’re looking to make a statement piece or a subtler accent, this textured wall art project invites you to play and explore a world of possibilities.
Why You’ll Love This Textured Wall Art:
- Creative Freedom: Let your imagination run wild with colors and textures.
- Customizable: Perfectly tailored to match your home’s aesthetic.
- Therapeutic Crafting: Engage your senses while creating something beautiful.
- Eco-Friendly Options: Use recycled materials for a sustainable craft.
- Unique Gift: A handmade piece makes a thoughtful gift for loved ones.
Materials:
- Canvas or wood panel
- Acrylic paints in various colors
- Heavy gel medium or modeling paste
- Palette knife or spatula
- Paintbrushes (varied sizes)
- Texture tools (stamps, stencils, or found objects)
- Sealant (optional, for finish)
Full Step-by-Step:
1. Prepare Your Workspace
- Choose a well-ventilated area and cover your workspace with newspaper or plastic for easy cleanup.
- Gather all your materials within reach to streamline the process.
2. Base Layer Application
- Apply a layer of acrylic paint to your canvas using a large paintbrush, allowing the base color to dry completely before moving on.
3. Create Texture
- Using a palette knife or spatula, spread heavy gel medium or modeling paste over the dried paint.
- Experiment with different tools to achieve various textures: dabs for bumps or swirls for dynamic motion.
4. Add Colors
- While the texture medium is still wet, introduce additional colors by applying them directly with the palette knife or gently blending them into the texture.
- Remember to trust your instincts; the beauty of this project lies in its organic nature.
5. Finishing Touches
- Once dry, you may want to lightly sand the surface for a smoother finish or seal it with a protective coat if desired.
- Hang your newly created artwork in a location where it can shine!
Tips & Variations:
- Color Palette: Use a monochrome color scheme for a chic, understated look or vibrant hues for a lively atmosphere.
- Textural Elements: Incorporate fabric scraps, beads, or natural elements like leaves for added dimension.
- Layering: Experiment with multiple layers of texture for a more complex design.
- Stencil Use: Try using stencils to create repeating patterns in your texture.
Frequently Asked Questions:
Q1: Can I use other types of paint?
- A: Yes! You may use watercolor or oil paints; just keep in mind that drying times and texture interactions will differ.
Q2: How do I fix mistakes on my wall art?
- A: Let any area dry completely, then sand it down lightly and apply another layer of paint or texture to cover it.
Q3: Can I use a photo or print in my design?
- A: Absolutely! You can incorporate images by mod-podging them onto your canvas as part of your textured art.
Q4: How do I hang my wall art?
- A: Use picture hanging strips or nails, making sure to securely mount it to avoid damage.
Suggestions:
- Join a local crafting club or online community to share your artwork and get inspired by others.
- Consider hosting a textured wall art night with friends for a fun social activity.
- Explore mixed media by combining this craft with other art forms like photography or collage for a multimedia experience.
Final Thoughts
Creating textured wall art is a fulfilling and enjoyable process that rewards you with a unique piece of décor for your home. We encourage you to share your versions, experiences, and any variations you come up with in the comments below. Let’s inspire one another and celebrate the creativity that wall art can bring to our lives!
Print
Textured Wall Art
- Total Time: 50 minutes
- Yield: 1 wall art piece
Description
An engaging craft project that allows you to create stunning textured wall art using various materials and techniques.
Ingredients
- Canvas or wood panel
- Acrylic paints in various colors
- Heavy gel medium or modeling paste
- Palette knife or spatula
- Paintbrushes (varied sizes)
- Texture tools (stamps, stencils, or found objects)
- Sealant (optional, for finish)
Instructions
- Prepare Your Workspace: Choose a well-ventilated area and cover your workspace with newspaper or plastic for easy cleanup. Gather all your materials within reach.
- Base Layer Application: Apply a layer of acrylic paint to your canvas, allowing it to dry completely.
- Create Texture: Spread heavy gel medium or modeling paste over the dried paint with a palette knife or spatula.
- Add Colors: Introduce additional colors while the texture medium is wet, trusting your instincts with the design.
- Finishing Touches: Once dry, lightly sand for a smoother finish or apply a sealant if desired. Hang your artwork!
Notes
Experiment with various textures and layering techniques for unique designs. Consider using recycled materials for an eco-friendly project.
- Prep Time: 20 minutes
- Cook Time: 30 minutes
- Category: Crafts
- Method: Crafting
Nutrition
- Serving Size: 1 piece
- Calories: N/A
- Sugar: N/A
- Sodium: N/A
- Fat: N/A
- Saturated Fat: N/A
- Unsaturated Fat: N/A
- Trans Fat: N/A
- Carbohydrates: N/A
- Fiber: N/A
- Protein: N/A
- Cholesterol: N/A

