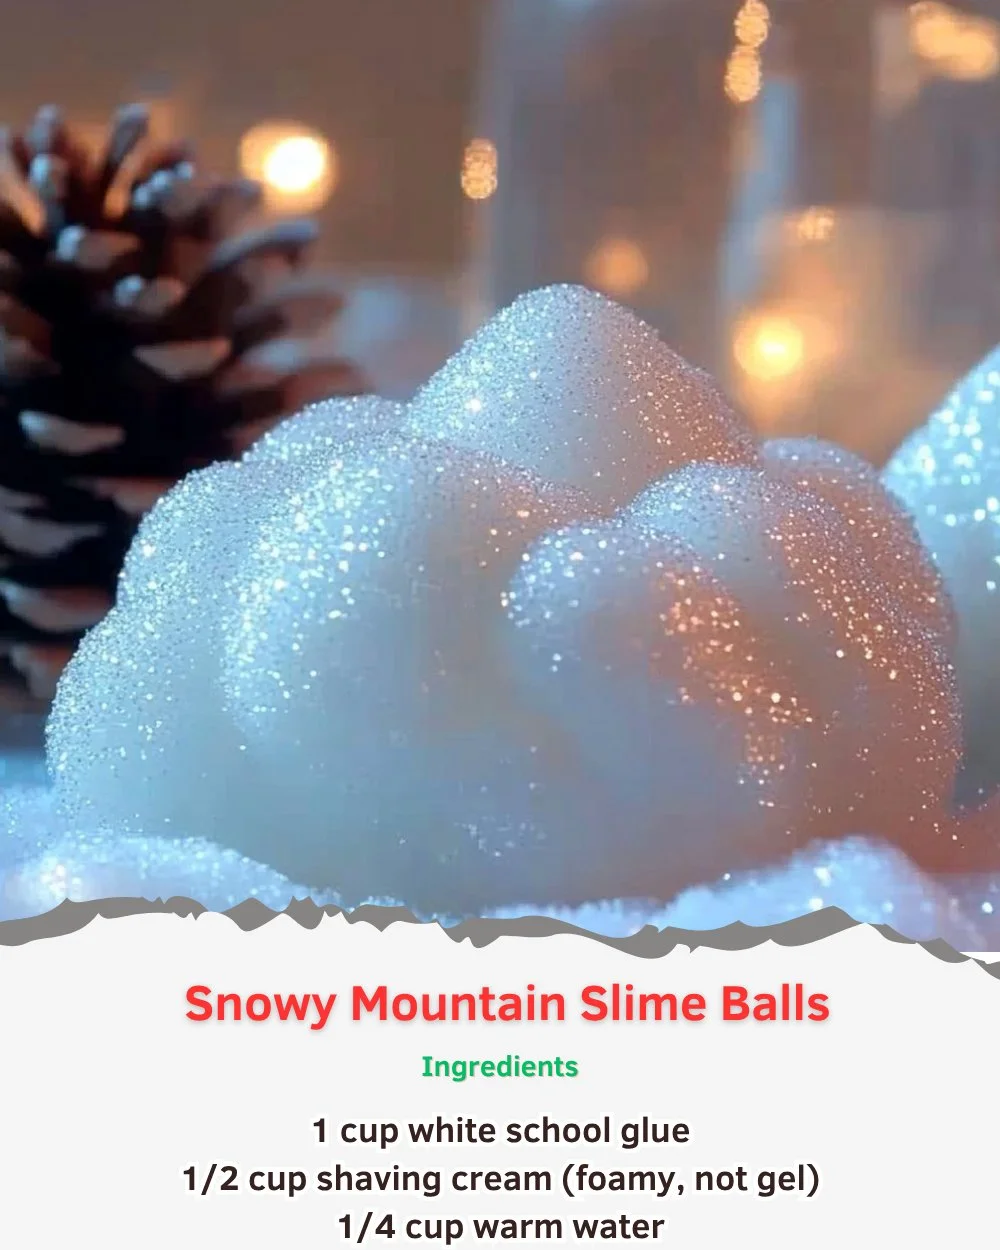
There’s something magical about snowy mountains covered in glittering snow, and today’s DIY project will bring that icy wonder directly to your home. Introducing Snowy Mountain Slime Balls! This fun and tactile experience is perfect for kids and adults alike, offering not just a creative outlet but also sensory pleasure. Using simple ingredients, you can create fluffy, stretchy slime that sparks joy and curiosity. Plus, with the addition of colored glitter or essential oils, you can tailor each batch to your preferences. Get ready to unleash your inner snowy explorer with this delightful recipe that combines art and science into a playful experience.
Why You’ll Love This Snowy Mountain Slime Balls
- Sensory Experience: Engaging texture that’s soft, stretchy, and satisfying to manipulate.
- Creative Fun: Customize colors and scents for a unique creation every time.
- Stress Relief: The act of playing with slime can be calming and meditative.
- Easy to Make: Simple ingredients and straightforward instructions make this an accessible project.
- Educational: Introduces basic concepts of chemistry and mixing materials.
- Great for All Ages: Suitable for kids and adults, making it a perfect group activity.
Materials
- 1 cup white school glue
- 1 cup shaving cream
- 1 teaspoon baking soda
- 1 tablespoon contact lens solution
- Food coloring (optional)
- Glitter (optional)
- Mixing bowl
- Mixing spoon
Step-by-Step Instructions
Step 1: Combine Ingredients
- In a mixing bowl, pour in 1 cup of white school glue.
- Add 1 cup of shaving cream to the glue. This will give your slime a puffy texture.
Step 2: Mix Until Smooth
- Stir the glue and shaving cream together until completely combined. The mix should be fluffy and smooth.
Step 3: Add Baking Soda
- Stir in 1 teaspoon of baking soda. This ingredient helps to firm up the slime.
Step 4: Incorporate Contact Lens Solution
- Add 1 tablespoon of contact lens solution. This will activate the slime. Keep stirring until the mixture begins to pull away from the sides of the bowl.
Step 5: Color and Sparkle (Optional)
- If you want to add color, mix in a few drops of food coloring until you achieve the desired shade.
- For a snowy, sparkly effect, stir in glitter at this stage.
Step 6: Knead the Slime
- Once the mixture is no longer sticky, knead it with your hands for a few minutes to achieve the perfect stretchy texture.
Tips & Variations
- Custom Colors: Try mixing different food colorings for unique shades like pastel blues or vibrant pinks.
- Scent it Up: Add a few drops of your favorite essential oil to give your slime a lovely aroma, like peppermint or lavender.
- Add Texture: Mix in foam balls for a crunchy sensation or confetti for a visual pop.
- Storage: Keep your Snowy Mountain Slime Balls in an airtight container to maintain their softness.
Frequently Asked Questions
Q1: Can I use clear glue instead of white glue?
A1: Yes! Clear glue will work as well, but the texture might be slightly different.
Q2: What if my slime is too sticky?
A2: Add a small amount of additional contact lens solution while kneading until the desired consistency is reached.
Q3: Is this recipe safe for kids?
A3: Yes! The ingredients are non-toxic and safe for kids. However, adult supervision is recommended, especially with younger children.
Q4: How long will the slime last?
A4: When stored properly in an airtight container in a cool place, your slime can last up to several weeks.
Serving Suggestions or Pairings
For an interactive experience, pair your Snowy Mountain Slime Balls with warm hot chocolate or a refreshing snow-cone. They also make an excellent accompaniment to a cozy movie night, bringing fun and creativity to your evening.
Final Thoughts
Creating Snowy Mountain Slime Balls is not just a recipe—it’s an experience filled with exploration, creativity, and joy. Encourage your kids to express their creativity by customizing their slime, and don’t forget to join in on the fun! We would love to hear about your slime-making adventures—share your unique variations or leave a comment below! Happy slime-making!
Print
Snowy Mountain Slime Balls
- Total Time: 10 minutes
- Yield: 1 batch 1x
- Diet: N/A
Description
Create fluffy and stretchy snowy mountain slime balls that are perfect for sensory play and creativity.
Ingredients
- 1 cup white school glue
- 1 cup shaving cream
- 1 teaspoon baking soda
- 1 tablespoon contact lens solution
- Food coloring (optional)
- Glitter (optional)
- Mixing bowl
- Mixing spoon
Instructions
- In a mixing bowl, pour in 1 cup of white school glue.
- Add 1 cup of shaving cream to the glue and mix until smooth.
- Stir in 1 teaspoon of baking soda to firm up the slime.
- Incorporate 1 tablespoon of contact lens solution, stirring until the mixture pulls away from the sides.
- If desired, mix in food coloring and glitter for added fun.
- Knead the slime with your hands until it achieves a stretchy texture.
Notes
Store your slime in an airtight container to maintain softness. Experiment with colors and scents for personalized creations.
- Prep Time: 10 minutes
- Cook Time: 0 minutes
- Category: Crafts
- Method: Mixing
- Cuisine: N/A
Nutrition
- Serving Size: 1 serving
- Calories: 50
- Sugar: 0g
- Sodium: 200mg
- Fat: 0g
- Saturated Fat: 0g
- Unsaturated Fat: 0g
- Trans Fat: 0g
- Carbohydrates: 15g
- Fiber: 0g
- Protein: 1g
- Cholesterol: 0mg

