Introduction
Salt painting is not only a fun and creative activity but also an engaging way for both kids and adults to explore the art of color mixing and texture. This sensory-rich project combines basic materials, creativity, and science, making it an excellent hands-on learning experience. Unlike typical painting, salt painting incorporates the unique properties of salt, allowing vivid colors to spread and blend in unexpected ways. This DIY art form can be a wonderful addition to your craft repertoire, perfect for rainy days, school projects, or simply expressing your creativity. Embrace the fun of making art while learning about scientific reactions—ready to dive into this unique project?
Why You’ll Love This Salt Painting
- Educational: Teaches concepts of color mixing and texture.
- Sensory Experience: Engages different senses with textures and colors.
- Creative Freedom: Allows for endless possibilities with designs and color combinations.
- Family Bonding: A wonderful group activity suitable for all ages.
- Minimal Cost: Uses inexpensive, readily available materials.
- Unique Artwork: Creates beautiful pieces that are distinct and eye-catching.
Materials
- Table salt
- White cardstock or watercolor paper
- Liquid watercolors or food coloring
- Small cups or containers for mixing
- Glue (liquid school glue works best)
- Paintbrush
- Water
- Optional: Glitter or other embellishments
Step-by-Step Instructions
Prepare Your Workspace
- Spread out newspapers or plastic sheets to protect your surfaces.
- Have all materials ready for easy access.
Create Your Design
- Use the glue to draw your desired design or pattern on the cardstock.
- Make sure the glue lines are thick enough to hold the salt.
Add the Salt
- Immediately sprinkle salt over the wet glue.
- Ensure all glue is covered for an even texture.
- Gently shake off the excess salt, allowing the design to dry for a few minutes.
Mix Colors
- In small cups, mix liquid watercolors or food coloring with water for various shades.
- Start with a small amount and adjust to your preferred brightness.
Paint with Color
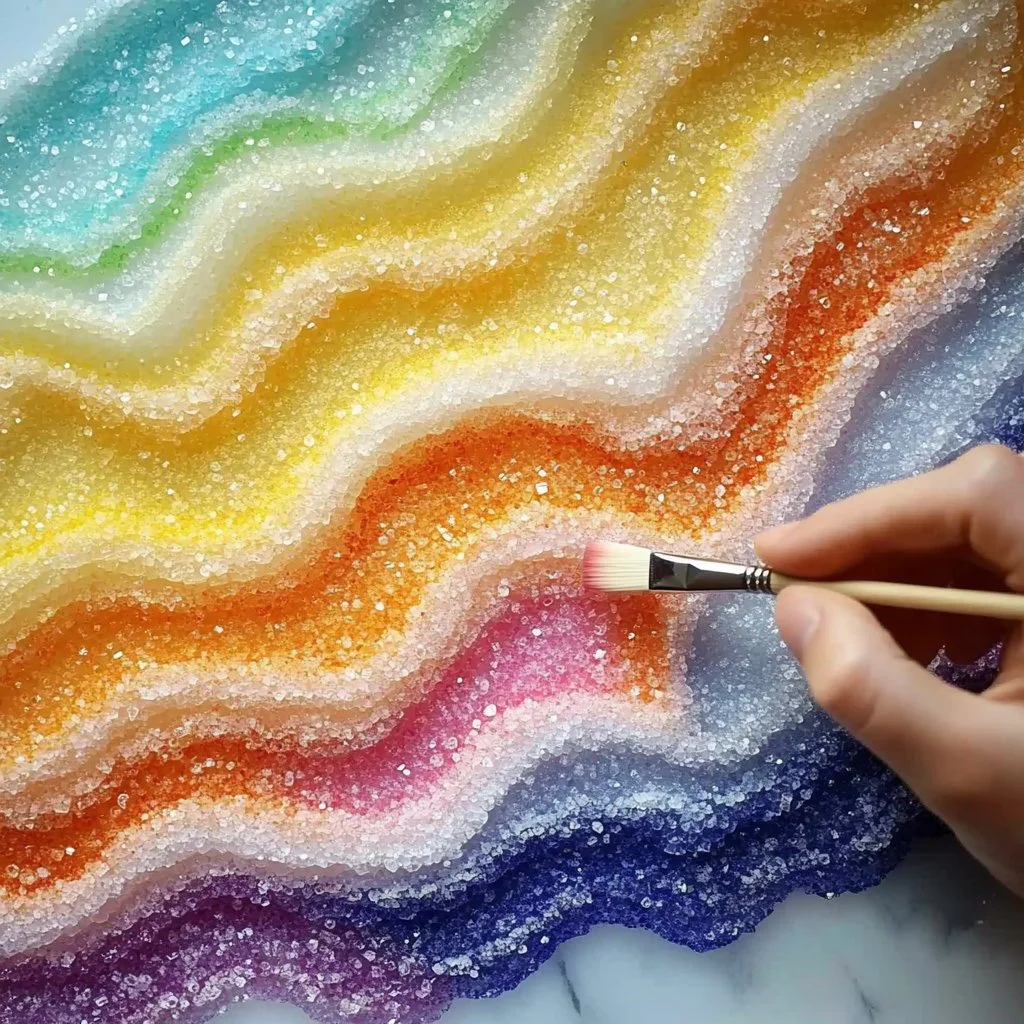
- Using a paintbrush, touch the colors to the salt surface; watch as the colors run and blend!
- Experiment with different colors and layering for a dynamic look.
Let It Dry
- After painting, let your salt painting dry completely to preserve the design.
Tips & Variations
- Swap Colors: Feel free to use any shades you love; try neon colors for a vibrant effect!
- Texture Variation: Use different sizes of salt for varying textures, such as coarse sea salt for a unique finish.
- Adding Glitter: For extra sparkle, sprinkle glitter onto the salt before the paint dries.
- Theme Ideas: Create seasonal decorations like snowflakes in winter or flowers in spring.
Frequently Asked Questions
1. Can I use regular table salt instead of coarse salt?
Yes, regular table salt works perfectly for this project!
2. What if I don’t have liquid watercolors?
You can substitute food coloring mixed with water, though it may not be as vibrant.
3. How do I store my finished salt painting?
Keep your painting flat in a cool, dry place to prevent any moisture damage.
4. Can kids do this project without adult supervision?
While the project is safe, adult supervision is recommended for younger children, especially with the use of glue.
Serving Suggestions or Pairings
To enhance your salt painting experience, consider enjoying some refreshing lemonade or herbal tea while crafting. Pair your artwork with a light snack like veggie sticks or fruit slices to keep the creative energy flowing.
Final Thoughts
Salt painting is a delightful way to express your creativity while learning something new! Whether you create a masterpiece for your home or give it as a gift, the unique textures and vibrant colors are sure to impress. We would love to see your versions of this project or hear your thoughts—feel free to leave a comment below! Happy crafting!
Print
Salt Painting
- Total Time: 15 minutes
- Yield: 1 artwork
- Diet: N/A
Description
Engage in a fun and sensory-rich salt painting project that sparks creativity and learning about color mixing and texture.
Ingredients
- Table salt
- White cardstock or watercolor paper
- Liquid watercolors or food coloring
- Small cups or containers for mixing
- Glue (liquid school glue works best)
- Paintbrush
- Water
- Optional: Glitter or other embellishments
Instructions
- Prepare Your Workspace: Spread out newspapers or plastic sheets to protect your surfaces. Have all materials ready for easy access.
- Create Your Design: Use the glue to draw your desired design or pattern on the cardstock. Make sure the glue lines are thick enough to hold the salt.
- Add the Salt: Immediately sprinkle salt over the wet glue, ensuring all glue is covered for an even texture. Gently shake off the excess salt, allowing the design to dry for a few minutes.
- Mix Colors: In small cups, mix liquid watercolors or food coloring with water for various shades. Start with a small amount and adjust to your preferred brightness.
- Paint with Color: Using a paintbrush, touch the colors to the salt surface; watch as the colors run and blend! Experiment with different colors and layering for a dynamic look.
- Let It Dry: After painting, let your salt painting dry completely to preserve the design.
Notes
Swap colors as you like; try different sizes of salt for unique textures. Use glitter for extra sparkle and create themed designs for seasons.
- Prep Time: 15 minutes
- Cook Time: 0 minutes
- Category: Craft
- Method: Crafting
- Cuisine: N/A
Nutrition
- Serving Size: 1 artwork
- Calories: 0
- Sugar: 0g
- Sodium: 0mg
- Fat: 0g
- Saturated Fat: 0g
- Unsaturated Fat: 0g
- Trans Fat: 0g
- Carbohydrates: 0g
- Fiber: 0g
- Protein: 0g
- Cholesterol: 0mg

