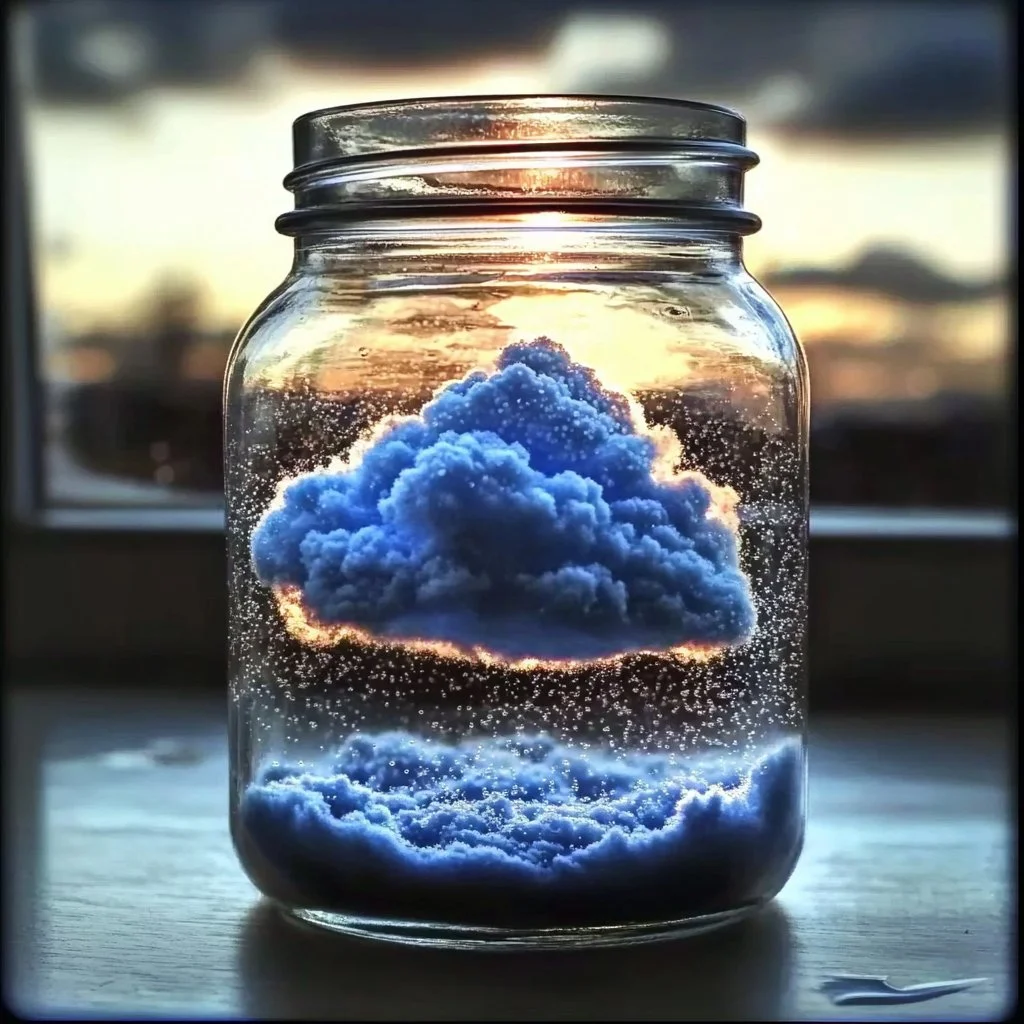
Creating a rainy cloud in a jar is a delightful and easy craft project that combines science with creativity. Perfect for a rainy day, this craft invites you to explore the wonders of weather right in your home. As you watch the cloud form and release "rain," you’ll learn about condensation and precipitation while creating a stunning display. This activity is engaging for children and adults alike, making it a fantastic way to spend quality time with family or friends. Whether it’s for a school project or a fun weekend activity, this craft is sure to bring a splash of joy to your day!
Why You’ll Love This Rainy Cloud in a Jar:
- Simple and Fun: Easy to follow, making it great for all age groups.
- Educational Aspect: Teaches kids about weather patterns and science concepts.
- Eye-Catching: Creates a beautiful visual effect that captivates everyone.
- Customizable: Experiment with colors, sizes, and materials to make it unique.
- Great Gift Idea: Create a personalized craft to give to friends or family.
Materials:
- A clear glass jar with a lid (mason jar works best)
- Shaving cream (for the cloud)
- Food coloring (blue or any color you prefer)
- Water
- Eye dropper or spoon
- Small cup or container (to mix colors)
Full Step-by-Step:
Prepare the Jar
- Fill the Jar: Start by filling your glass jar about three-quarters full with water.
Create the Cloud
- Add Shaving Cream: Gently spray shaving cream on top of the water in the jar, creating a "cloud" layer. Aim for a thick layer that resembles a cloud.
Make the Rain
-
Mix Colors: In a small cup, mix a few drops of food coloring with a bit of water to create a vibrant "rain" solution.
-
Drop the Solution: Use an eye dropper or a spoon to slowly release the colored water onto the shaving cream cloud. Watch as the color starts to penetrate the cloud and eventually drip down like rain.
Observe
- Watch the Magic: As the colored water becomes heavy enough, it will break through the shaving cream and create rain in the jar. Enjoy the mesmerizing effect!
Tips & Variations:
- Customize Colors: Use different food colors to create a rainbow effect or match a theme.
- Add Glitter: For an extra sparkle, add some biodegradable glitter to the water before creating the rain.
- Experiment: Try using different densities of shaving cream to see how it affects the rain’s appearance.
Frequently Asked Questions:
Q1: Can I use something other than shaving cream for the cloud?
A1: While shaving cream works best for a realistic effect, you can experiment with whipped cream or foam from other products, though results may vary.
Q2: What if I run out of food coloring?
A2: You can use liquid watercolor paints or even juice from fruits like blueberries or beet juice as a natural coloring agent.
Q3: Is this craft safe for young children?
A3: Yes, it is generally safe, but supervision is recommended to avoid any messes or accidental ingestion of materials like food coloring.
Q4: How long does this craft last?
A4: The cloud appearance will last a while as long as you keep the jar sealed, but over time, you may need to refresh the materials.
Suggestions:
- Host a "Weather Day" and let each participant create their own cloud jar, comparing results.
- Use this craft as part of a larger science lesson on weather patterns.
- Create multiple jars with varying sizes and colors for an attractive display.
Final Thoughts
Creating a rainy cloud in a jar is an enchanting project that blends fun with education. Whether used as a teaching tool or a mesmerizing display, it’s a wonderful way to bring a bit of weather magic indoors. We would love to see your versions of this project! Please share your experiences, variations, or leave a comment below!
Print
Rainy Cloud in a Jar
- Total Time: 10 minutes
- Yield: 1 cloudy jar
- Diet: N/A
Description
Create a rainy cloud in a jar using simple materials to explore the wonders of weather. Perfect for all ages and a fun educational activity.
Ingredients
- A clear glass jar with a lid (mason jar works best)
- Shaving cream (for the cloud)
- Food coloring (blue or any color you prefer)
- Water
- Eye dropper or spoon
- Small cup or container (to mix colors)
Instructions
- Fill the jar about three-quarters full with water.
- Gently spray shaving cream on top of the water in the jar to create a thick cloud layer.
- In a small cup, mix a few drops of food coloring with a bit of water to create a vibrant rain solution.
- Use an eye dropper or a spoon to slowly release the colored water onto the shaving cream cloud.
- Watch as the colored water penetrates the cloud and drips down like rain.
- Enjoy the mesmerizing effect as the colored water breaks through the shaving cream.
Notes
For added fun, customize colors, add glitter, or host a ‘Weather Day’ to compare creations.
- Prep Time: 10 minutes
- Cook Time: 0 minutes
- Category: Craft
- Method: Crafting
- Cuisine: N/A
Nutrition
- Serving Size: 1 jar
- Calories: 0
- Sugar: 0g
- Sodium: 0mg
- Fat: 0g
- Saturated Fat: 0g
- Unsaturated Fat: 0g
- Trans Fat: 0g
- Carbohydrates: 0g
- Fiber: 0g
- Protein: 0g
- Cholesterol: 0mg

