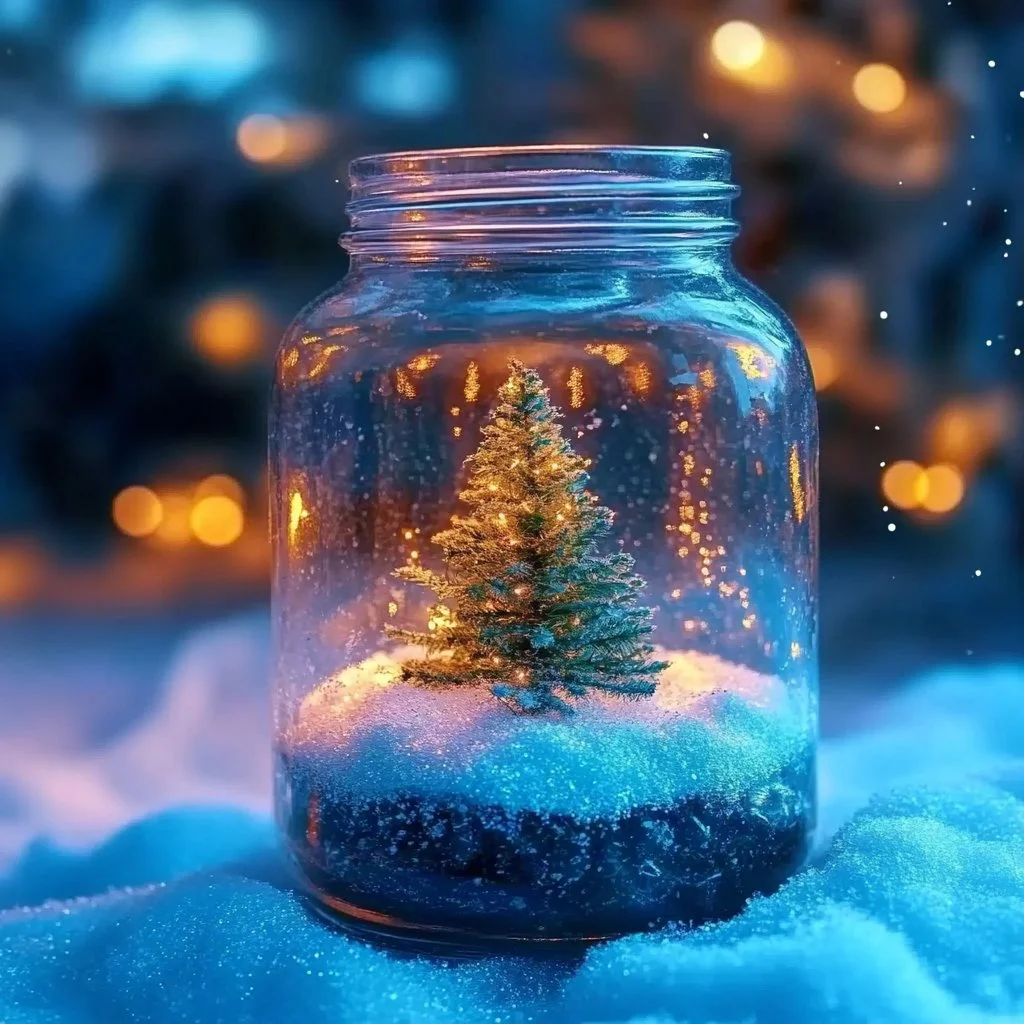
Are you ready to embark on a frosty adventure? This North Pole Science Jar is a delightful DIY project that combines creativity with a sprinkle of science. Perfect for children and adults alike, this activity brings the enchanting world of the Arctic right into your home. With its captivating visuals and hands-on exploration, you’ll discover the mesmerizing beauty of snowy landscapes and swirling snowflakes. Not only is it educational, but it also sparks imagination, making it a fantastic project for chilly winter days or holiday gatherings. Let’s dive into the fun and frosty world of science!
Why You’ll Love This North Pole Science Jar
- Engaging Learning Experience: It’s a hands-on way to learn about density, temperature, and simple chemical reactions.
- Perfect for All Ages: This activity is suitable for kids and adults, making it a great family project.
- Visual Appeal: The vibrant colors and swirling effects create a captivating display.
- Easy to Customize: Use different colors, glitters, or figures to make it uniquely yours.
- Great Gift Idea: This jar makes for a thoughtful and personalized gift for friends and family.
Materials
- Clear glass or plastic jar with lid
- Water
- Baby oil or glycerin
- Food coloring (blue, white, or your choice)
- Glitter (optional)
- Small figurines (polar bears, elves, etc.)
- Spoon for stirring
Step-by-Step Instructions
Prepare Your Base
- Fill the Jar: Start by filling your jar about halfway with water.
- Add Base Liquid: Pour in baby oil or glycerin until the jar is almost full, leaving a little space at the top.
Customize the Mixture
- Add Color: Using the food coloring, add a few drops to the jar. Watch how it gently sinks through the oil or glycerin.
- Mix Well: Stir the mixture with a spoon to combine the water and oil layers slightly.
Sparkle and Decorate
- Incorporate Glitter: If you want that extra sparkle, add a pinch of glitter and give it another gentle stir.
- Place Figurines: Carefully place your small figurines on top of the mixture. They will float, simulating a North Pole scene.
Seal and Display
- Secure the Lid: Tightly seal the lid on the jar to prevent spills.
- Shake for Effect: To see the swirling action, shake the jar gently and watch how the colors mix, creating a mesmerizing effect.
Tips & Variations
- Change Colors: Experiment with different food color combinations for unique results.
- Use Different Containers: Try using different types of jars, such as mason jars or decorative bottles, for varied looks.
- Layering Techniques: Create layers by letting the oil settle before adding more water and coloring.
- Seasonal Themes: Customize your jar for holidays by adding themed decorations like mini Christmas trees or holiday ornaments.
Frequently Asked Questions
Q: Can I substitute baby oil with anything else?
A: Yes! You can use glycerin or even flavored oils, but baby oil creates the best visual effects.
Q: How long will this last?
A: If sealed properly, your North Pole Science Jar can last for months. Just keep it out of direct sunlight to retain the vibrant colors.
Q: What should I do if the glitter clumps together?
A: If glitter clumps, try shaking the jar gently to disperse it or add a bit more glycerin to keep it suspended.
Q: Can I make this with younger children?
A: Absolutely! Just supervise closely, especially during the mixing and pouring steps, as some ingredients can be messy.
Serving Suggestions or Pairings
Enjoy your North Pole Science Jar alongside a cozy hot chocolate or a cup of spiced cider. It makes a stunning centerpiece or conversation starter when paired with holiday treats like gingerbread cookies or peppermint candies.
Final Thoughts
The North Pole Science Jar is not only a fun DIY activity but also an enchanting way to spark curiosity about the wonders of science. Share your creations by leaving a comment or tagging us in your photos! We’d love to see how you customized your jar. Dive into winter wonder and let your imagination fly with this delightful project!
Print
North Pole Science Jar
- Total Time: 10 minutes
- Yield: 1 jar
- Diet: N/A
Description
A delightful DIY project that combines creativity with science, perfect for families and suitable for all ages.
Ingredients
- Clear glass or plastic jar with lid
- Water
- Baby oil or glycerin
- Food coloring (blue, white, or your choice)
- Glitter (optional)
- Small figurines (polar bears, elves, etc.)
- Spoon for stirring
Instructions
- Fill your jar about halfway with water.
- Pour in baby oil or glycerin until the jar is almost full, leaving a little space at the top.
- Add a few drops of food coloring and watch it gently sink through the oil or glycerin.
- Stir the mixture to combine the water and oil layers slightly.
- Add a pinch of glitter and stir gently.
- Carefully place your small figurines on top of the mixture.
- Tightly seal the lid on the jar to prevent spills.
- Shake the jar gently to see the swirling action and mesmerizing effects.
Notes
Experiment with different food colors and container types for unique looks. Customize with themed decorations for seasonal themes.
- Prep Time: 10 minutes
- Cook Time: 0 minutes
- Category: DIY Project
- Method: Crafting
- Cuisine: N/A
Nutrition
- Serving Size: 1 jar

