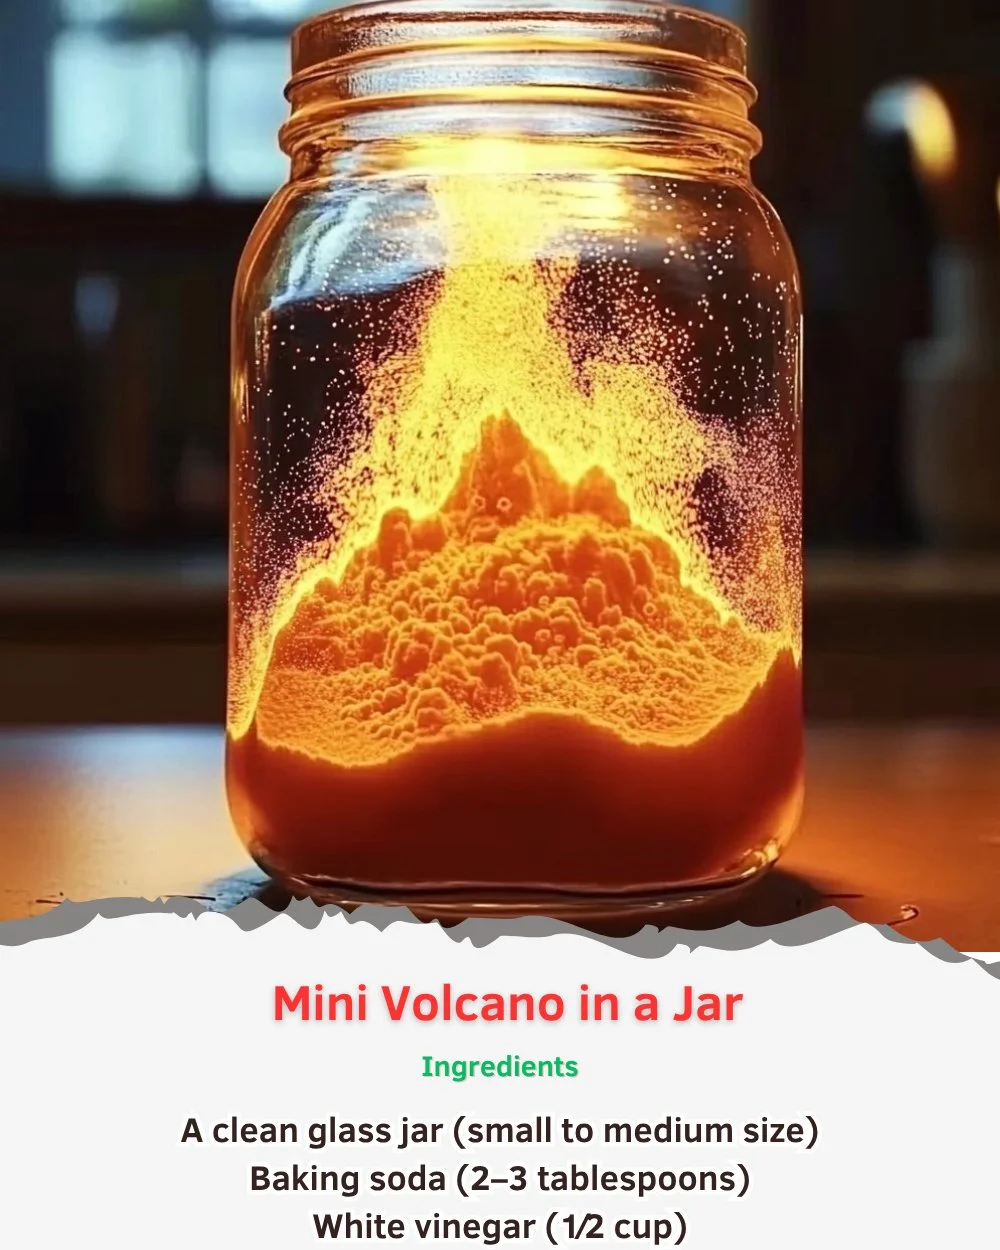
Creating a mini volcano in a jar is a delightful DIY project that combines science and art, perfect for both kids and adults. This fun activity not only serves as an educational demonstration of chemical reactions but also provides an exciting visual experience. As you watch the colorful "lava" flow and bubble out of the jar, it’s hard not to smile at the sheer joy it brings. You can use simple household ingredients to achieve this captivating effect, making it accessible and straightforward for anyone to try. Dive into the world of chemistry while having a blast—literally—with a mini volcano you can create in the comfort of your own home!
Why You’ll Love This Mini Volcano in a Jar
- Interactive Fun: It’s a hands-on project that keeps everyone engaged.
- Educational Value: Teaches basic principles of chemistry and reactions.
- Customizable: You can tailor colors, sizes, and effects to suit your preferences.
- Easy to Make: Requires just a few common ingredients.
- Great for Parties: A fun activity for gatherings or family events.
- Perfect for All Ages: Suitable for kids and enjoyable for adults too.
Materials
- Empty glass jar or clear plastic container
- Baking soda
- Vinegar
- Food coloring (optional)
- Dish soap (optional)
- Tray or large dish to catch overflow
- Spoon or small measuring cup
Step-by-Step Instructions
Prepare Your Workspace
- Lay down a protective layer, such as newspapers or a tray, as this can get messy!
Create the Volcano Base
- Fill the Jar: Place your empty jar in the center of the tray.
- Add Baking Soda: Spoon in approximately 2-3 tablespoons of baking soda into the jar.
- Optional: Drizzle a few drops of dish soap to create thicker lava.
Mix the Lava
- Add Food Coloring: If desired, add several drops of food coloring to the baking soda for vibrancy.
- Prepare Vinegar: In a small cup, pour in about ½ cup of vinegar.
Erupt the Volcano!
- Pour the Vinegar: Slowly pour the vinegar into the jar with the baking soda.
- Watch the Magic: Stand back and enjoy the reaction as bubbles form and the colorful "lava" erupts over the edges of the jar!
Tips & Variations
- Color Choices: Experiment with different food coloring combinations for a rainbow effect.
- Add Glitter: Mix in some glitter for a sparkling volcanic eruption.
- Alter Ratios: Adjust the amount of baking soda and vinegar for more or less dramatic reactions.
- Themed Projects: Use this as a project for themed parties, like a science birthday bash or a natural phenomenon study.
Frequently Asked Questions
1. Can I use different containers?
Yes! You can use any clear container, but a jar allows for a better view of the eruption.
2. What happens if I add more baking soda or vinegar?
More baking soda generally creates a bigger reaction. Adjusting vinegar affects the strength and duration of the eruption.
3. Is it safe for kids?
Yes! The ingredients are non-toxic and safe for kids; however, adult supervision is recommended.
4. Can I prepare it in advance?
You can set up the baking soda in the jar ahead of time but wait to add vinegar until you’re ready for the eruption.
Serving Suggestions or Pairings
For an even more engaging experience, serve vegetable sticks or fruit slices as snacks while enjoying your volcano, along with science-themed drinks like sparkling water or fruit punch to keep the excitement going!
Final Thoughts
Creating a mini volcano in a jar is a captivating way to blend creativity with science. Not only does it spark curiosity and engagement, but it also allows for tons of fun experimentation. Share your unique adaptations of this recipe or any creative variations in the comments below—let’s inspire each other with science!
Print
Mini Volcano in a Jar
- Total Time: 6 minutes
- Yield: 1 volcano eruption 1x
- Diet: N/A
Description
Create a captivating mini volcano using common household ingredients while exploring basic chemistry principles.
Ingredients
- Empty glass jar or clear plastic container
- 2–3 tablespoons of baking soda
- ½ cup of vinegar
- Food coloring (optional)
- Dish soap (optional)
- Tray or large dish to catch overflow
- Spoon or small measuring cup
Instructions
- Prepare Your Workspace: Lay down a protective layer, like newspapers or a tray.
- Create the Volcano Base: Place the empty jar in the center of the tray. Spoon 2-3 tablespoons of baking soda into the jar. Optionally, drizzle a few drops of dish soap to create thicker lava.
- Mix the Lava: Add several drops of food coloring to the baking soda for color and pour about ½ cup of vinegar into a small cup.
- Erupt the Volcano: Slowly pour the vinegar into the jar with the baking soda. Stand back and enjoy the bubbling reaction!
Notes
Experiment with different food coloring combinations for a rainbow effect. You can also add glitter for extra sparkle.
- Prep Time: 5 minutes
- Cook Time: 1 minute
- Category: Activity
- Method: Science Experiment
- Cuisine: Educational
Nutrition
- Serving Size: 1 explosion
- Calories: 0
- Sugar: 0g
- Sodium: 0mg
- Fat: 0g
- Saturated Fat: 0g
- Unsaturated Fat: 0g
- Trans Fat: 0g
- Carbohydrates: 0g
- Fiber: 0g
- Protein: 0g
- Cholesterol: 0mg

