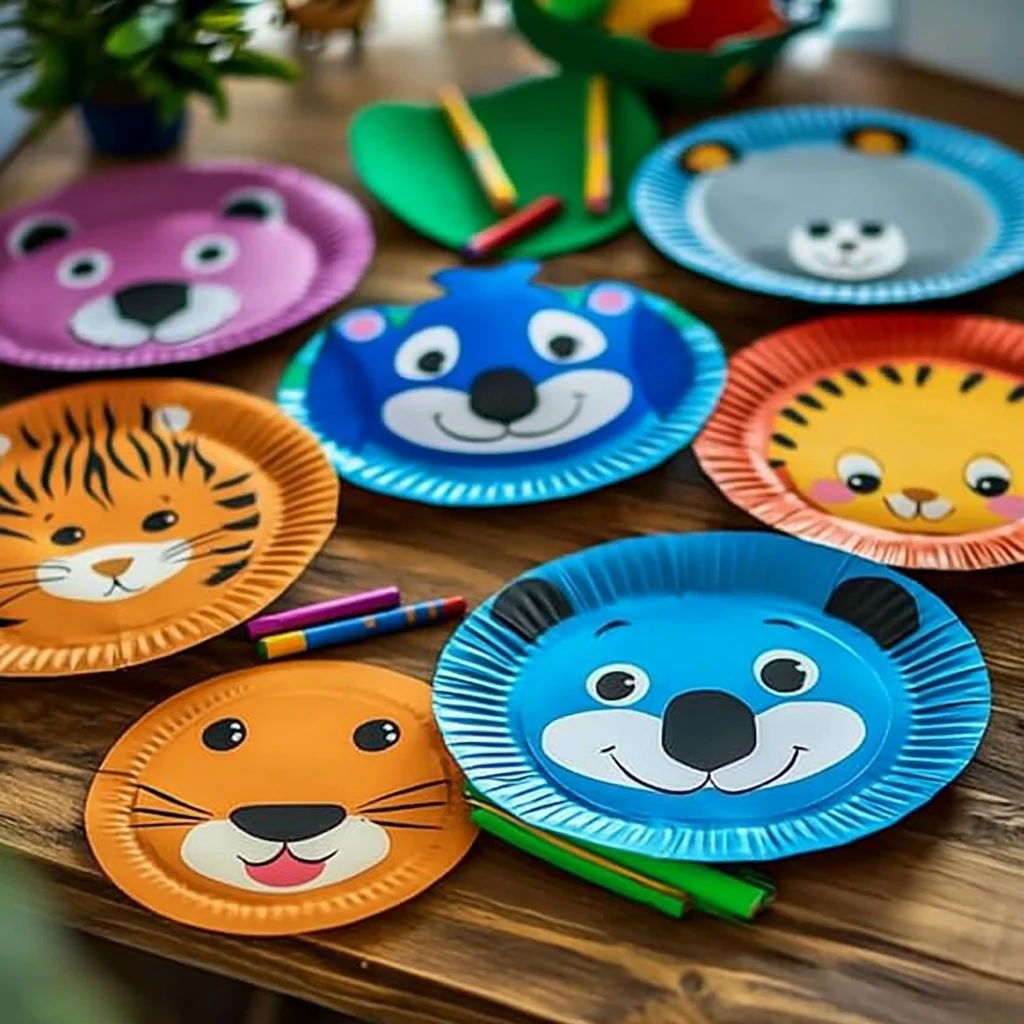
Creating a fun animal mask is an exciting DIY project that’s perfect for kids and adults alike! Whether you’re preparing for a costume party, a school project, or simply looking for a creative activity to bond over, this simple guide will help you make a vibrant and unique mask. Not only does crafting a mask allow for plenty of personalization, but it also encourages imaginative play. You can transform into your favorite animal and let your creativity run wild.
Plus, this engaging craft allows you to spend quality time with family or friends as you collaborate on designs and colors. Gather your materials, unleash your artistic side, and dive into this enjoyable activity that brings joy to everyone involved. Let’s get started on this animal mask adventure!
Why You’ll Love This Make a Fun Animal Mask
- Promotes Creativity: Allows you to express your artistic side with colors and designs.
- Easy to Follow: Simple step-by-step instructions make it accessible for all skill levels.
- Customizable: Personalize your mask to resemble your favorite animal or create a new fantasy creature.
- Builds Memories: Share the fun with friends or family to make lasting memories together.
- Affordable: Uses common materials you may already have at home.
Materials
- Cardstock or construction paper (any color)
- Scissors
- Glue stick or liquid glue
- Markers or crayons
- String or elastic band
- Hole puncher
- Optional: glitter, stickers, feathers, or other decorative items
Step-by-Step Instructions
1. Choose Your Animal
Decide which animal you want to represent. Consider the colors and features that stand out.
2. Create the Base
- Cut the Cardstock: Cut a large oval or circle out of the cardstock. This will be the main part of your mask.
- Eye Holes: Measure where your eyes are and cut out circles for the eyes.
3. Decorate the Mask
- Color and Design: Use markers or crayons to add features like fur, stripes, or spots.
- Adding Texture: Glue on decorative items such as feathers or glitter to give your mask character.
4. Attach the Elastic
- Punch Holes: Use the hole puncher to make holes on either side of the mask.
- String or Elastic: Draw the string or elastic through the holes and knot securely to fit your head comfortably.
5. Final Touches
- Check Fit: Try on your mask to ensure a snug fit. Make any adjustments necessary for comfortable wear.
- Show Off Your Creation: Enjoy your new mask and share your creation with others!
Tips & Variations
- Material Swaps: Use paper plates instead of cardstock for a lighter option.
- Different Animals: Try making a mythical creature or combining features of different animals.
- Add Props: Consider adding ears with additional paper cutouts or creating a tail to match your mask.
Frequently Asked Questions
-
Can I use fabric instead of paper for the mask?
- Yes, fabric can create a more durable and flexible mask. Just ensure to use a sturdy backing.
-
What can I use if I don’t have a hole punch?
- A sharp object like a skewer can be used to poke holes. Just be careful!
-
How can I make the mask more comfortable to wear?
- Ensure that the string or elastic fits snugly without being too tight. You can also use foam padding around the eye holes.
-
Is there a way to make the mask more secure?
- Instead of elastic, you could use a headband or tie a bandana around your head for added stability.
Serving Suggestions or Pairings
- Pair your mask with a fun dress-up outfit to complete the look.
- Enjoy some themed snacks, like animal-shaped cookies or fruit bites, while crafting and playing.
- Consider creating a mini photo booth area with props for fun photos!
Final Thoughts
Making a fun animal mask is a delightful way to unleash your creativity and have a blast with friends or family. Not only does it allow for individual expression, but it also brings people together for a fun experience. We hope you enjoy this DIY project and create fantastic memories along the way!
Feel free to share your versions of the mask or leave a comment about your experience. We’d love to hear about your creative adventures!
Print
DIY Fun Animal Mask
- Total Time: 15 minutes
- Yield: 1 animal mask
- Diet: N/A
Description
Create a vibrant animal mask with this simple DIY project, perfect for kids and adults alike.
Ingredients
- Cardstock or construction paper (any color)
- Scissors
- Glue stick or liquid glue
- Markers or crayons
- String or elastic band
- Hole puncher
- Optional: glitter, stickers, feathers, or other decorative items
Instructions
- Choose Your Animal: Decide which animal you want to represent.
- Create the Base: Cut a large oval or circle out of the cardstock and cut out circles for the eyes.
- Decorate the Mask: Use markers or crayons to add features and glue on decorative items.
- Attach the Elastic: Use the hole puncher to make holes on either side of the mask and draw the string or elastic through the holes.
- Final Touches: Try on your mask for fit and make adjustments.
Notes
You can use paper plates instead of cardstock for a lighter option and add props like ears or a tail for extra fun.
- Prep Time: 15 minutes
- Cook Time: 0 minutes
- Category: Crafts
- Method: Crafting
- Cuisine: N/A
Nutrition
- Serving Size: 1 mask
- Calories: 0
- Sugar: 0g
- Sodium: 0mg
- Fat: 0g
- Saturated Fat: 0g
- Unsaturated Fat: 0g
- Trans Fat: 0g
- Carbohydrates: 0g
- Fiber: 0g
- Protein: 0g
- Cholesterol: 0mg

