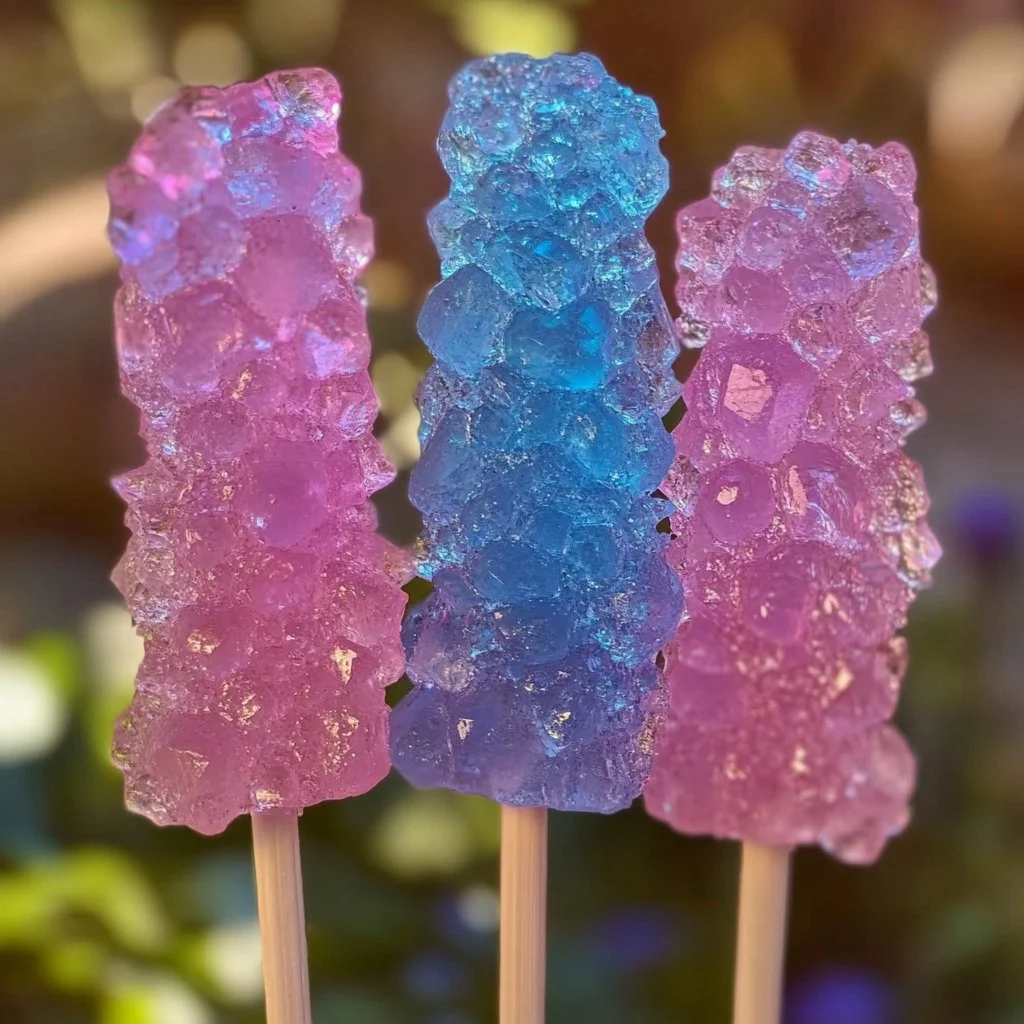
Homemade Rock Candy Recipe
Growing up in my grandmother’s kitchen, the air was often sweetened with the smell of molten sugar. Each winter, as the first frost adorned our windows, Grandma would gather us around the stove to make homemade rock candy. It was a tradition that filled our hearts with wonder and anticipation, transforming simple sugar and water into vibrant, sparkling crystals. I remember the joy of selecting flavors—mint, cherry, and even anise—and watching the magic unfold as the syrup cooled and crystallized. This delightful creation not only satisfied our sweet tooth but also became a cherished family bonding moment every winter.
Today, I’m excited to share this classic rock candy recipe with you. It captures the essence of my childhood—easy to make, customizable, and utterly delicious. Whether you’re looking for a fun weekend project with the kids or a unique gift for friends, this rock candy is sure to impress!
Why You’ll Love This Homemade Rock Candy
- Customizable Flavors: Experiment with your favorite extracts and colors.
- Kid-approved: An engaging activity for kids to help with (and enjoy).
- One-bowl recipe: All you need is a pot and a spoon!
- Great for gifts: Perfect for holidays, parties, or simply sharing with friends.
- Gluten-free and vegan: A sweet treat for nearly everyone.
Ingredients
- 2 cups granulated sugar
- 1 cup water
- 1 cup corn syrup
- 1 teaspoon flavor extract (e.g., vanilla, peppermint, or your choice)
- Food coloring (optional)
- Wooden skewers or clean cotton string
Step-by-Step Instructions
Step 1: Prepare the Skewers
- If using wooden skewers, soak them in water for at least 30 minutes to prevent burning in the hot syrup. If using string, tie it securely to a pencil or dowel.
Step 2: Make the Syrup
- In a medium saucepan, combine the sugar, water, and corn syrup.
- Heat gently over medium heat, stirring constantly until the sugar dissolves completely.
- Once dissolved, stop stirring and increase the heat to bring the mixture to a boil.
- Allow it to boil without stirring until it reaches 300°F (hard crack stage). This will take about 10–15 minutes.
Step 3: Add Flavor and Color
- Remove the pot from heat and carefully stir in your chosen flavor extract and food coloring. (Be cautious as the mixture is extremely hot!)
Step 4: Pour and Prepare to Cool
- Quickly pour the syrup into a glass or ceramic container, ensuring that the skewers or string are suspended in the syrup without touching the sides.
- Allow the mixture to cool at room temperature for several days. Crystals will form on the skewers or string during this time.
Step 5: Enjoy Your Rock Candy
- Once the crystals are formed, gently remove the skewers or string and let the rock candy dry for a few hours before enjoying.
Tips & Variations
- Flavor Swaps: Try using different extracts or a combination for unique flavors.
- Color Variations: Layer colors by pouring a layer of syrup, letting it cool slightly, adding another color, then repeating.
- Add-In Ideas: Consider incorporating crushed candies or spices for extra flavor.
Storage Instructions
- Store your rock candy in an airtight container at room temperature for up to two months.
Nutritional Information
- Prep Time: 10 minutes
- Cook Time: 15 minutes
- Total Time: 3 days (for crystallization)
- Calories per serving: Approximately 40 calories (for a small piece)
- Servings: Varies based on size of pieces
Frequently Asked Questions
1. Can I use different types of sugar (e.g., brown sugar)?
Yes, using brown sugar will give a different flavor and color—experiment to find your favorite!
2. How long do I need to let the rock candy sit to crystallize?
Aim for at least 3 days for the best crystal formation.
3. Can I use flavored extracts instead of food coloring?
Absolutely! Many extracts naturally have beautiful colors; just ensure they are food-safe.
4. What if my syrup doesn’t harden?
If the syrup doesn’t crystallize, it may not have reached the hard crack stage. Ensure your candy thermometer is accurate next time!
Serving Suggestions or Pairings
Pair your homemade rock candy with:
- A cup of hot chocolate or coffee for a sweet treat.
- Use as a decorative garnish on cakes or desserts.
- Serve alongside a cheese platter for a fun contrast.
Final Thoughts
Making homemade rock candy brings back fond memories and adds a delightful sweetness to any occasion. I hope you’ll give it a try and create your own memories in the kitchen! Please share your versions and experiences in the comments below—I would love to hear how your rock candy turned out! Happy candy-making!

