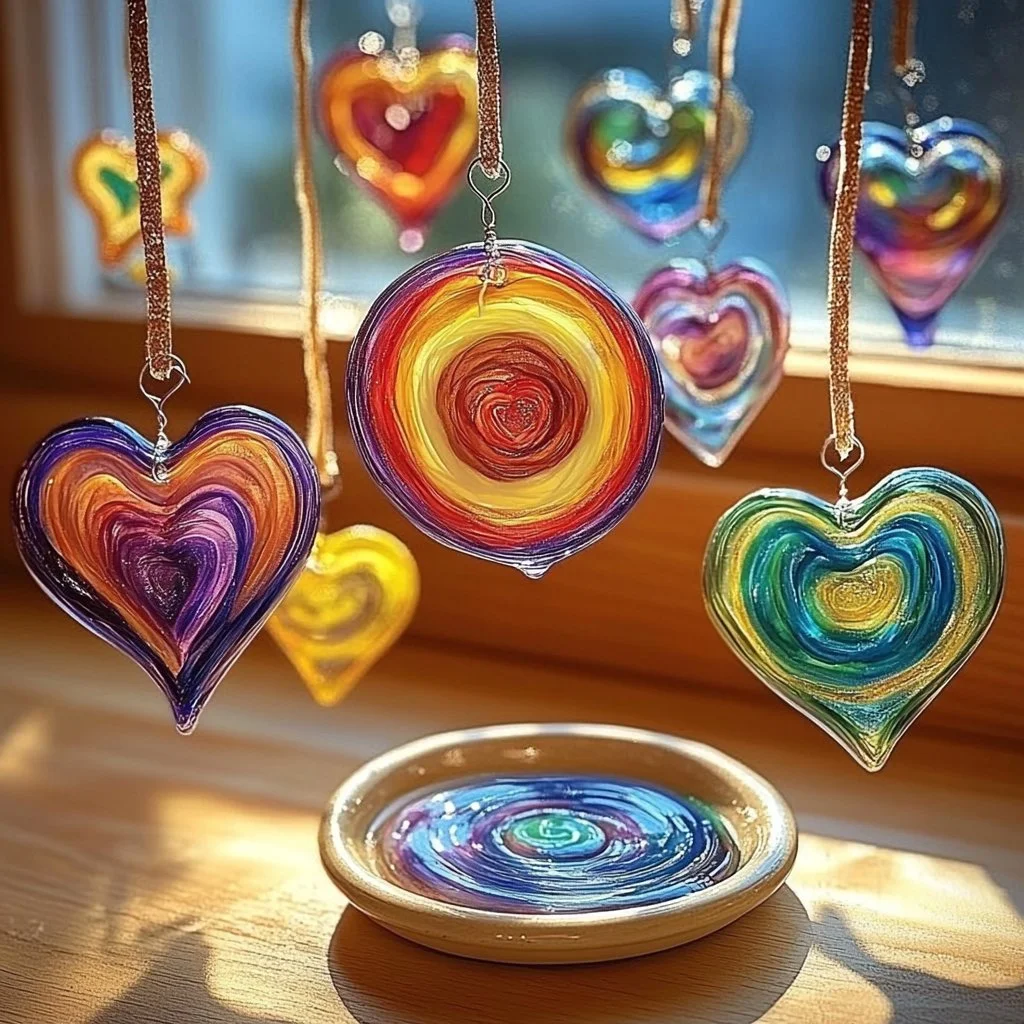
Crafting with glue suncatchers is a delightful activity that brightens up any space while encouraging creativity. This simple yet engaging project is perfect for both kids and adults alike. With just a few materials, you can create stunning pieces that catch the light beautifully. Whether you hang them in your windows or use them as unique gifts, glue suncatchers are a fun and easy way to express your artistic flair.
Why You’ll Love This Glue Suncatchers:
- Easy and Affordable: Uses common household items for a budget-friendly craft.
- Endless Creativity: Customize colors, shapes, and designs to reflect your personality.
- Sensory Experience: Enjoy the joy of mixing textures, colors, and the satisfaction of creation.
- Perfect for All Ages: Ideal for family bonding or solo crafting, suitable for kids and adults.
- Beautiful Decor: Brighten up windows or rooms with vibrant art that changes with the light.
Materials:
- White school glue or clear glue
- Wax paper or parchment paper
- Food coloring or liquid watercolors
- Scissors
- A small paintbrush (optional)
- Glitter (optional)
- Button holes or beads (optional)
Full Step-by-Step:
Step 1: Prepare Your Workspace
- Clear a flat surface to work on and lay down wax paper or parchment for easy cleanup.
Step 2: Mix Your Colors
- In separate containers, mix the white glue with your chosen food coloring or watercolor to create vibrant colors.
- Note: Add more color for bolder results or less for pastel shades.
Step 3: Create Your Design
- Use the paintbrush, or squeeze the colored glue directly from the container, to create your desired shapes on the wax paper.
- Experiment with different patterns, swirls, or even layering colors.
Step 4: Add Texture and Sparkle
- For added flair, sprinkle glitter or place beads/buttons within the glue designs.
Step 5: Let It Dry
- Allow the glue suncatchers to dry completely. This can take several hours or overnight.
Step 6: Peel and Hang
- Once dried, carefully peel the suncatchers from the wax paper and hang them in a sunny window to enjoy the colors!
Tips & Variations:
- Customize Shapes: Use cookie cutters as stencils for shapes.
- Layering Colors: Try layering different colors for a more complex design.
- Seasonal Themes: Create designs that reflect holidays or seasons (e.g., snowflakes for winter).
- Swap Materials: Try using clear acrylic paint instead of glue for a different finish.
Frequently Asked Questions:
Q1: Can I use other types of glue?
A1: Yes, clear craft glue or even silicone glue will work, but avoid heavy adhesives that take longer to dry.
Q2: How do I store leftover glue mixture?
A2: Seal the leftover glue mixture in an airtight container to use later, but it may not last as long once mixed with colors.
Q3: Will the suncatchers last long outdoors?
A3: Glue suncatchers are best for indoor use as sunlight may degrade them over time.
Q4: Can I make them with younger children?
A4: Yes, this project is suitable for all ages! For younger children, assist with glue applications and ensure safety with scissors.
Suggestions:
- Consider hosting a glue suncatcher party with friends or family for a fun gathering.
- Try incorporating natural elements like leaves or flowers between glue layers for a unique twist.
- Use suncatchers as bookmarks or gifts by adding a personal touch with notes or messages.
Final Thoughts
Creating glue suncatchers is not just a craft; it’s an opportunity to express your creativity and enjoy the beautiful results. We encourage you to share your versions of this project or leave a comment with your thoughts! Happy crafting!
Print
Glue Suncatchers Craft
- Total Time: 15 minutes
- Yield: 5 suncatchers
- Diet: N/A
Description
Craft stunning glue suncatchers that brighten any space while promoting creativity for all ages.
Ingredients
- White school glue or clear glue
- Wax paper or parchment paper
- Food coloring or liquid watercolors
- Scissors
- A small paintbrush (optional)
- Glitter (optional)
- Button holes or beads (optional)
Instructions
- Prepare Your Workspace: Clear a flat surface to work on and lay down wax paper or parchment for easy cleanup.
- Mix Your Colors: In separate containers, mix the white glue with your chosen food coloring or watercolor to create vibrant colors.
- Create Your Design: Use the paintbrush or squeeze the colored glue directly from the container to create desired shapes on the wax paper.
- Add Texture and Sparkle: Sprinkle glitter or place beads/buttons within the glue designs for added flair.
- Let It Dry: Allow the glue suncatchers to dry completely, which can take several hours or overnight.
- Peel and Hang: Once dried, carefully peel the suncatchers from the wax paper and hang them in a sunny window.
Notes
Try customizing shapes with cookie cutters or layering colors for unique designs. These suncatchers are perfect for seasonal themes!
- Prep Time: 15 minutes
- Cook Time: 0 minutes
- Category: Craft
- Method: Crafting
- Cuisine: N/A
Nutrition
- Serving Size: 1 suncatcher
- Calories: 0
- Sugar: 0g
- Sodium: 0mg
- Fat: 0g
- Saturated Fat: 0g
- Unsaturated Fat: 0g
- Trans Fat: 0g
- Carbohydrates: 0g
- Fiber: 0g
- Protein: 0g
- Cholesterol: 0mg

