- Introduction
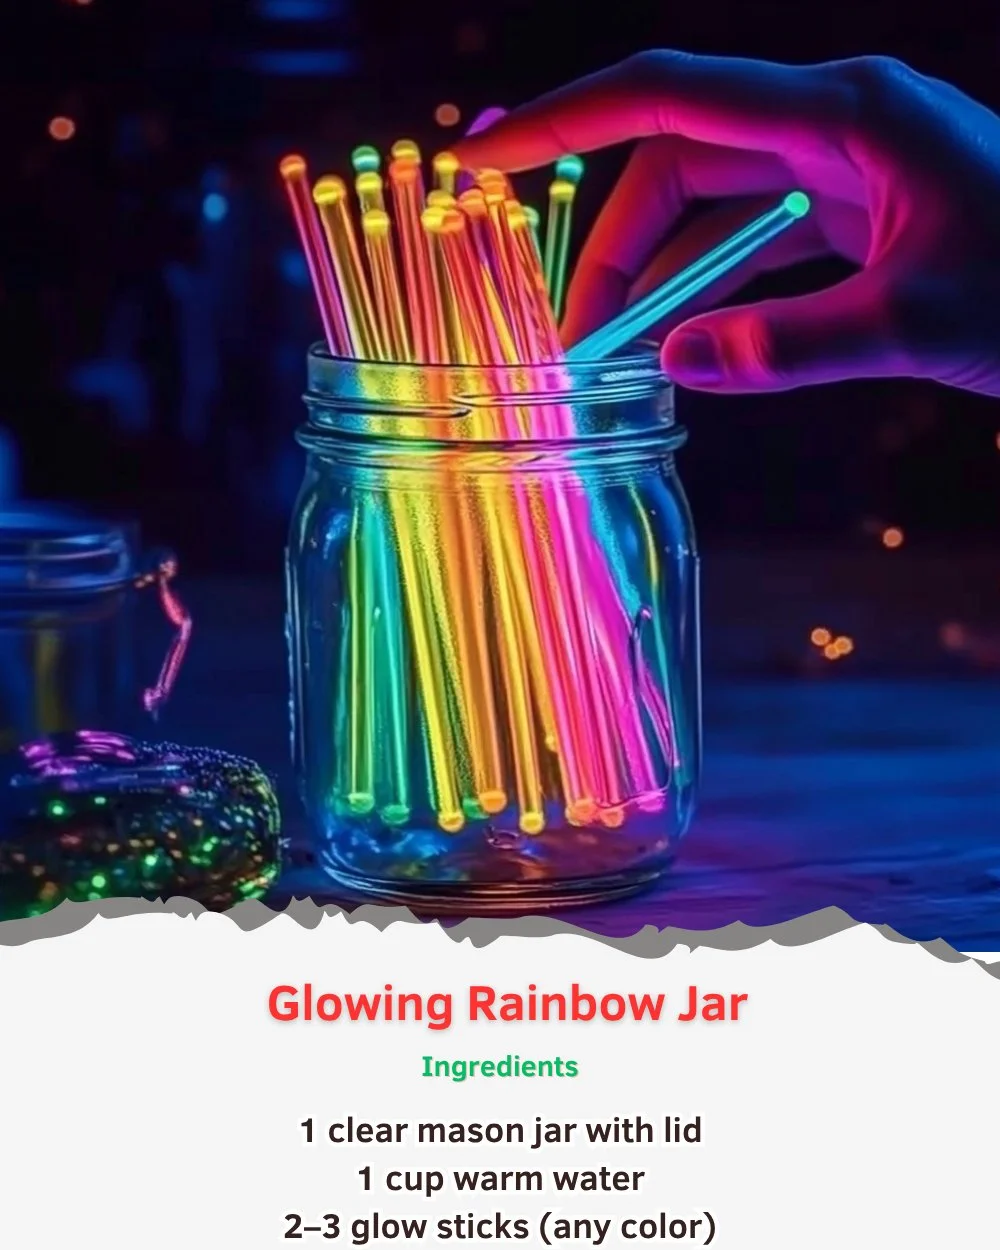
Creating your own Glowing Rainbow Jar is not only a fun DIY project but also a fantastic way to bring a bit of magic into your home. This eye-catching craft combines vibrant colors and glowing elements to transform a simple jar into a beautiful decorative piece. Perfect for parties, nightlights, or as a whimsical gift, this glowing creation will surely enchant both kids and adults alike. In just a few steps, you can explore your creative side while making a stunning jar that lights up in the dark. Let’s dive into how you can create this mesmerizing piece that brightens any space!
- Why You’ll Love This Glowing Rainbow Jar
- Stunning Visual: The rainbow colors combined with a glowing effect create a breathtaking display.
- Customizable: Tailor the colors and glow-in-the-dark effects to suit your personal style or theme.
- Safe and Easy: This DIY project uses non-toxic materials and is suitable for all ages.
- Great Gift Idea: Perfect for birthdays, holidays, or as a heartfelt gift.
- Fun Activity: A great way to spend time with family or friends while crafting and experimenting.
- Materials
- Clear glass or plastic jar with a lid
- Glow-in-the-dark paint (multiple colors)
- Paintbrushes
- White school glue
- Water
- Glitter (optional for extra sparkle)
- Small LED battery-operated light (optional for enhanced glow)
- Paper towels or a cloth
- Step-by-Step Instructions
Prepare the Jar
- Clean the Jar: Start by washing the jar thoroughly with soap and water. Dry it well with a cloth.
- Protect the Surface: Lay down paper towels or a cloth to protect your workspace.
Mix the Paint
- Combine Ingredients: In a separate container, mix glow-in-the-dark paint with a little water and white school glue. This will create a smooth, spreadable mixture.
- Add Glitter: Optionally, add some glitter to the mixture for extra shimmer.
Paint the Jar
- Paint the Inside: Use different colors of the mixture to paint the inside of the jar. Apply it in a swirling or striped motion to create a rainbow effect.
- Layering Colors: Don’t be afraid to mix colors together for a blended look. Allow the paint to dry between layers for enhanced vibrancy.
Final Touches
- Add LED Light: If desired, place a small LED light inside the jar for an extra glow when the lights are off.
- Seal the Jar: Put the lid on the jar to keep the paint safe and protected.
- Tips & Variations
- Color Swaps: Feel free to use any colors you love, or match them to a specific room’s decor.
- Different Jars: Experiment with different types and sizes of jars for unique effects.
- Glow Enhancements: Try using different glow-in-the-dark brands to find the most effective ones.
- Theme Inspiration: Create themed jars for holidays or special events (e.g., red and green for Christmas).
- Frequently Asked Questions
-
Can I use acrylic paint instead of glow-in-the-dark paint?
- Yes, but the jar won’t glow. Consider mixing both for a colorful effect during the day.
-
How long will the glow last?
- The glow effect can last several hours, but it depends on how well the paint charges in light.
-
Is this project safe for kids?
- Yes, as long as adults supervise, especially during the painting process, to avoid spills and ensure the use of non-toxic materials.
-
What if I don’t have glow-in-the-dark paint?
- You can make a DIY glow paint using regular paint mixed with luminescent powder; check craft stores for options.
- Serving Suggestions or Pairings
- Pair your glowing jar with cozy drinks like hot chocolate or herbal tea for a relaxing evening ambiance.
- Use as a centerpiece alongside fairy lights, candles, or floral arrangements for enhanced decoration at events.
- Gift with a personalized note or candy jar to make it feel even more special.
- Final Thoughts
Creating a Glowing Rainbow Jar is a delightful and fulfilling project that adds a touch of whimsy to your surroundings. This vibrant craft not only allows you to express your creativity but also brings light into dark spaces. We hope you enjoy crafting your own unique version! Please share your creations or leave a comment below – we can’t wait to see your glowing masterpieces!
Print
Glowing Rainbow Jar
- Total Time: 45 minutes
- Yield: 1 jar
- Diet: N/A
Description
A fun DIY project to create a beautiful, glowing rainbow jar that adds magic to your home.
Ingredients
- Clear glass or plastic jar with a lid
- Glow-in-the-dark paint (multiple colors)
- Paintbrushes
- White school glue
- Water
- Glitter (optional for extra sparkle)
- Small LED battery-operated light (optional for enhanced glow)
- Paper towels or a cloth
Instructions
- Clean the jar thoroughly with soap and water and dry it with a cloth.
- Lay down paper towels or a cloth to protect your workspace.
- In a separate container, mix glow-in-the-dark paint with a little water and white school glue.
- Optionally, add glitter to the mixture for extra shimmer.
- Use different colors to paint the inside of the jar in a swirling or striped motion.
- Allow the paint to dry between layers for enhanced vibrancy.
- If desired, place a small LED light inside the jar for an extra glow when the lights are off.
- Put the lid on the jar to keep the paint safe and protected.
Notes
Feel free to customize colors and experiment with different jar types for unique effects.
- Prep Time: 15 minutes
- Cook Time: 30 minutes
- Category: Craft
- Method: DIY
- Cuisine: N/A
Nutrition
- Serving Size: 1 jar
- Calories: N/A
- Sugar: N/A
- Sodium: N/A
- Fat: N/A
- Saturated Fat: N/A
- Unsaturated Fat: N/A
- Trans Fat: N/A
- Carbohydrates: N/A
- Fiber: N/A
- Protein: N/A
- Cholesterol: N/A

