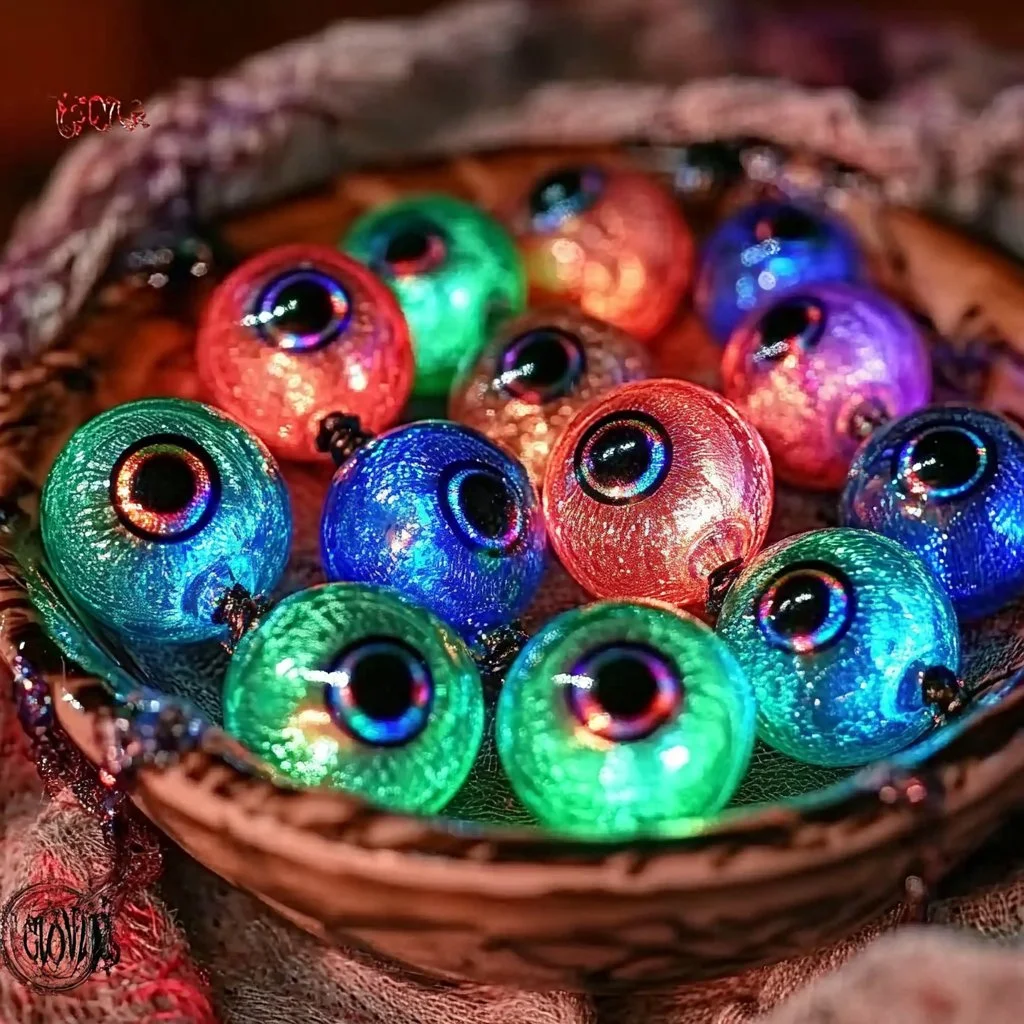
Are you ready to unleash your creativity and add a bit of whimsy to your crafts? These glowing eyeball beads are not just fun to make; they’re also a fantastic way to incorporate glow effects into your DIY projects. Whether you’re creating jewelry, embellishments for costumes, or spooky décor for Halloween, this simple yet captivating technique will leave a lasting impression. With just a few materials and easy-to-follow steps, you will have a batch of mesmerizing eyeball beads that glow in the dark. Dive into this delightful craft and let your imagination run wild!
Why You’ll Love This Glowing Eyeball Beads
- Unique Craft: Stand out with quirky, eye-catching accessories.
- Easy to Make: Perfect for crafters of all skill levels—quick and straightforward.
- Glow in the Dark: Adds a magical touch, especially for nighttime events.
- Customizable: Use different colors and sizes to fit your style.
- Great for All Occasions: Ideal for Halloween, themed parties, or general craft projects.
Materials
- Clear craft beads
- Glow-in-the-dark paint or glow powder
- Black paint or permanent marker
- Paintbrush or sponge
- Small bowls for mixing
- Water (if needed for paint)
- Oven or heat source (if using polymer clay beads)
Step-by-Step Instructions
1. Preparation
- Gather all materials on a clean, flat surface.
- If using polymer clay beads, preheat the oven according to the manufacturer’s instructions.
2. Painting the Eyeballs
- In a small bowl, mix glow-in-the-dark paint as per the instructions.
- Use a paintbrush or sponge to coat the clear craft beads. Ensure an even coverage for the best glow effect.
3. Creating the Iris and Pupil
- Once the glowing layer is dry, use black paint or a permanent marker to create a pupil in the center of each bead.
- Add colorful accents around the pupil to form the iris, if desired.
4. Curing (if using polymer clay)
- If using polymer clay beads, place them on a baking sheet and bake as directed to set the paint.
5. Let It Dry
- Allow the beads to dry thoroughly, preferably overnight, to maximize the glow effect.
Tips & Variations
- Color Variations: Experiment with different shades of glow-in-the-dark paint, such as green, blue, or even multi-colored beads.
- Adding Texture: Try using a sponge to add texture to the eyes for a more realistic look.
- Larger Beads: Use bigger beads for bold statement pieces, or smaller ones for delicate creations.
- Mixing Materials: Incorporate other materials like glitter for added sparkle and visual interest.
Frequently Asked Questions
Q: Can I use any type of paint for this project?
A: While glow-in-the-dark paint works best, you can use acrylic paint for the iris and pupil details.
Q: Will the glow effect last after washing?
A: If treated carefully, the glow should last, but frequent washing may reduce its effectiveness. Hand wash items when possible.
Q: Can I use LED lights instead of glow paint?
A: Yes! Small LED lights can be used for a brighter effect, especially in jewelry making.
Q: How do I store the beads after making them?
A: Store them in a cool, dry place away from direct sunlight to preserve the glow effect.
Serving Suggestions or Pairings
Pair these glowing eyeball beads with a spooky cocktail such as a black cherry soda or a Halloween-inspired punch. They also look great embellished on ghostly treats, like cupcakes topped with whipped cream and a sprinkle of edible glitter.
Final Thoughts
These glowing eyeball beads are an enchanting addition to various crafts, combining creativity with a bit of fun. So why not start making your own? Share your unique versions in the comments below, and let’s inspire each other with glowing creations! Happy crafting!
Print
Glowing Eyeball Beads
- Total Time: 45 minutes
- Yield: 1 batch
- Diet: N/A
Description
Create mesmerizing glowing eyeball beads perfect for jewelry, costumes, or spooky décor.
Ingredients
- Clear craft beads
- Glow-in-the-dark paint or glow powder
- Black paint or permanent marker
- Paintbrush or sponge
- Small bowls for mixing
- Water (if needed for paint)
- Oven or heat source (if using polymer clay beads)
Instructions
- Gather all materials on a clean, flat surface. If using polymer clay beads, preheat the oven according to the manufacturer’s instructions.
- In a small bowl, mix glow-in-the-dark paint as per the instructions. Use a paintbrush or sponge to coat the clear craft beads for an even glow effect.
- Once the glowing layer is dry, use black paint or a permanent marker to create a pupil in the center of each bead. Add colorful accents for the iris if desired.
- If using polymer clay beads, place them on a baking sheet and bake as directed to set the paint.
- Allow the beads to dry thoroughly, preferably overnight, to maximize the glow effect.
Notes
Experiment with different shades of glow-in-the-dark paint and try adding textures or glitter for enhanced designs.
- Prep Time: 15 minutes
- Cook Time: 30 minutes
- Category: Craft
- Method: DIY
- Cuisine: N/A
Nutrition
- Serving Size: 1 bead
- Calories: 5
- Sugar: 0g
- Sodium: 0mg
- Fat: 0g
- Saturated Fat: 0g
- Unsaturated Fat: 0g
- Trans Fat: 0g
- Carbohydrates: 1g
- Fiber: 0g
- Protein: 0g
- Cholesterol: 0mg

