Introduction
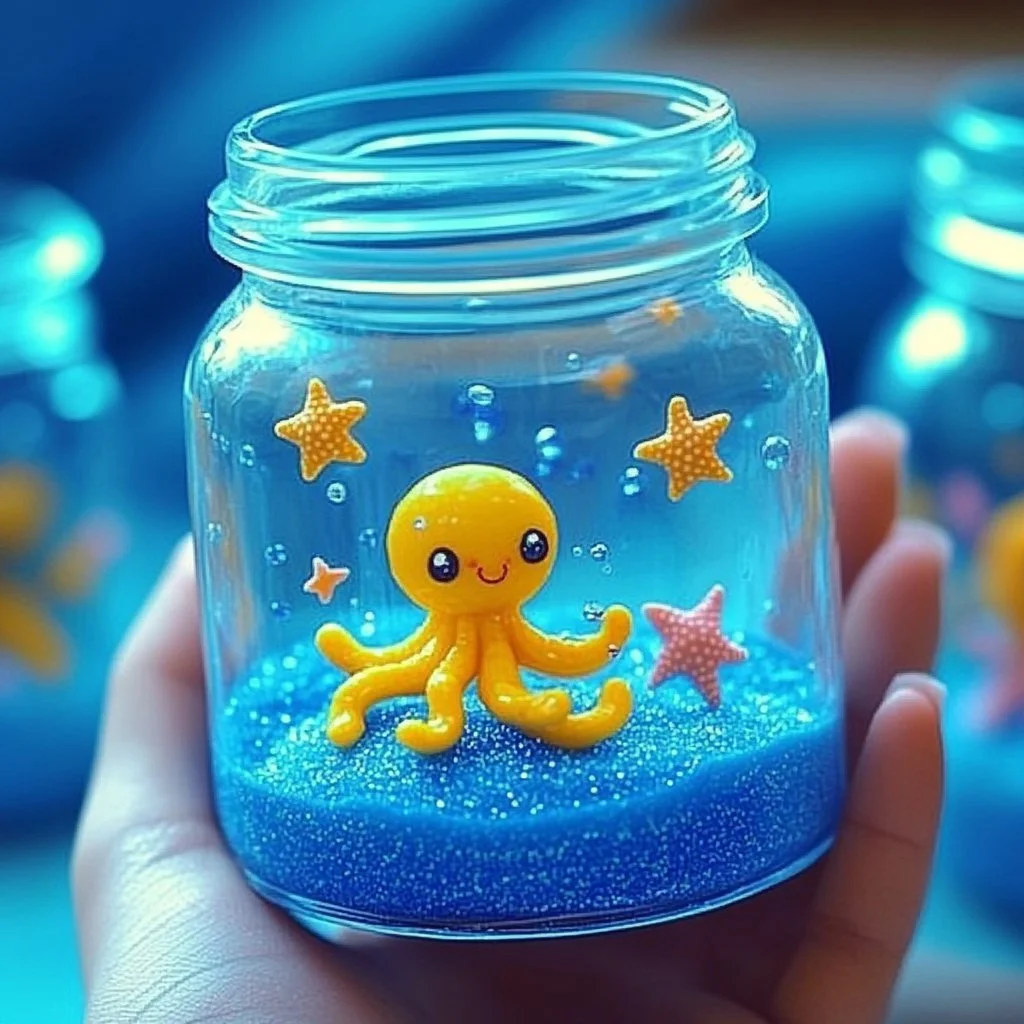
Creating your own Glitter Ocean Mini Slime Jars is a delightful craft that offers a sensory experience blending creativity and fun. Not only is it a joyful activity for children, but it’s also an engaging project for anyone looking to unwind and let their imagination flow. The sparkling textures and vibrant colors of this slime mimic the enchanting qualities of the ocean, making it the perfect addition to sensory play or a whimsical decoration. Plus, it allows for customization, so you can infuse your unique style into each jar. Dive into the world of DIY slime and bring a piece of the ocean home with you!
Why You’ll Love This Glitter Ocean Mini Slime Jars
- Sensory Play: Engages touch, sight, and creativity.
- Customizable: Easily adjust colors and textures to your liking.
- Safe Materials: Made with non-toxic ingredients.
- Easy to Make: Simple steps that can be done quickly.
- Great for Parties: Perfect as a party favor or craft activity.
- Stress Relief: Fun to squish and stretch, great for stress relief.
- Educational: Teaches basic science concepts like mixing and reactions.
Materials
- Clear school glue (1 cup)
- Baking soda (1/2 teaspoon)
- Contact lens solution (1 tablespoon)
- Food coloring (blue and green for ocean effect)
- Glitter (blue, green, and silver)
- Small jars with lids (for storage)
- Mixing bowl
- Spoon or spatula
Step-by-Step Instructions
Step 1: Prepare the Base
- In a mixing bowl, pour 1 cup of clear school glue.
- Add 1/2 teaspoon of baking soda and mix thoroughly.
Step 2: Color Your Slime
- Add a few drops of blue and green food coloring to the mixture.
- Stir until the colors blend beautifully to resemble ocean waters.
Step 3: Add the Sparkle
- Sprinkle in the glitter (feel free to mix colors for a dynamic effect).
- Mix until the glitter is evenly distributed throughout the slime.
Step 4: Activate the Slime
- Gradually stir in 1 tablespoon of contact lens solution.
- You will see the slime start to form; continue mixing until you achieve a gooey consistency.
Step 5: Knead the Slime
- Once combined, use your hands to knead the slime gently, allowing it to become more cohesive and fun to play with.
Step 6: Store Your Creation
- Divide the slime into small jars. Seal with lids and store in a cool, dry place.
Tips & Variations
- Scent It Up: Add a few drops of ocean-themed fragrance oils for a scented experience.
- Texture Additions: Mix in foam beads for extra texture.
- Color Swap: Use different colors to represent various ocean themes (coral, deep sea, etc.).
- Glow-in-the-Dark: Use glow-in-the-dark glue for a fun nighttime surprise.
Frequently Asked Questions
Q1: Can I use white glue instead of clear glue?
A1: Yes, white glue can be used, but it will make your slime opaque rather than translucent.
Q2: What can I substitute for contact lens solution?
A2: You can use borax diluted in water as an alternative activator.
Q3: How can I fix my slime if it’s too sticky?
A3: Knead in a bit more contact lens solution until it reaches the desired consistency.
Q4: How long does this slime last?
A4: When stored properly in sealed jars, this slime can last for several weeks.
Serving Suggestions or Pairings
Consider pairing your Glitter Ocean Mini Slime Jars with refreshing ocean-inspired drinks, such as coconut water or blueberry lemonade. For added fun, serve them alongside ocean-themed snacks like fish-shaped crackers or blue Jello cups.
Final Thoughts
Creating your Glitter Ocean Mini Slime Jars is not just a fun craft; it’s an opportunity for creativity and relaxation. We hope you enjoy making and customizing your own jars as much as we did. Don’t forget to share your versions or leave a comment with your experiences! Dive in and let your imagination swim free!
Print
Glitter Ocean Mini Slime Jars
- Total Time: 10 minutes
- Yield: 4 jars 1x
- Diet: N/A
Description
Create your own Glitter Ocean Mini Slime Jars for sensory play or whimsical decoration. Customize colors and textures for a unique experience.
Ingredients
- 1 cup clear school glue
- 1/2 teaspoon baking soda
- 1 tablespoon contact lens solution
- Blue and green food coloring
- Glitter (blue, green, and silver)
- Small jars with lids (for storage)
- Mixing bowl
- Spoon or spatula
Instructions
- In a mixing bowl, pour 1 cup of clear school glue and add 1/2 teaspoon of baking soda. Mix thoroughly.
- Add a few drops of blue and green food coloring to the mixture and stir until well blended.
- Sprinkle in the glitter and mix until evenly distributed throughout the slime.
- Gradually stir in 1 tablespoon of contact lens solution until the slime starts to form; mix until gooey consistency is achieved.
- Knead the slime gently with your hands until it becomes cohesive.
- Divide the slime into small jars, seal with lids, and store in a cool, dry place.
Notes
Add ocean-themed fragrance oils for a scented experience, or mix in foam beads for extra texture. Use glow-in-the-dark glue for added fun!
- Prep Time: 10 minutes
- Cook Time: 0 minutes
- Category: Craft
- Method: DIY Craft
- Cuisine: N/A
Nutrition
- Serving Size: 1 jar
- Calories: N/A
- Sugar: N/A
- Sodium: N/A
- Fat: N/A
- Saturated Fat: N/A
- Unsaturated Fat: N/A
- Trans Fat: N/A
- Carbohydrates: N/A
- Fiber: N/A
- Protein: N/A
- Cholesterol: N/A

