- Introduction
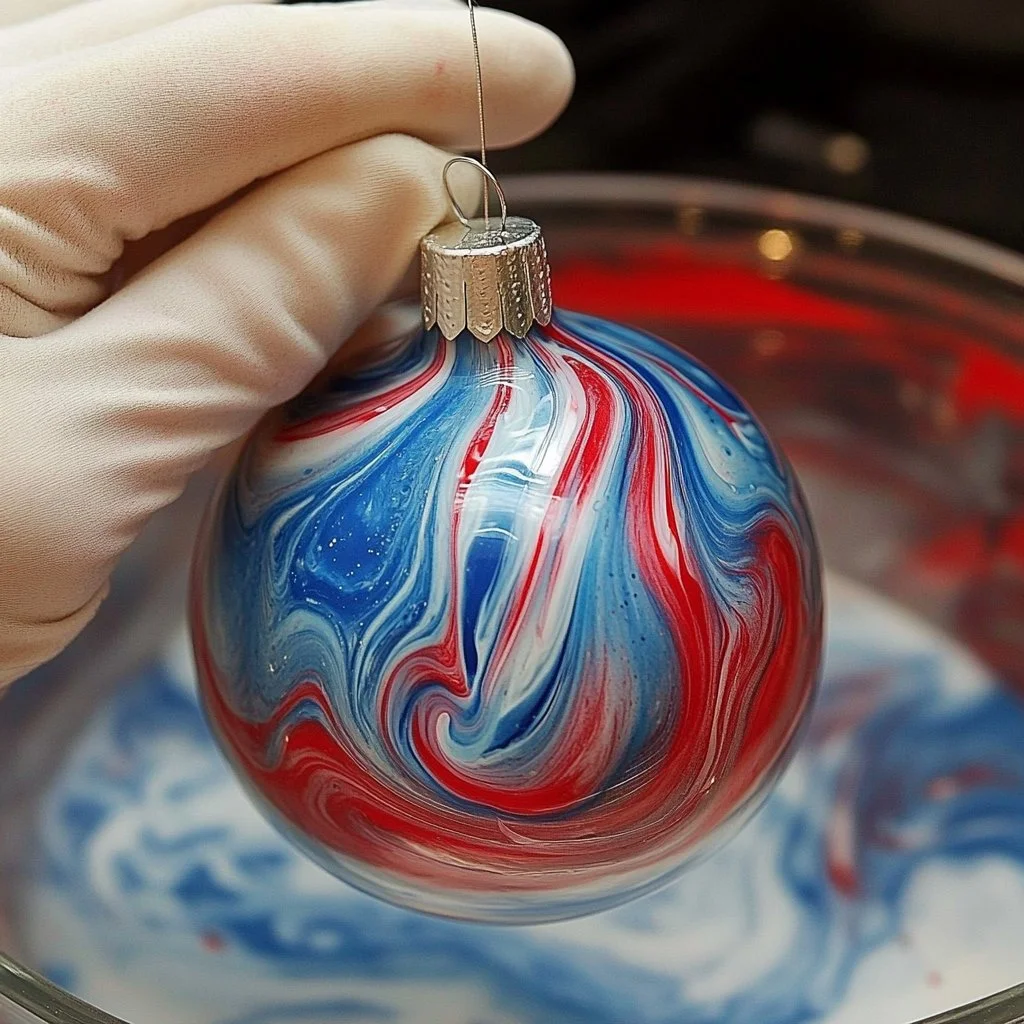
The holiday season is filled with joy, warmth, and, of course, creativity. One of the most enchanting ways to celebrate is by crafting festive marbled ornaments. Not only do they add a personal touch to your holiday decor, but they also make for wonderful gifts that showcase your artistic flair. This DIY project is simple, fun, and perfect for all ages, making it an excellent activity for families or gatherings. In this guide, you’ll discover how to create stunning marbled ornaments that will undoubtedly become beloved keepsakes. Bring your imagination to life and delight in the happiness these ornaments will bring to your home!
- Why You’ll Love This Festive Marbled Ornaments
- Unique and Personalized: Each ornament is one-of-a-kind with its beautiful marbled patterns.
- Easy to Make: Perfect for crafters of all skill levels, including kids.
- Great for Groups: A fantastic activity for parties or family gatherings.
- Versatile Designs: Customize colors to match your holiday decor.
- Thoughtful Gifts: Handmade ornaments make heartfelt presents for friends and family.
- Materials
- Clear glass or plastic ornaments
- Acrylic paints in various colors
- Hairdryer or heat gun (optional)
- Disposable cups for paint
- Toothpicks or skewers
- Craft gloves (optional)
- Paper towels
- Ribbon or twine (for hanging)
- Step-by-Step Instructions
Prepare Your Workspace
- Cover your work area with paper to catch paint drips and spills.
- Gather all materials within reach for convenience.
Mix Your Colors
- Pour a small amount of each acrylic paint into separate cups.
- Use varying colors to create vibrant marbled effects.
Add Paint to Ornaments
- Carefully remove the top of the ornament.
- Pour a few drops of different paint colors into the ornament.
- Swirl the colors around gently with a toothpick to create a marbled effect.
Dry Your Ornaments
- If desired, use a hairdryer on a low setting to slightly warm the ornament, helping the paint settle and expand.
- Set the ornaments upside down in a cup to allow excess paint to drain.
Final Touches
- Once dry, replace the top of the ornament.
- Add ribbon or twine for hanging.
- Tips & Variations
- Color Combinations: Experiment with metallic paints for a festive shimmer.
- Layering: Add more layers of paint for deeper marbling effects.
- Theme Ornaments: Use seasonal colors (like red, green, and gold for Christmas) or pastels for spring celebrations.
- Scented Ornaments: Add a few drops of essential oils for a lovely aroma.
- Frequently Asked Questions
Q: Can I use other types of paint?
A: While acrylic paint is recommended for its fast-drying properties, you can experiment with other paints, but results may vary.
Q: What if I accidentally spill paint?
A: Don’t worry! Just clean it up immediately with paper towels before it dries.
Q: How do I make the paint look more uniform?
A: Allow the colors to sit longer before swirling for a softer marbled effect.
Q: Are these ornaments safe for children?
A: Yes, but supervise small children when using sharp tools like toothpicks.
-
Serving Suggestions or Pairings
These decorative marbled ornaments can be hung on the tree, used as gift toppers, or even displayed on a festive table. Pair your creations with warm cider, hot cocoa, or a light holiday punch for drinks that enhance the festive spirit. -
Final Thoughts
Creating these festive marbled ornaments is a delightful way to embrace the holiday season with creativity and personal touch. We hope you find joy in this DIY project as much as we do! Don’t forget to share your versions and thoughts in the comments. Happy crafting!

Festive Marbled Ornaments
- Total Time: 15 minutes
- Yield: 10 ornaments
- Diet: N/A
Description
Craft stunning marbled ornaments this holiday season with our simple DIY guide, perfect for all ages.
Ingredients
- Clear glass or plastic ornaments
- Acrylic paints in various colors
- Hairdryer or heat gun (optional)
- Disposable cups for paint
- Toothpicks or skewers
- Craft gloves (optional)
- Paper towels
- Ribbon or twine (for hanging)
Instructions
- Prepare Your Workspace: Cover your work area with paper to catch paint drips and spills. Gather all materials within reach for convenience.
- Mix Your Colors: Pour a small amount of each acrylic paint into separate cups.
- Add Paint to Ornaments: Carefully remove the top of the ornament. Pour a few drops of different paint colors into the ornament. Swirl the colors around gently with a toothpick to create a marbled effect.
- Dry Your Ornaments: If desired, use a hairdryer on a low setting to slightly warm the ornament, helping the paint settle and expand. Set the ornaments upside down in a cup to allow excess paint to drain.
- Final Touches: Once dry, replace the top of the ornament. Add ribbon or twine for hanging.
Notes
Experiment with metallic paints for a shimmer, and add essential oils for scented ornaments.
- Prep Time: 15 minutes
- Cook Time: 0 minutes
- Category: Craft
- Method: Crafting
- Cuisine: N/A
Nutrition
- Serving Size: 1 ornament
- Calories: 0
- Sugar: 0g
- Sodium: 0mg
- Fat: 0g
- Saturated Fat: 0g
- Unsaturated Fat: 0g
- Trans Fat: 0g
- Carbohydrates: 0g
- Fiber: 0g
- Protein: 0g
- Cholesterol: 0mg

