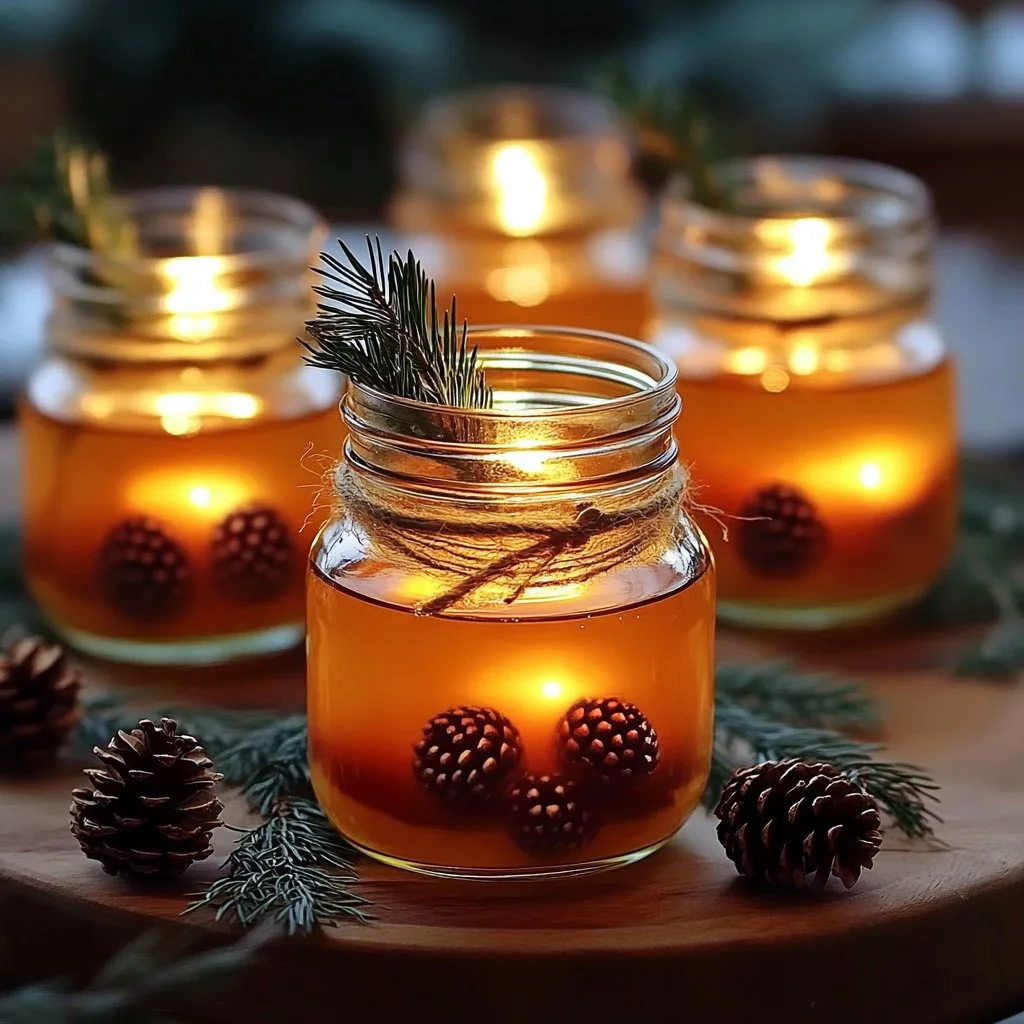
DIY Mason Jar Oil Lamps
Growing up, my grandmother had a way of turning the simplest of nights into magical gatherings, especially as the sun began to set and the world softened into dusk. One of my fondest memories is of her crafting oil lamps from mason jars, filling them with fragrant oils and curling wicks. As we lit them, the gentle glow would cast shadows on the walls, inviting storytelling and laughter. This charming tradition during summer evenings brought warmth and a sense of togetherness that I cherish dearly.
This recipe is special not just for its nostalgic value but also for its eco-friendly twist. With the changing seasons, the desire to brighten our outdoor spaces becomes even more urgent, and these DIY mason jar oil lamps are the perfect touch! They are easy to make and versatile, allowing you to customize them to your heart’s content with your favorite scents or colors.
Get ready to light up your evenings with a delightful and aromatic atmosphere that will transport you back to those cherished moments spent under the soft glow of homemade lamps.
Why You’ll Love This DIY Mason Jar Oil Lamps
- Eco-Friendly: Reuse mason jars to create beautiful, functional décor.
- Customizable: Choose from various oils and scents to create a personalized touch.
- Simple to Make: Perfect for beginners and a fun project for the whole family.
- Seasonal: Ideal for summer nights, garden parties, or cozy indoor gatherings.
- Budget-Friendly: Create stunning ambiance without breaking the bank.
Ingredients
- 2 Mason jars (pint or quart size)
- 1 cup of olive oil (or other vegetable oils)
- 2 cotton wicks (you can purchase or make them from cotton string)
- Optional: Essential oils (e.g., lavender, lemon, eucalyptus) for fragrance
- Optional: Dried herbs or flowers for decoration (e.g., rosemary, lavender)
Step-by-Step Instructions
Prepare Your Jars
- Clean the Jars: Rinse your mason jars thoroughly and let them dry completely.
- Add Oils: Pour 1 cup of olive oil into each jar, leaving some space at the top.
Add Fragrance
- Scent It Up: If desired, mix in a few drops of essential oils to your oil. Stir gently.
Insert Wicks
- Prepare Wicks: If your wicks aren’t pre-made, cut cotton string to about 6 inches.
- Attach Wicks: Dip the end of each wick into the oil to saturate it. Place one wick in each jar, ensuring that it stands upright and is partially submerged in the oil.
Decorate
- Add Herbal Accents: If using dried herbs or flowers, add them to the oil around the wick for an extra touch of beauty.
Light It Up
- Let It Absorb: Allow the wicks to soak up the oil for about 30 minutes before lighting.
- Light the Wicks: Carefully ignite the wicks with a long lighter.
Safety First
- Keep away from flammable objects and never leave unattended while lit.
Tips & Variations
- Wave Goodbye to Bugs: Add citronella oil to deter mosquitoes.
- Colorful Glow: Use colored glass jars for an added visual effect.
- Change it Up: Experiment with different essential oil blends for unique aromas.
- Seasonal Decor: Tie seasonal themes using ribbons or natural twine around the jar’s neck.
Storage Instructions
- Unused Oil: Store any leftover oil in a sealed container in a cool, dark place.
- Reheating: Wicks can be reused; simply refill the jars with oil and soak wicks again.
Nutritional Information
- Prep time: 10 minutes
- Cook time: 0 minutes (burn time varies)
- Total time: 10 minutes + soak time
- Calories per serving: N/A (oil lamps are not for consumption)
- Servings: Varies depending on burn time
Frequently Asked Questions
-
Can I use scented candles instead of oil?
- Yes, but they won’t provide the same ambiance or flexibility as using oil.
-
What can I substitute for wicks?
- You can use any 100% cotton string or look for wicks specifically for oil lamps.
-
How long do the lamps burn?
- Depending on wick size and oil amount, they can burn for several hours to a few nights.
-
Is it safe to leave them unattended?
- No, always monitor the lamps while they are lit for safety.
Serving Suggestions or Pairings
- Pair your lamps with soft, ambient music and cozy blankets for a perfect evening under the stars.
- Enjoy these DIY lamps at a garden party along with fresh lemonade or fruity cocktails to elevate the atmosphere.
Final Thoughts
Creating your own mason jar oil lamps is a delightful project that not only brightens your surroundings but also evokes heartfelt memories. I encourage you to share your experiences, variations, or any special twists you add to these lamps! Your creativity can help light up someone else’s evening too. Happy crafting!

