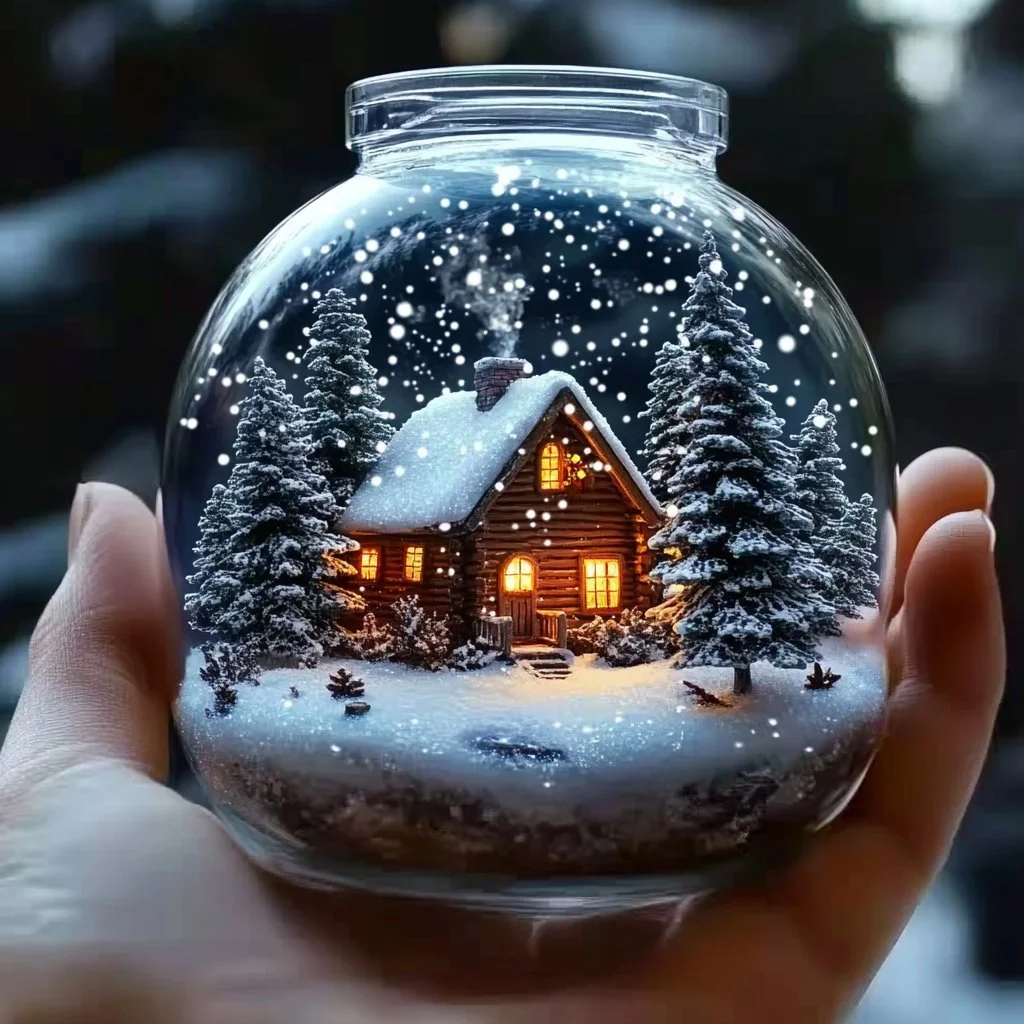
Creating a DIY Baking Soda Snow Globe is a fun and creative way to craft a delightful winter decoration or a unique gift. Not only does this project invoke nostalgia, but it also provides an enjoyable way to engage with friends and family. The joy of watching glitter and water swirl around a miniature scene encapsulated in glass is sure to bring a smile to anyone’s face. Plus, this project is budget-friendly and customizable, allowing you to adapt the design to your taste or occasion. Whether you’re aiming to recreate a winter wonderland, honor a special memory, or spark creativity in children, this DIY snow globe can be the perfect project. So grab your materials and prepare to make a charming piece that celebrates the magic of winter!
Why You’ll Love This DIY Baking Soda Snow Globe
- Creative Expression: Customize your scenes with personal touches that reflect your style.
- Budget-Friendly Fun: Most materials are inexpensive and easily sourced from around your home.
- Engaging Activity for All Ages: Perfect for family bonding or a fun gathering with friends.
- Unique Gifts: Handmade snow globes make thoughtful, personalized gifts for any occasion.
- Sensory Experience: Enjoy the visual and tactile sensation of snow swirling in water.
Materials
- A clear glass jar with a lid
- Baking soda
- Glitter (white, silver, or blue for snow effect)
- Miniature figurines or decorations (like trees, animals, or holiday decor)
- Water
- Glycerin (optional, for thickening the water)
- Hot glue gun and glue sticks
- Spoon or small scoop
Step-by-Step Instructions
Prepare the Base
- Choose Your Figurine: Select a miniature item that fits your theme.
- Secure Your Figurine: Use a hot glue gun to attach the figurine to the inside of the jar lid. Allow it to dry completely.
Mix the Snow
- Combine Ingredients: In a bowl, mix 1-2 tablespoons of baking soda with your desired amount of glitter. This will simulate the snow.
- Stir Thoroughly: Ensure that the glitter and baking soda are evenly blended.
Assemble Your Globe
- Fill the Jar: Pour water into the jar, filling it almost to the top but leaving some space for the lid.
- Add Glycerin: If using, add a few drops of glycerin to the water; this helps slow down the glitter’s fall.
- Add Snow Mixture: Carefully add the glitter and baking soda mixture to the water.
Close and Shake
- Seal it Up: Carefully place the lid (with the glued figurine) onto the jar.
- Shake to Test: Turn your snow globe upside down and give it a gentle shake to see how your snow falls!
Tips & Variations
- Customize Your Scene: Use different miniatures, like holiday, nature, or fantasy themes.
- Add Color: Use colored glitter or food coloring in the water for a vibrant effect.
- Seasonal Decor: Change out the figurines for different seasons or holidays.
- Layered Effects: Use more than one type of glitter for a more intricate snow effect.
Frequently Asked Questions
Q1: Can I use a plastic jar instead of glass?
Yes, a plastic jar can work, but it might not achieve the same aesthetic as glass.
Q2: What if I don’t have glycerin?
You can omit glycerin; however, the snow will fall more quickly without it.
Q3: How do I prevent leaks?
Make sure your jar lid is tightly sealed and consider using a silicone sealant for added security.
Q4: Can I replace baking soda with something else?
Baking soda is key for the snow effect. Substituting is not recommended, but you can experiment with different types of glitter.
Serving Suggestions or Pairings
Enhance the charm of your DIY baking soda snow globe by displaying it alongside a cozy cup of hot cocoa or spiced apple cider. Pair it with holiday cookies or festive treats for a warm gathering.
Final Thoughts
Crafting a DIY Baking Soda Snow Globe offers both a delightful project and a beautiful decor piece. Engage your creativity and celebrate the season with this magical experience. We want to see your unique versions! Share your creations or leave a comment with your experiences and variations. Happy crafting!
Print
DIY Baking Soda Snow Globe
- Total Time: 15 minutes
- Yield: 1 snow globe
- Diet: N/A
Description
Create a charming DIY baking soda snow globe with this budget-friendly project that offers endless customization options.
Ingredients
- A clear glass jar with a lid
- Baking soda
- Glitter (white, silver, or blue)
- Miniature figurines or decorations
- Water
- Glycerin (optional)
- Hot glue gun and glue sticks
- Spoon or small scoop
Instructions
- Choose your figurine and secure it to the inside of the jar lid with a hot glue gun. Allow it to dry completely.
- In a bowl, mix 1-2 tablespoons of baking soda with your desired amount of glitter.
- Pour water into the jar, filling it almost to the top and leaving some space for the lid.
- If using, add a few drops of glycerin to the water.
- Carefully add the glitter and baking soda mixture to the water.
- Place the lid with the glued figurine onto the jar and seal it up.
- Turn your snow globe upside down and give it a gentle shake to see how the snow falls!
Notes
Consider using a silicone sealant to prevent leaks and try different miniatures for unique effects.
- Prep Time: 15 minutes
- Cook Time: 0 minutes
- Category: DIY Craft
- Method: Crafting
- Cuisine: N/A
Nutrition
- Serving Size: 1 snow globe
- Calories: 0
- Sugar: 0g
- Sodium: 0mg
- Fat: 0g
- Saturated Fat: 0g
- Unsaturated Fat: 0g
- Trans Fat: 0g
- Carbohydrates: 0g
- Fiber: 0g
- Protein: 0g
- Cholesterol: 0mg

