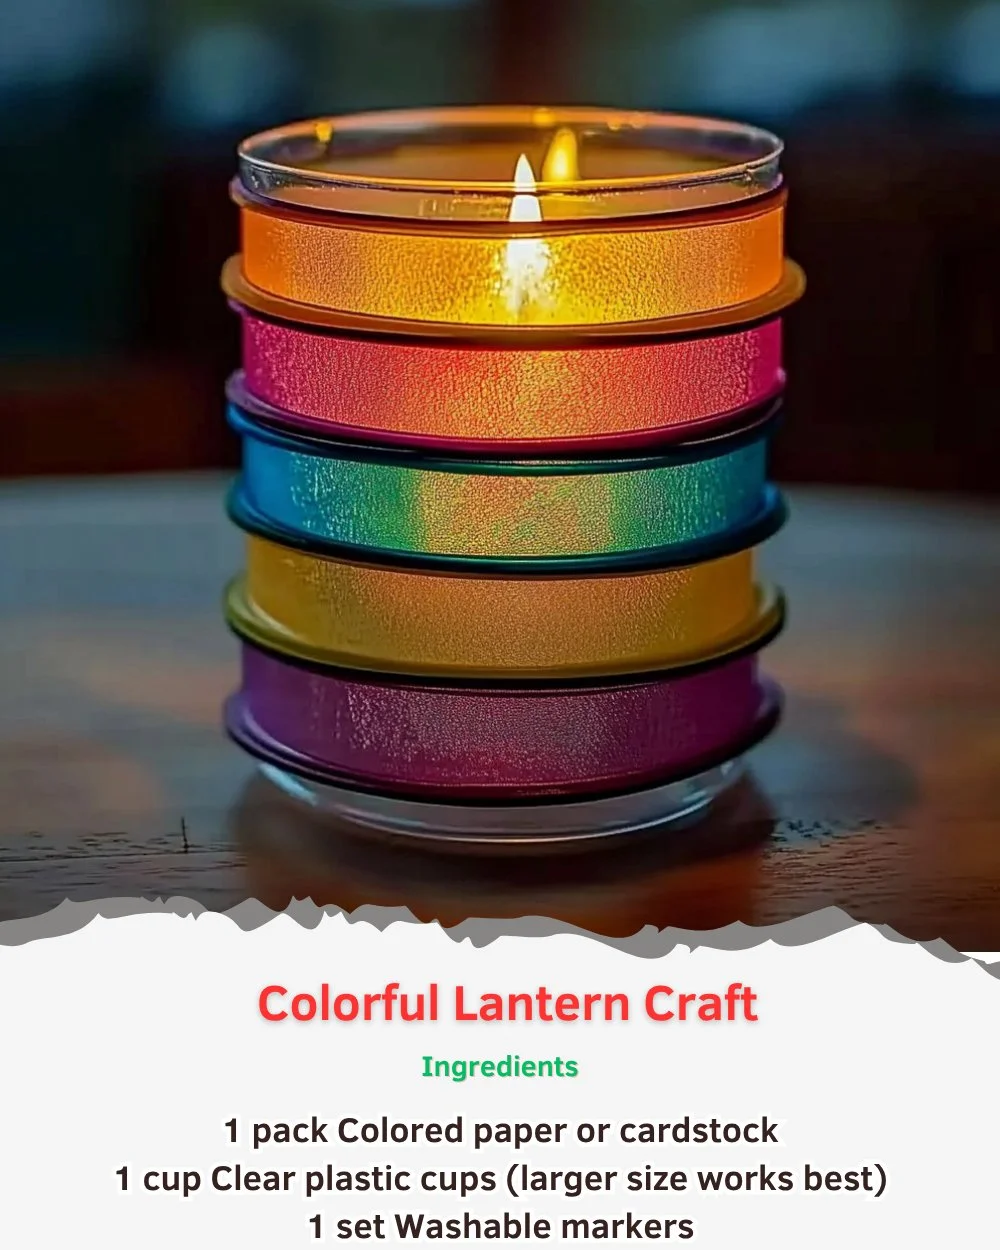
Creating a colorful lantern craft is a delightful way to express creativity while adding a touch of whimsy to your home decor. Whether you’re preparing for a festive occasion or simply want to brighten up your living space, this DIY project is both enjoyable and rewarding. Not only does crafting these lanterns allow you to engage in a hands-on activity, but it also provides an opportunity to personalize your environment. Bright colors and unique designs can reflect your style and elevate your home’s ambiance.
In this guide, you’ll discover why this lantern craft is worth trying, the materials you’ll need, and step-by-step instructions to bring your vision to life. Let’s dive in!
Why You’ll Love This Colorful Lantern Craft
- Enhances Creativity: Helps you explore your artistic side.
- Customizable Designs: Make each lantern unique with different colors and patterns.
- Easy and Fun: A simple project suitable for all ages, making it a great family activity.
- Affordable: Most materials are inexpensive or can be found around the house.
- Cultural Significance: Lanterns can be used for various celebrations and traditions.
Materials
- Colored paper or tissue paper
- Scissors
- Craft glue or adhesive tape
- Wire or a sturdy string (for hanging)
- LED tea lights (for safety)
- Ruler
- Pencil
- Decorative materials (glitter, stickers, etc.)
Step-by-Step Instructions
1. Prepare Your Template
- Decide on the shape and size of your lantern.
- Use a ruler and pencil to draw your design on the colored paper. Common shapes include cylindrical or square.
2. Cut Out Your Lantern Shape
- Carefully cut out your shapes using scissors.
- For intricate designs, make sure to cut slowly for precision.
3. Assemble the Lantern
- Start by folding the paper along the edges to give structure.
- Use craft glue or adhesive tape to secure the edges, forming a lantern shape.
4. Add Decorative Touches
- Customize your lantern with glitter, stickers, or drawings.
- Allow any glue or paint to dry completely before moving on.
5. Insert Your Light Source
- Place an LED tea light inside your lantern to avoid fire hazards.
- If using a hanging lantern, attach your wire or string now.
6. Display Your Lantern
- Choose a spot to showcase your lantern! Hang it, or place it on a table.
Tips & Variations
- Color Themes: Consider seasonal colors, such as pastels for spring or warm tones for fall.
- Different Shapes: Try experimenting with different shapes (hearts, stars, etc.) for variety.
- Outdoor Use: If using outdoors, opt for waterproof materials to protect your lantern.
- Add Fragrance: For a sensory touch, place scented cotton balls near the tea light.
Frequently Asked Questions
1. Can I use regular candles instead of LED lights?
To ensure safety, it’s best to use LED lights, as regular candles pose a fire hazard inside paper lanterns.
2. What type of paper works best for this project?
Tissue paper is lightweight and allows light to shine through beautifully. However, card stock can provide sturdier lanterns.
3. How long will my lantern last?
With gentle handling, paper lanterns can last for several weeks. If exposed to moisture, they may deteriorate more quickly.
4. Can I hang these lanterns outside?
Yes, but ensure they are made from weather-resistant materials to prevent damage from rain or wind.
Serving Suggestions or Pairings
Pair your colorful lanterns with a cozy evening backdrop, perhaps accompanied by some herbal tea or freshly baked cookies. Great side options include fruit platters or seasonal treats that complement the festive atmosphere.
Final Thoughts
Crafting colorful lanterns is a delightful experience that sparks joy and creativity. As you complete your creations, take a moment to appreciate the intricate details and vibrant colors you’ve crafted. We would love to see your versions of this lantern craft! Share your experiences or leave a comment below, and let’s inspire each other!
Print
Colorful Lantern Craft
- Total Time: 30 minutes
- Yield: 1 lantern
- Diet: N/A
Description
A delightful DIY project to create colorful lanterns that add whimsy to your home decor. Perfect for any occasion!
Ingredients
- Colored paper or tissue paper
- Scissors
- Craft glue or adhesive tape
- Wire or sturdy string (for hanging)
- LED tea lights (for safety)
- Ruler
- Pencil
- Decorative materials (glitter, stickers, etc.)
Instructions
- Prepare Your Template: Decide on the shape and size of your lantern. Use a ruler and pencil to draw your design on the colored paper.
- Cut Out Your Lantern Shape: Carefully cut out your shapes using scissors.
- Assemble the Lantern: Fold the paper along the edges and use craft glue to secure the edges.
- Add Decorative Touches: Customize your lantern with glitter or stickers and let dry.
- Insert Your Light Source: Place an LED tea light inside.
- Display Your Lantern: Hang it or place it on a table.
Notes
Consider using waterproof materials if the lanterns will be outdoors. For a sensory touch, place scented cotton balls near the tea light.
- Prep Time: 30 minutes
- Cook Time: 0 minutes
- Category: Craft
- Method: Crafting
- Cuisine: N/A
Nutrition
- Serving Size: 1 lantern
- Calories: 0
- Sugar: 0g
- Sodium: 0mg
- Fat: 0g
- Saturated Fat: 0g
- Unsaturated Fat: 0g
- Trans Fat: 0g
- Carbohydrates: 0g
- Fiber: 0g
- Protein: 0g
- Cholesterol: 0mg

