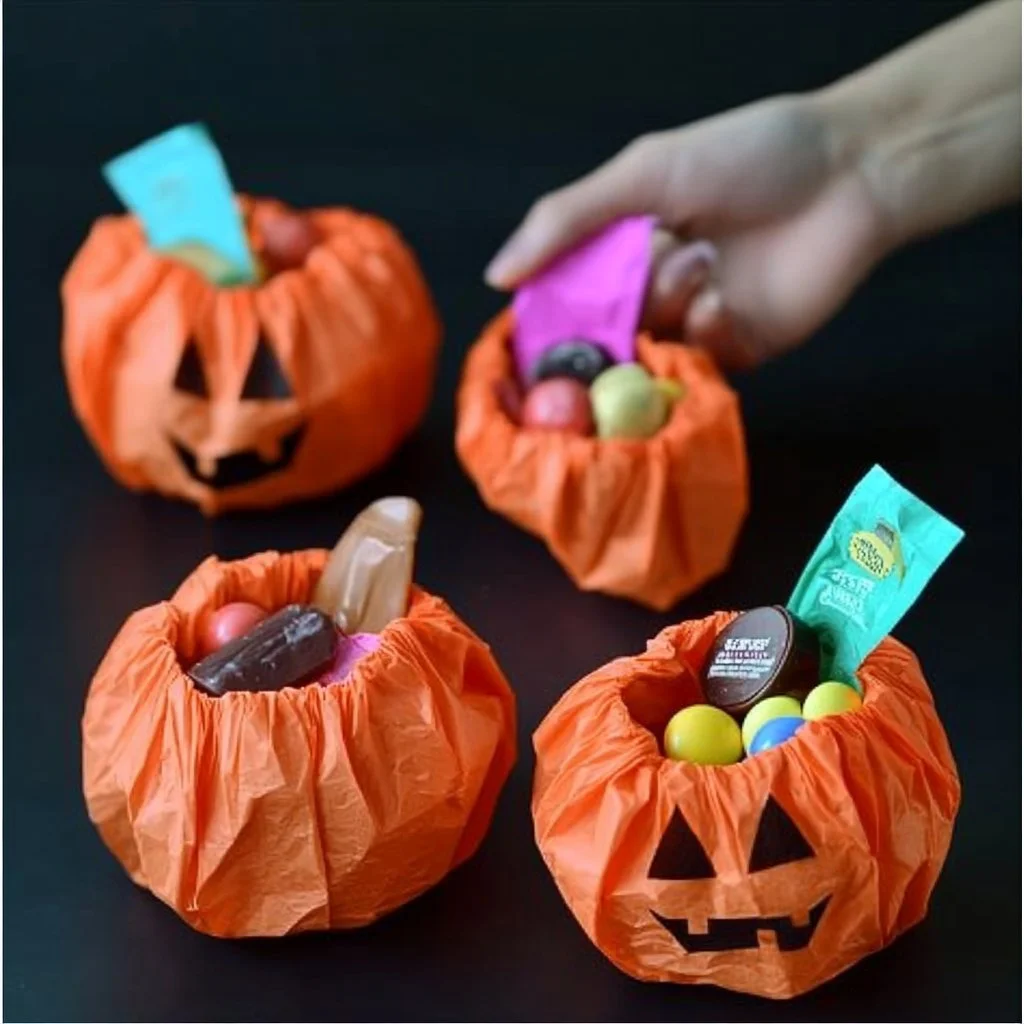
As the leaves turn and the air becomes crisp, it’s the perfect time to embrace the spirit of fall with a delightful candy pumpkin craft! This simple and fun DIY project not only brings a burst of seasonal color to your home but also makes for a sweet treat to enjoy or gift to friends and family. Perfect for both kids and adults, these candy pumpkins are a great way to get creative in the kitchen while indulging in the flavors of autumn. Whether you’re planning a Halloween party or just want to add a festive touch to your decor, this candy pumpkin craft is sure to bring smiles and warmth. Get ready to roll up your sleeves and create something deliciously fun!
Why You’ll Love This Candy Pumpkin Craft
- Easy and fun for all ages.
- Perfect for fall-themed parties or Halloween decorations.
- A creative way to get kids involved in cooking.
- Customizable flavors and colors to fit your theme.
- Great for gifting or as party favors.
- Quick to prepare with minimal ingredients.
Materials
- Orange candy melts
- Green chocolate melts (or green candy)
- Wax paper
- Parchment paper
- A spoon or small scoop
- Microwave-safe bowl
- Cellophane bags (for gifting, optional)
Step-by-Step Instructions
Step 1: Prepare Your Workspace
- Line a baking sheet with parchment paper to create a clean surface for your candy pumpkins.
- Gather all your materials to ensure you have everything within reach.
Step 2: Melt the Candy
- In a microwave-safe bowl, pour in the orange candy melts.
- Microwave in 30-second intervals, stirring in between until fully melted and smooth.
- Take care not to overheat—this could cause the candy to seize.
Step 3: Shape the Pumpkins
- Using a spoon or small scoop, drop dollops of the melted orange candy onto the parchment paper.
- Quickly shape each dollop into a pumpkin using your fingers or the back of a spoon. Aim for a round, plump shape.
Step 4: Add the Stems
- Melt the green chocolate melts in the same way as the orange candy.
- Use a toothpick or small tool to create a swirl or a small “stem” on top of each pumpkin while the orange base is still soft.
Step 5: Let Them Set
- Allow the pumpkins to cool and harden completely at room temperature or in the fridge for quicker setting.
- Once set, carefully peel them off the parchment paper.
Tips & Variations
- Color Variations: Try using different shades of candy melts for a unique look or mix in some sprinkles for added texture.
- Flavored Candy: Experiment with flavored candy melts for a twist—try vanilla, chocolate, or even mint!
- Nut Allergies: Substitute nuts or seeds for any candy decor with safe alternatives.
- Molding: Consider using candy molds for uniform shapes, especially if you’re making these as party favors.
Frequently Asked Questions
Q1: Can I use regular chocolate instead of candy melts?
A: Yes, but candy melts are specifically designed to melt smoothly and set well. Regular chocolate may require tempering for the best results.
Q2: How do I store leftover candy pumpkins?
A: Store them in an airtight container at room temperature for up to one week.
Q3: Can I make these in advance?
A: Absolutely! These candy pumpkins can be made a few days ahead of time—just ensure they are stored properly.
Q4: What can I use instead of green melts for the stems?
A: You can use green fondant, gumdrops, or even pretzel pieces dipped in chocolate as a fun and crunchy alternative.
Serving Suggestions or Pairings
- Pair your candy pumpkins with hot apple cider or spiced pumpkin latte for a delightful fall treat.
- Serve alongside other seasonal desserts like caramel apples or gingerbread cookies.
- Wrap them in cellophane bags and tie with a ribbon for a charming gift.
Final Thoughts
This candy pumpkin craft is not just a great way to celebrate the fall season; it’s also a chance to connect with loved ones through creativity and sweetness. Whether you’re enjoying them as a family treat or sharing them with friends, these adorable candies are sure to spread joy. We’d love to see your versions! Please share your creations in the comments and let us know if you made any fun variations! Happy crafting!
Print
Candy Pumpkin Craft
- Total Time: 30 minutes
- Yield: 12 servings
- Diet: Vegetarian
Description
A delightful candy pumpkin craft perfect for fall-themed decor and treats.
Ingredients
- Orange candy melts
- Green chocolate melts (or green candy)
- Wax paper
- Parchment paper
- Spoon or small scoop
- Microwave-safe bowl
- Cellophane bags (optional for gifting)
Instructions
- Prepare your workspace by lining a baking sheet with parchment paper and gathering all materials.
- Melt the orange candy melts in a microwave-safe bowl, microwaving in 30-second intervals until smooth.
- Drop dollops of the melted orange candy onto the parchment paper and shape into pumpkins.
- Melt the green chocolate melts and create a swirl or stem on top of each pumpkin.
- Let the pumpkins cool and harden completely before peeling off the parchment paper.
Notes
Try using different shades of candy melts or flavored melts for a unique look. Store leftovers in an airtight container.
- Prep Time: 15 minutes
- Cook Time: 15 minutes
- Category: Dessert
- Method: No Bake
- Cuisine: American
Nutrition
- Serving Size: 1 pumpkin
- Calories: 100
- Sugar: 15g
- Sodium: 20mg
- Fat: 4g
- Saturated Fat: 2g
- Unsaturated Fat: 2g
- Trans Fat: 0g
- Carbohydrates: 18g
- Fiber: 0g
- Protein: 1g
- Cholesterol: 0mg

