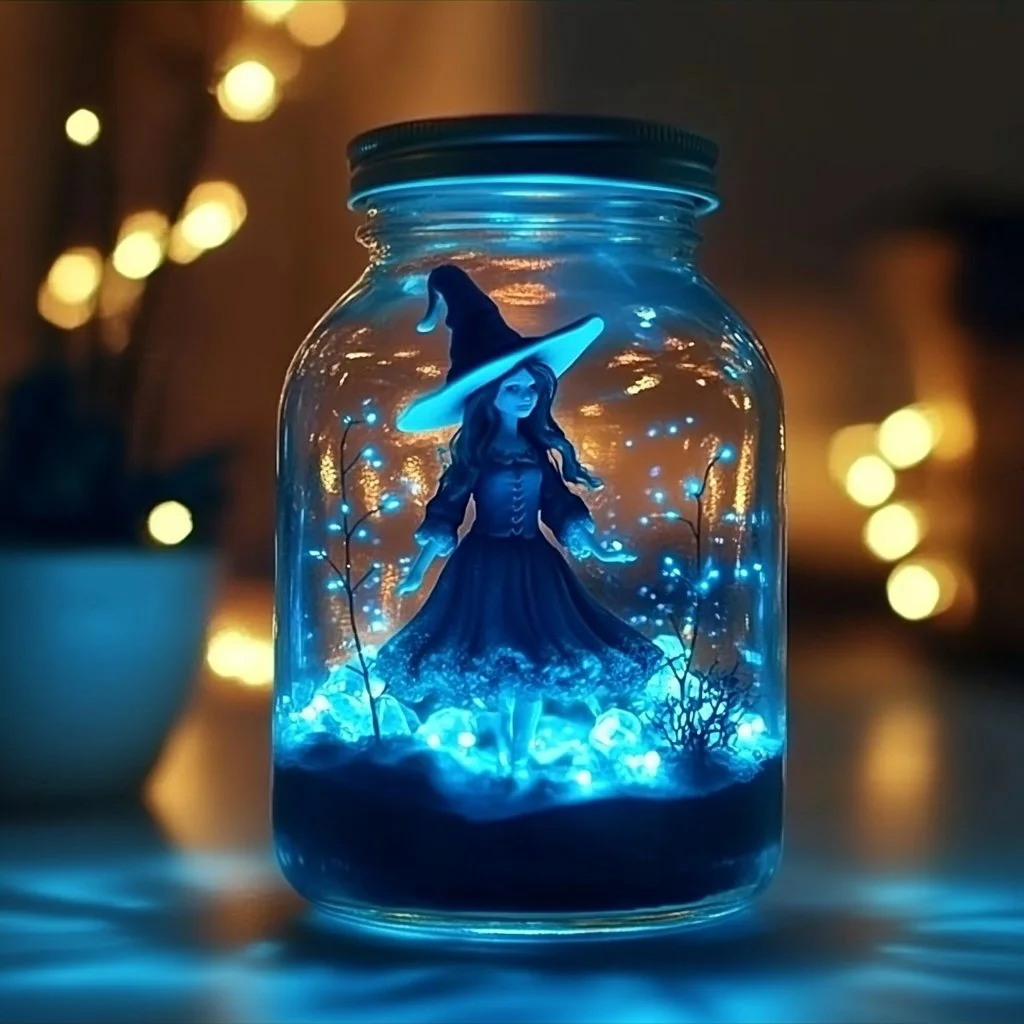
Creating a Baking Soda Glowing Witch Jar is not just a fun and engaging craft; it’s an exciting way to bring Halloween magic into your home. This DIY project is perfect for both kids and adults, providing a wonderful opportunity to bond over creativity while also developing a festive atmosphere. The glowing effect will add an eerie ambiance to your decoration scheme, making it a great addition to your Halloween festivities or a creative night in. Plus, you’ll only need a few simple ingredients to bring your glowing witch jar to life. It’s an easy-to-follow project that promises satisfaction as you see your jar illuminate with a soft, magical glow.
Why You’ll Love This Baking Soda Glowing Witch Jar
- Simple and Affordable: Utilizes common household items and is easy on your wallet.
- Kids Love It: A fun, hands-on activity great for family bonding.
- Customizable: Allow for personalization with colors and designs to suit your preferences.
- Eerie Ambiance: Perfect for Halloween or themed parties with its glowing effect.
- Educational Fun: Introduces kids to simple chemical reactions in a playful way.
Materials
- 1 cup baking soda
- 1 cup warm water
- 1-2 teaspoons of glow-in-the-dark paint
- A clean glass jar or container
- A small brush for painting
- Optional decorations (like ribbon, stickers, etc.)
Step-by-Step Instructions
Prepare the Glow Mixture
- Mix the Baking Soda: In a bowl, combine the baking soda and warm water. Stir well until the baking soda dissolves completely.
- Add Glow Paint: Mix in the glow-in-the-dark paint into the solution. Continue to stir until the mixture is well-combined.
Create the Jar
- Coat the Jar: Using the small brush, carefully coat the inside of the glass jar with the glow mixture. Make sure to apply an even layer for the best glow effect.
- Let It Dry: Allow the jar to dry completely for several hours or overnight. The glow effect intensifies after the paint has fully dried.
Final Touches
- Decorate the Jar: Add any optional decorations to the outside of the jar. Use ribbons, stickers, or even spooky cutouts to customize it.
- Charge the Glow: Expose your jar to light sources before the reveal to enhance its glowing abilities in the dark.
Tips & Variations
- Color Options: Experiment with multiple colors of glow-in-the-dark paint for a funky, vibrant look.
- Layering: Create textured layers inside the jar by alternating between the glow mixture and clear varnish for added depth.
- Themed Decor: Use Halloween-themed stickers like spiders, ghosts, or bats for a more thematic touch.
- Different Sizes: Use various sizes of jars to create a whole glowing witch jar family for added visual interest.
Frequently Asked Questions
Q1: Can I use other types of paint?
A1: While glow-in-the-dark paint is best for this project, you can also experiment with other types as long as they are safe to use on glass.
Q2: How long will the glow last?
A2: The glow effect typically lasts for a few hours after being charged by light. You can recharge it as needed.
Q3: Can I use plastic jars instead of glass?
A3: Yes, plastic jars work too, but they may not glow as brightly or as effectively as glass.
Q4: Is it safe for kids?
A4: Yes, as long as adult supervision is provided, especially during the painting phase which may involve small parts and handling liquid.
Serving Suggestions or Pairings
Pair your glowing witch jar with fun Halloween-themed snacks like ghost-shaped cookies or pumpkin spice treats. Consider serving it alongside a spooky drink, such as a bubbling concoction of fruit punch and dry ice for an eerie effect.
Final Thoughts
Making a Baking Soda Glowing Witch Jar is a delightful project that brings creativity and a bit of spooky fun to your environment. Share your glowing creations by leaving a comment or sharing your variations! We would love to see how you put your unique spin on this enchanting DIY!
Print
Baking Soda Glowing Witch Jar
- Total Time: 15 minutes
- Yield: 1 glowing jar 1x
- Diet: N/A
Description
Create an enchanting Baking Soda Glowing Witch Jar for Halloween with simple household materials. Perfect for family bonding and adding a spooky touch to your decor.
Ingredients
- 1 cup baking soda
- 1 cup warm water
- 1–2 teaspoons glow-in-the-dark paint
- A clean glass jar or container
- A small brush for painting
- Optional decorations (like ribbon, stickers, etc.)
Instructions
- Mix the Baking Soda: In a bowl, combine the baking soda and warm water. Stir well until the baking soda dissolves completely.
- Add Glow Paint: Mix in the glow-in-the-dark paint into the solution. Continue to stir until the mixture is well-combined.
- Coat the Jar: Using the small brush, carefully coat the inside of the glass jar with the glow mixture. Make sure to apply an even layer for the best glow effect.
- Let It Dry: Allow the jar to dry completely for several hours or overnight.
- Decorate the Jar: Add any optional decorations to the outside of the jar. Use ribbons, stickers, or spooky cutouts to customize it.
- Charge the Glow: Expose your jar to light sources before the reveal to enhance its glowing abilities in the dark.
Notes
Experiment with different colors of glow paint and various jar sizes for unique effects.
- Prep Time: 15 minutes
- Cook Time: 0 minutes
- Category: Crafts
- Method: DIY Craft
- Cuisine: N/A
Nutrition
- Serving Size: 1 jar
- Calories: 0
- Sugar: 0g
- Sodium: 0mg
- Fat: 0g
- Saturated Fat: 0g
- Unsaturated Fat: 0g
- Trans Fat: 0g
- Carbohydrates: 0g
- Fiber: 0g
- Protein: 0g
- Cholesterol: 0mg

