- Introduction
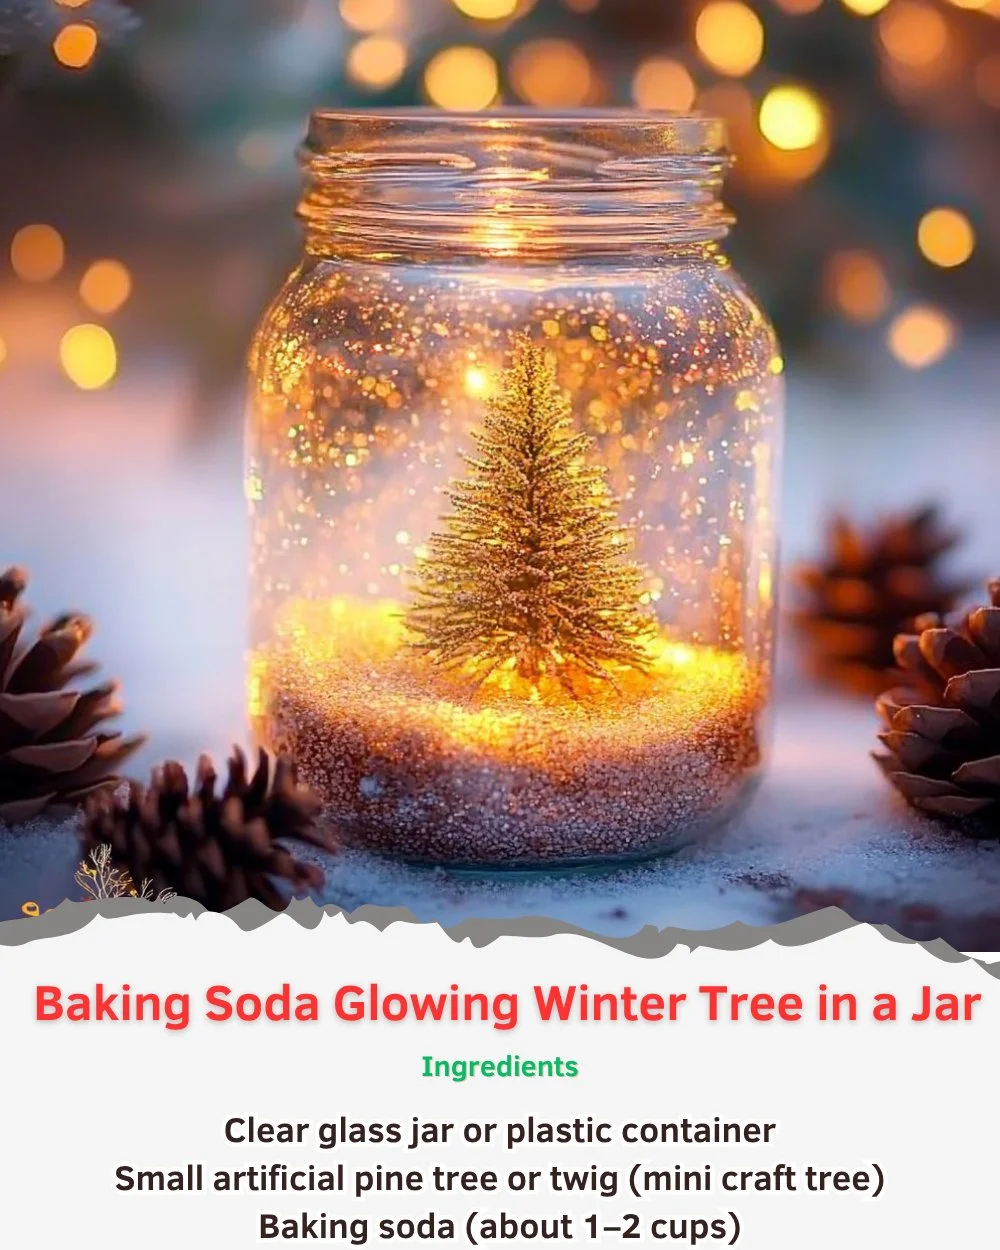
Winter is a magical season, and what better way to capture its charm than by creating a glowing winter tree in a jar? This easy DIY project combines the beauty of nature with the cozy warmth of home, resulting in a stunning decorative piece that brightens up those chilly evenings. Not only is it a delightful activity for both adults and children, but it also creates a soothing ambiance that fills any space with joy. Using simple materials like baking soda, a jar, and some basic crafting supplies, you can create a mesmerizing winter wonderland that sparkles with every glance.
Whether you’re looking for a festive decoration to brighten your home for the holidays, a special handmade gift, or simply a way to cherish the beauty of winter, this glowing winter tree in a jar is a perfect choice. Let’s get started!
- Why You’ll Love This Baking Soda Glowing Winter Tree in a Jar
- Easy to Make: Simple materials and straightforward steps mean anyone can join in on the fun.
- Customizable: Personalize your tree with colors, sizes, or additional decorations.
- Budget-Friendly: Most supplies are affordable and commonly found at home or craft stores.
- Kid-Friendly: Safe and engaging for children, making it a wonderful family project.
- Captivating Glow: The baking soda reacts beautifully to create an enchanting glow effect.
- Great Gift Idea: Handmade crafts are thoughtful gifts for friends and family during the holiday season.
- Materials
- Baking soda (1 cup)
- White glue (1/2 cup)
- Water (1/2 cup)
- Jar with a lid (any size)
- Paintbrush (for application)
- Optional: Food coloring or glitter
- Battery-operated tea light (for glowing effect)
- Crafting decorations (miniatures, figurines, or faux snow)
- Step-by-Step Instructions
Step 1: Prepare the Mixture
- In a bowl, combine 1 cup of baking soda, 1/2 cup of white glue, and 1/2 cup of water.
- Mix thoroughly until a smooth paste forms, adding a few drops of food coloring if desired.
Step 2: Create the Tree Shape
- Using a paintbrush, apply the baking soda mixture onto the inside of your jar, forming the shape of a tree.
- Create multiple layers for a 3D effect, making the base wider and tapering towards the top.
Step 3: Add Glow
- Carefully place a battery-operated tea light at the bottom of the jar once the mixture has somewhat set (about an hour).
- For added whimsy, sprinkle some glitter or faux snow on top of the mixture.
Step 4: Allow to Dry
- Leave the jar in a warm, dry place for 24-48 hours to ensure the mixture hardens completely.
Step 5: Display Your Creation
- Once dry, place your glowing winter tree in a visible spot and switch on the tea light to illuminate your masterpiece.
- Tips & Variations
- Color Variations: Experiment with different food coloring shades for a unique look—try icy blues or soft greens.
- Texture Play: Mix in some fine salt or Epsom salt to add texture and sparkle to your tree.
- Add Decorations: Personalize with mini ornaments, pinecones, or winter figurines to enhance your design.
- Swap Sizing: Use larger jars for bigger trees or small jars for cute miniature versions.
- Frequently Asked Questions
-
Can I use regular salt instead of baking soda?
- Regular salt won’t create the same texture or glow. Stick with baking soda for the best results.
-
What if I don’t have a tea light?
- You can use string lights; just ensure they’re battery-operated and safe for jar use.
-
How do I clean the jar afterward if I want to reuse it?
- Soak the jar in warm, soapy water before gently scrubbing the interior with a soft sponge.
-
Can I store my winter tree until next year?
- Yes! Keep it in a cool, dry place, but avoid stacking or pressing down on it to maintain its shape.
- Serving Suggestions or Pairings
- Enjoy this glowing winter tree alongside a warm cup of hot cocoa.
- Pair your craft night with festive finger foods like cheese platters or holiday cookies.
- Complement the atmosphere with soothing seasonal drinks like spiced cider or herbal teas.
- Final Thoughts
Creating your baking soda glowing winter tree in a jar is not just about crafting; it’s about capturing the spirit of winter in a fun and engaging way. We hope this DIY project brings warmth and joy to your home. Whether you display them as centerpieces, use them as gifts, or enjoy the crafting process with loved ones, these jars are sure to delight.
We’d love to see your versions! Please share your creations or leave a comment below with your experiences or any customizations you made. Happy crafting!
Print
Baking Soda Glowing Winter Tree in a Jar
- Total Time: 1440 minutes
- Yield: 1 jar 1x
- Diet: N/A
Description
Create a mesmerizing glowing winter tree in a jar using simple materials like baking soda and white glue. A perfect holiday decoration.
Ingredients
- 1 cup baking soda
- 1/2 cup white glue
- 1/2 cup water
- Jar with a lid (any size)
- Paintbrush
- Optional: Food coloring or glitter
- Battery-operated tea light
- Crafting decorations (miniatures, figurines, or faux snow)
Instructions
- In a bowl, combine 1 cup of baking soda, 1/2 cup of white glue, and 1/2 cup of water. Mix until a smooth paste forms, adding food coloring if desired.
- Using a paintbrush, apply the mixture onto the inside of your jar, forming the shape of a tree with multiple layers.
- Place a battery-operated tea light at the bottom of the jar and sprinkle glitter or faux snow on top.
- Leave the jar in a warm, dry place for 24-48 hours to harden completely.
- Once dry, place your glowing tree in a visible spot and switch on the tea light.
Notes
Experiment with food coloring shades and add additional decorations for a personalized touch.
- Prep Time: 10 minutes
- Cook Time: 0 minutes
- Category: Craft
- Method: Crafting
- Cuisine: N/A
Nutrition
- Serving Size: 1 jar
- Calories: N/A
- Sugar: N/A
- Sodium: N/A
- Fat: N/A
- Saturated Fat: N/A
- Unsaturated Fat: N/A
- Trans Fat: N/A
- Carbohydrates: N/A
- Fiber: N/A
- Protein: N/A
- Cholesterol: N/A

