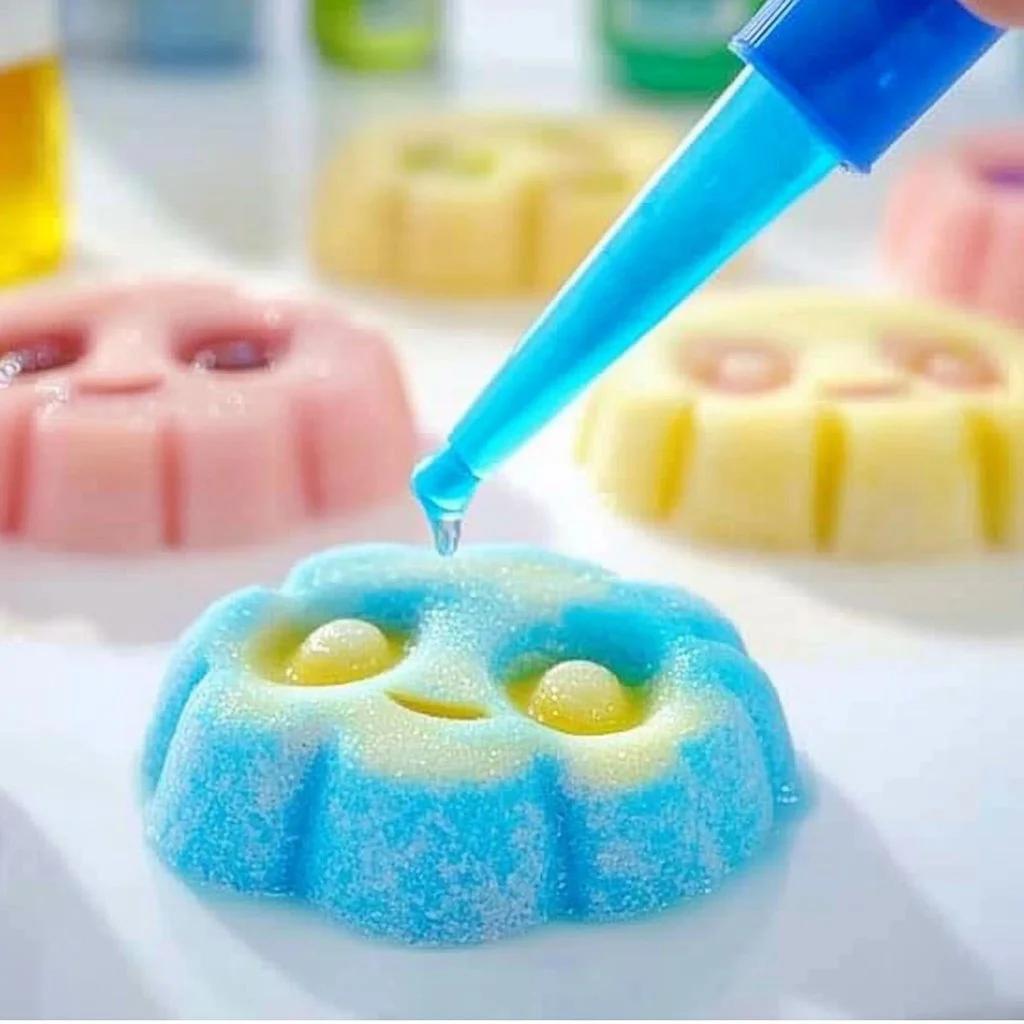
Creating painted salt sculptures is an engaging and delightful craft that combines art with the tactile experience of sculpting. Ideal for all ages, this DIY project encourages creativity and provides a wonderful opportunity for families and friends to bond over a unique activity. With just a few basic materials and an easy-to-follow process, you can turn simple salt dough into vibrant, eye-catching sculptures that can be displayed or gifted. Each piece not only showcases your artistic flair but also invites sensory exploration through color and texture. Whether you’re crafting with young kids or experimenting alone, painted salt sculptures are sure to spark joy and inspire imagination.
Why You’ll Love This How to Make Painted Salt Sculptures
- Creative Expression: Unleash your artistic side and explore different shapes, colors, and designs.
- Fun for Everyone: Perfect for kids and adults, making it a great family activity.
- Customizable: Easily add personal touches and variations to your creations.
- Learning Opportunity: Great for teaching kids about colors, textures, and even basic sculpting skills.
- Inexpensive: Uses everyday materials you likely already have at home.
- Lasting Mementos: Create unique decorations or gifts that hold sentimental value.
Materials
- 2 cups all-purpose flour
- 1 cup salt
- 1 cup water
- Food coloring (various colors)
- Paintbrushes
- Baking sheet
- Parchment paper (optional)
- Sealing spray or varnish (optional for preservation)
Step-by-Step Instructions
1. Prepare the Salt Dough
- In a mixing bowl, combine the flour and salt.
- Gradually add water while mixing until a dough forms.
- Knead the dough on a clean surface for about 5 minutes until smooth.
2. Sculpt Your Creations
- Divide the dough into smaller portions for easy handling.
- Use your hands to mold the dough into desired shapes and figures, or use tools for more detailed work.
- Focus on sensory cues: the dough should feel soft and pliable but firm enough to hold shapes.
3. Bake the Sculptures
- Preheat your oven to 200°F (93°C).
- Place your sculptures on a baking sheet lined with parchment paper.
- Bake for 2-3 hours, or until the sculptures are completely dry and hard.
4. Paint Your Sculptures
- Once cooled, use paintbrushes to apply food coloring or acrylic paint to your sculptures.
- Experiment with blending colors and patterns.
5. Seal (Optional)
- After the paint dries, apply a sealing spray or varnish for a glossy finish and protection.
Tips & Variations
- Customize Colors: Mix food coloring to create custom shades.
- Add Texture: Incorporate sand or small pebbles into the dough for a different feel.
- Sculpture Themes: Create themed sculptures like animals, flowers, or abstract art.
- Small Additions: Use beads, twigs, or other natural items to enhance your sculptures.
Frequently Asked Questions
1. Can I use other types of flour?
Yes, you can experiment with whole wheat flour or gluten-free flour, but the texture and workability may differ.
2. How do I store leftover salt dough?
Wrap it tightly in plastic wrap and store it in an airtight container in the refrigerator for up to a week.
3. Can I use regular paint instead of food coloring?
Yes, acrylic paint works well, but avoid using watercolor as it may dilute with moisture.
4. How can I preserve my sculptures?
To keep your sculptures in good condition, apply a sealant once the paint is dry and store them in a cool, dry place.
Serving Suggestions or Pairings
Serve this creative activity with refreshing drinks like lemon iced tea or fruit-infused water. Pair it with light snacks such as crackers, cheese, and fruit to keep energy levels up while crafting.
Final Thoughts
Painted salt sculptures are not just a fun art project; they become cherished items full of memories and creativity. Encourage your friends and family to share their unique creations with you or leave a comment about their experiences. Dive into this artistic journey and watch your imagination come to life!
Print
Painted Salt Sculptures
- Total Time: 130 minutes
- Yield: Varies based on sculpture size
- Diet: N/A
Description
Engaging and delightful craft combining art and sensory exploration through sculpting painted salt dough.
Ingredients
- 2 cups all-purpose flour
- 1 cup salt
- 1 cup water
- Food coloring (various colors)
- Paintbrushes
- Baking sheet
- Parchment paper (optional)
- Sealing spray or varnish (optional for preservation)
Instructions
- In a mixing bowl, combine the flour and salt. Gradually add water while mixing until a dough forms. Knead the dough on a clean surface for about 5 minutes until smooth.
- Divide the dough into smaller portions for easy handling. Use your hands to mold the dough into desired shapes and figures, or use tools for more detailed work.
- Preheat your oven to 200°F (93°C). Place your sculptures on a baking sheet lined with parchment paper. Bake for 2-3 hours, or until the sculptures are completely dry and hard.
- Once cooled, use paintbrushes to apply food coloring or acrylic paint to your sculptures. Experiment with blending colors and patterns.
- After the paint dries, apply a sealing spray or varnish for a glossy finish and protection.
Notes
Customize colors and textures to make your sculptures unique! Use natural items to enhance your creations.
- Prep Time: 10 minutes
- Cook Time: 120 minutes
- Category: Craft
- Method: Baking
- Cuisine: N/A
Nutrition
- Serving Size: N/A
- Calories: N/A
- Sugar: N/A
- Sodium: N/A
- Fat: N/A
- Saturated Fat: N/A
- Unsaturated Fat: N/A
- Trans Fat: N/A
- Carbohydrates: N/A
- Fiber: N/A
- Protein: N/A
- Cholesterol: N/A

