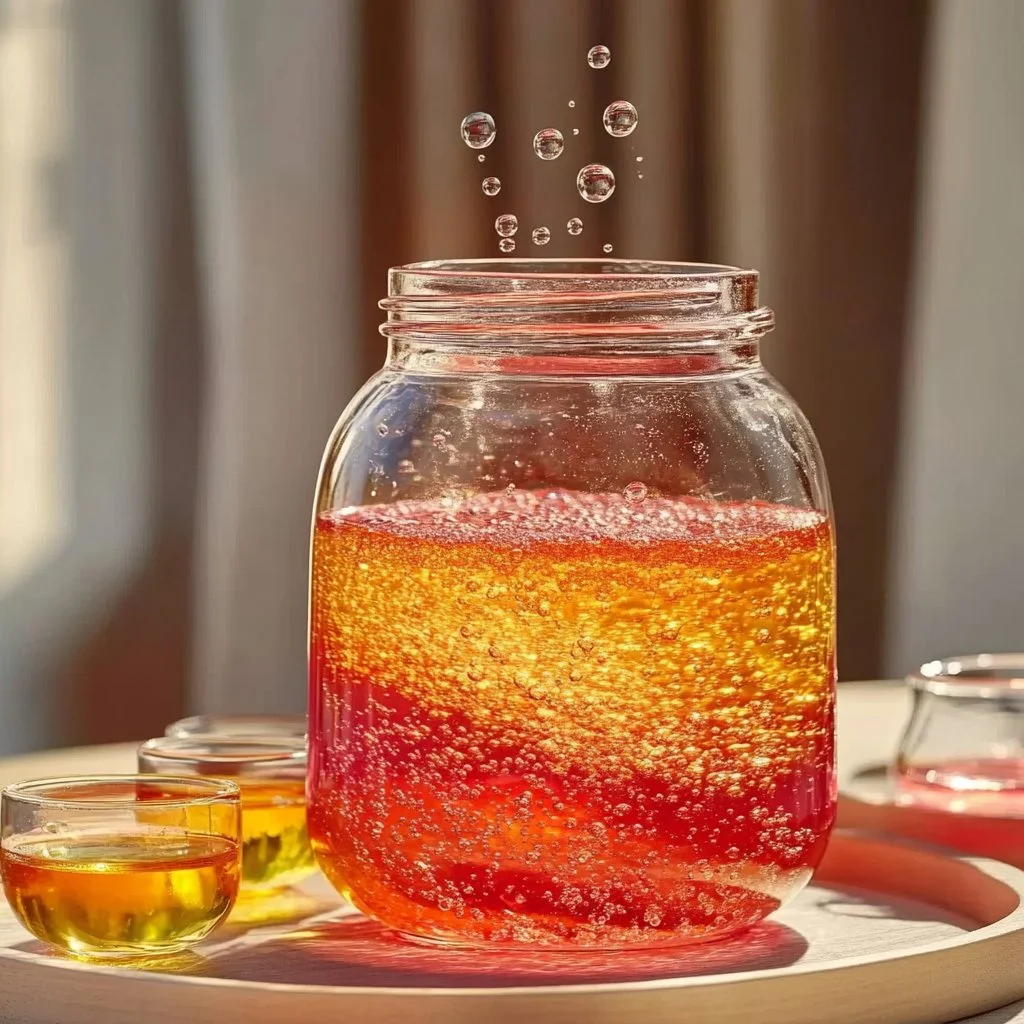
Creating a salt volcano is a fun and educational DIY project perfect for both kids and adults. It combines creativity with scientific principles, making it an exciting way to explore chemistry and geology. As the salt mixture reacts with water, it creates an impressive eruption that mimics a volcanic explosion. Not only does this project provide hands-on learning, but it also offers a visually stunning result that is sure to entertain and inspire. Gather your materials, follow the steps, and prepare for an explosive experience that can spark curiosity and exploration in all participants!
Why You’ll Love This Salt Volcano
- Visual Spectacle: The eruption mimics a real volcano, captivating viewers.
- Educational: Teaches basic chemical reactions in an engaging way.
- Customizable: Variety of ingredients allows for personal touches.
- Easy to Clean: Finished product can be disposed of easily without mess.
- Family-Friendly: Safe for all ages, fostering creativity and teamwork.
Materials
- 1 cup of salt
- 1 cup of baking soda
- 1 cup of vinegar
- Food coloring (optional)
- Small cup or container for the volcanic structure
- Spoon for mixing
- Tray or large dish to contain any overflow
Step-by-Step Instructions
1. Prepare the Volcano Structure
- Use your small cup or container to form the base of your volcano.
- You can mold it using playdough, clay, or simply leave it as is.
2. Mix the Dry Ingredients
- In a separate bowl, combine 1 cup of salt and 1 cup of baking soda.
- Stir well until thoroughly mixed.
3. Add Color (Optional)
- If using food coloring, add a few drops to the dry mixture.
- Mix until the color is evenly distributed.
4. Fill the Volcano
- Carefully pour the salt-baking soda mixture into your container to fill it.
5. Create the Eruption
- Pour 1 cup of vinegar slowly over the salt mixture.
- Watch as the reaction occurs, creating a fizzy "lava" flow!
Tips & Variations
- Custom Scents: Add a few drops of essential oils to the vinegar for a scented experience.
- Different Colors: Experiment with various food coloring combinations for a vibrant eruption.
- Baking Soda Substitute: Try using cornstarch for a different texture.
- Scaled-Up Version: Double the recipe for larger eruptions!
Frequently Asked Questions
1. What happens if I don’t have vinegar?
- You can try lemon juice as a substitute, as it also reacts with baking soda.
2. Can I use different types of salt?
- Yes, any type of salt will work, but table salt will give you the best texture for the volcano.
3. Is it safe for children?
- Yes, all the ingredients are non-toxic and safe for kids, though adults should supervise young children.
4. How do I clean up afterwards?
- The mixture is easily rinsed away with water. Dispose of the solid remains in the trash or compost.
Serving Suggestions or Pairings
Pair your salt volcano experiment with a refreshing lemonade or a fruity iced tea to cool down after the excitement. Consider serving with popcorn or a light snack to keep the energy up during your DIY explorations!
Final Thoughts
The salt volcano is not just a craft but an educational journey that brings excitement and learning together. Whether you’re doing it solo or with a group, it’s a fantastic way to engage with scientific concepts in an enjoyable format. We would love to hear about your experiences! Feel free to share your own versions or leave a comment below. Happy erupting!
Print
DIY Salt Volcano
- Total Time: 10 minutes
- Yield: 1 volcano 1x
- Diet: N/A
Description
Create an impressive salt volcano that erupts, mimicking a volcanic explosion while teaching basic chemical reactions.
Ingredients
- 1 cup of salt
- 1 cup of baking soda
- 1 cup of vinegar
- Food coloring (optional)
- Small cup or container for the volcanic structure
- Spoon for mixing
- Tray or large dish to contain any overflow
Instructions
- Prepare the Volcano Structure: Use your small cup or container to form the base of your volcano. You can mold it using playdough, clay, or leave it as is.
- Mix the Dry Ingredients: In a separate bowl, combine 1 cup of salt and 1 cup of baking soda. Stir well until thoroughly mixed.
- Add Color (Optional): If using food coloring, add a few drops to the dry mixture and mix until the color is evenly distributed.
- Fill the Volcano: Carefully pour the salt-baking soda mixture into your container to fill it.
- Create the Eruption: Pour 1 cup of vinegar slowly over the salt mixture and watch the eruption!
Notes
Try adding essential oils for custom scents or varying food colorings for a vibrant eruption. The mixture is easily cleaned up with water.
- Prep Time: 10 minutes
- Cook Time: 0 minutes
- Category: Educational Activity
- Method: DIY Experiment
- Cuisine: N/A
Nutrition
- Serving Size: 1 experiment
- Calories: 0
- Sugar: 0g
- Sodium: 0mg
- Fat: 0g
- Saturated Fat: 0g
- Unsaturated Fat: 0g
- Trans Fat: 0g
- Carbohydrates: 0g
- Fiber: 0g
- Protein: 0g
- Cholesterol: 0mg

