Introduction
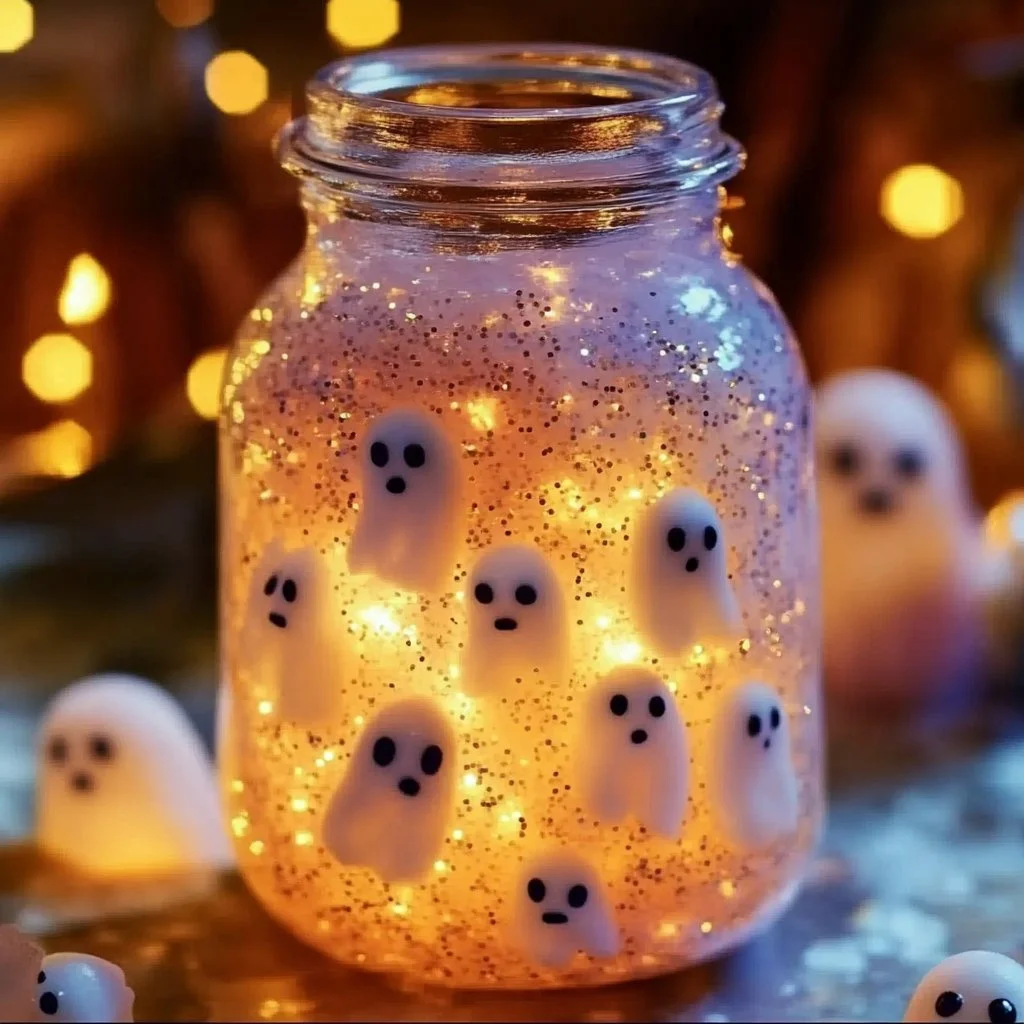
Floating ghost sensory jars are not just a captivating visual experience; they are also an incredible tool for mindfulness and relaxation for kids. This DIY project combines creativity with sensory exploration, allowing children to engage with a whimsical world of floating ghosts. These sensory jars can evoke feelings of calmness and curiosity, making them ideal for both playtime and quiet moments. By crafting their own jar, kids can learn about layering materials, observing how different elements interact, and enjoying the soothing effects of watching the contents float and swirl. Perfect for Halloween-themed activities or simply as a fun craft project, this recipe is easy to follow and provides endless opportunities for personalization.
Why You’ll Love This Floating Ghost Sensory Jar For Kids
- Encourages Creativity: Children can design their own jar, selecting colors and materials.
- Engages the Senses: The visual movements and textures stimulate sensory exploration.
- Promotes Mindfulness: Watching the jar can help kids practice focus and relaxation.
- Educational Fun: Kids learn about densities, layers, and how materials interact.
- Perfect for All Ages: Simple enough for younger children, yet engaging for older ones.
- Seasonal Decoration: A wonderful addition to Halloween decor that kids made themselves!
Materials
- Clear jar with a lid (glass or plastic)
- Water
- Baby oil or vegetable oil
- Glitter (white, black, or purple)
- Small ghost decorations (can be made from cotton balls or purchased)
- Food coloring (optional, for added color)
- Funnel (optional, for easier pouring)
Step-by-Step Instructions
1. Prepare Your Jar
- Clean the jar thoroughly and ensure it’s dry.
- If using a label, remove it to keep the jar transparent.
2. Fill with Liquid
- Use the funnel to pour baby oil or vegetable oil into the jar, filling it about two-thirds full.
- Carefully add water until the jar is almost full, leaving some space at the top.
3. Add Color
- If you want a colorful effect, add a few drops of food coloring to the water. Stir gently with a spoon to mix.
4. Incorporate Glitter
- Sprinkle in some glitter to create a magical, floating effect. Use various colors for a festive look!
5. Include Ghosts
- Gently place the small ghost decorations into the jar. Allow them to float on top of the liquid.
6. Seal It Up
- Securely fasten the lid onto the jar. Shake gently to see the floating ghosts in action!
7. Enjoy the Sensory Experience
- Watch your sensory jar and encourage kids to describe what they see, enhancing their observational skills.
Tips & Variations
- Customize Colors: Use pastel shades for a softer look or vibrant colors for a more festive appearance.
- Experiment with Liquids: Try using glycerin for a thicker texture or different oils for varying densities.
- Add More Decorations: Consider adding small Halloween-themed objects like mini pumpkins or spiders.
- Create a Themed Jar: Use seasonal colors and decorations for various holidays throughout the year.
Frequently Asked Questions
1. Can I use other types of jars?
Yes! Any clear container with a secure lid works, such as mason jars or plastic containers.
2. What if I don’t have baby oil?
You can substitute with any light oil, such as vegetable oil, or simply use distilled water for a different effect.
3. How can I make the ghosts?
Cotton balls can be shaped and painted with white fabric paint for easy DIY ghosts, or you can purchase small ghost figures at craft stores.
4. Can this be a part of a learning activity?
Absolutely! Incorporate science lessons about density and buoyancy by discussing why different materials float or sink in water.
Serving Suggestions or Pairings
- Enjoy this sensory jar activity with a warm cup of apple cider or pumpkin spice latte for a perfect fall afternoon.
- Pair it with seasonal snacks, such as caramel apples or Halloween-themed cookies, for a delightful party centerpiece.
Final Thoughts
Creating a floating ghost sensory jar is not just a fun craft—it’s an experience that can spark joy and creativity in children. Watching the ghosts float and swirl can be both calming and entertaining, making it an excellent tool for mindfulness. We hope you give this DIY project a try and invite you to share your versions or leave a comment below! Let’s spread the festive spirit together!
Print
Floating Ghost Sensory Jar for Kids
- Total Time: 10 minutes
- Yield: 1 sensory jar
- Diet: N/A
Description
Create a whimsical floating ghost sensory jar that encourages mindfulness and sensory exploration in children.
Ingredients
- Clear jar with a lid (glass or plastic)
- Water
- Baby oil or vegetable oil
- Glitter (white, black, or purple)
- Small ghost decorations (cotton balls or purchased)
- Food coloring (optional)
- Funnel (optional)
Instructions
- Clean the jar thoroughly and ensure it’s dry. Remove any labels if needed.
- Use a funnel to pour baby oil or vegetable oil into the jar, filling it about two-thirds full, then add water almost to the top.
- Add a few drops of food coloring to the water and stir gently with a spoon.
- Sprinkle in some glitter for a magical effect.
- Gently place the small ghost decorations into the jar, allowing them to float.
- Seal the jar with the lid and shake gently to see the ghosts in action!
- Encourage kids to watch and describe what they see for enhanced observational skills.
Notes
Customize colors and decorations to suit different themes or occasions.
- Prep Time: 10 minutes
- Cook Time: 0 minutes
- Category: Craft
- Method: DIY Crafting
- Cuisine: N/A
Nutrition
- Serving Size: 1 jar
- Calories: N/A
- Sugar: 0g
- Sodium: 0mg
- Fat: 0g
- Saturated Fat: 0g
- Unsaturated Fat: 0g
- Trans Fat: 0g
- Carbohydrates: 0g
- Fiber: 0g
- Protein: 0g
- Cholesterol: 0mg

