- Introduction
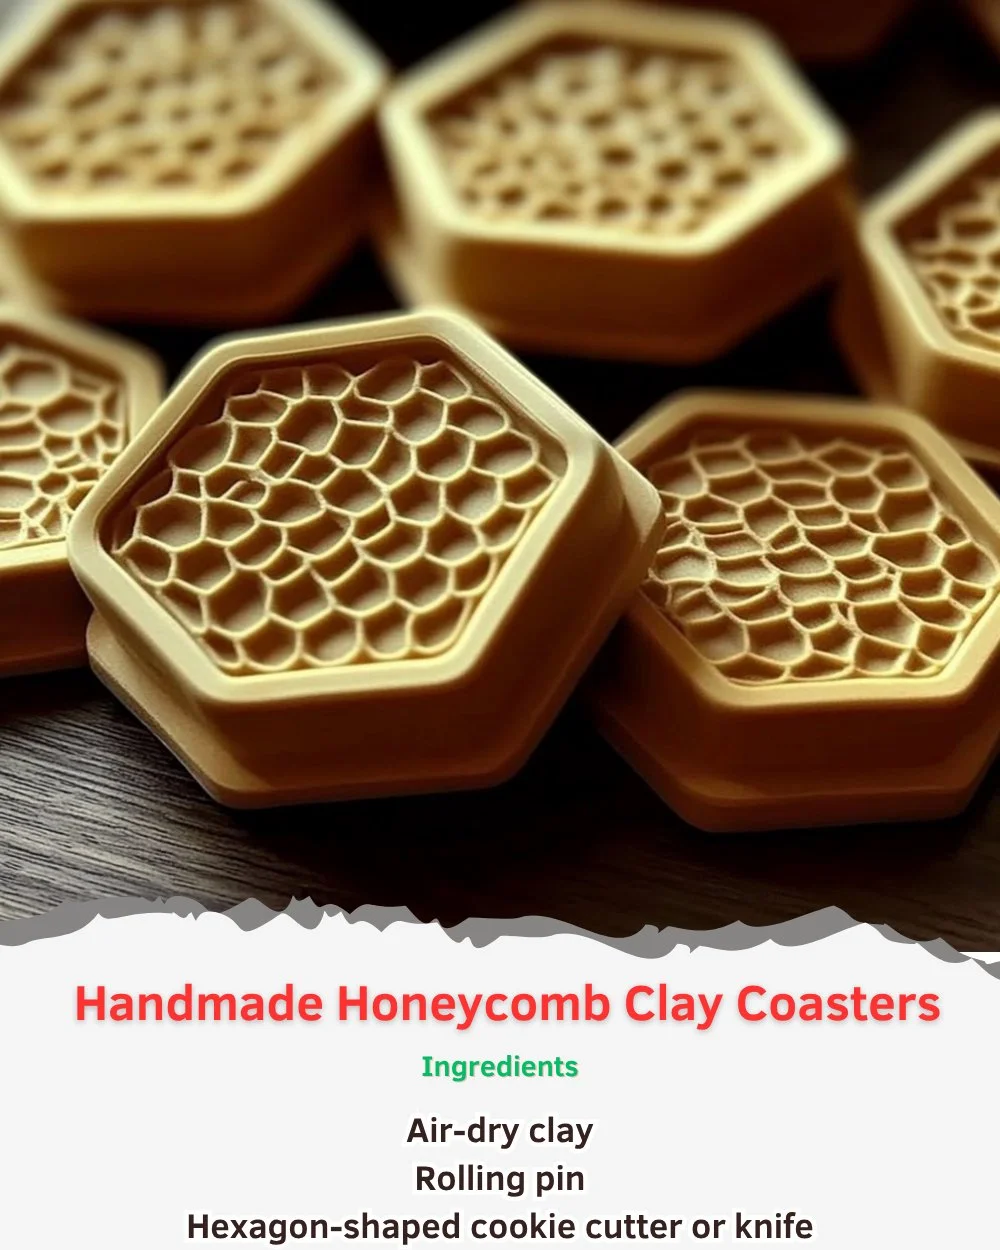
Handmade honeycomb clay coasters not only serve a practical purpose but also add a charming, artistic touch to your home decor. These coasters are an ideal DIY project that allows you to explore your creativity while providing a functional item for daily use. Whether you’re enjoying a warm cup of coffee, a chilled glass of lemonade, or entertaining friends, these coasters will protect your surfaces while showcasing your unique style. With easy-to-follow instructions and minimal ingredients, you’ll love making these coasters as much as you’ll enjoy using them. Let’s dive into the world of crafting and discover how to create your own beautiful honeycomb clay coasters!
- Why You’ll Love This Handmade Honeycomb Clay Coasters
- Unique Design: Each coaster features a distinctive honeycomb pattern, making them one-of-a-kind.
- Practical Function: Protects surfaces from moisture and heat while adding a decorative element.
- Eco-Friendly: Made from natural clay materials, these coasters are a sustainable option.
- Customizable: Paint or glaze them in your favorite colors for a personalized touch.
- Great Gift Idea: Perfect for housewarmings, birthdays, or any occasion that celebrates homemade gifts.
- Materials
- Air-dry clay (white or natural)
- Honeycomb pattern stamp or cookie cutter
- Rolling pin
- Craft knife or clay cutter
- Sandpaper (fine grit)
- Acrylic paint or glaze (optional)
- Paintbrush (if using paint)
- Clear sealant (optional)
- Step-by-Step Instructions
Prepare the Clay
- Take a chunk of air-dry clay and knead it until soft and pliable.
- Roll it out with a rolling pin to about ¼ inch thickness.
Cut the Coasters
- Use a cookie cutter or craft knife to cut out circular shapes from the rolled clay.
- Smooth the edges with your fingers or a tool.
Create the Honeycomb Pattern
- Press a honeycomb texture stamp onto each coaster or use a knife to create the design.
- Ensure the pattern is well-defined for a striking finish.
Drying
- Lay the coasters flat on a non-stick surface.
- Allow them to dry completely—typically 24 to 48 hours, depending on the thickness.
Finishing Touches
- Once dry, lightly sand any rough edges for a smooth finish.
- Optional: Paint or glaze the coasters for added color; let dry before sealing.
Seal (Optional)
- Apply a clear sealant to protect the surface and enhance durability.
- Tips & Variations
- Experiment with different shapes and sizes; try hearts or squares for a fun twist.
- Use food-safe paint for coasters that will hold mugs or glassware.
- Mix in clay colors for a marbled effect.
- Add decorative elements like beads or natural twine for extra flair.
- Frequently Asked Questions
Q: Can I use oven-bake clay instead of air-dry clay?
A: Yes, you can use oven-bake clay. Follow the manufacturer’s instructions for baking.
Q: How do I store unused clay?
A: Keep it wrapped in plastic or in an airtight container to prevent drying out.
Q: Can I wash these coasters?
A: Yes, but hand wash with mild soap and avoid soaking to prolong their life.
Q: What type of paint should I use?
A: Use acrylic paint or a non-toxic glaze designed for ceramics.
-
Serving Suggestions or Pairings
Pair your handmade coasters with comforting drinks like herbal tea or aromatic coffees. For a fun gathering, serve cocktails, sparkling water, or paired with a side of tasty snacks and appetizers. Their unique look will impress your guests while protecting your table! -
Final Thoughts
Creating your own handmade honeycomb clay coasters is a delightful way to blend function with artistry. Not only do they offer a personal touch to your home, but they also make fantastic gifts for friends and family. We’d love to hear how your coasters turned out! Please feel free to share your versions or leave a comment below with your tips or variations. Happy crafting!

Handmade Honeycomb Clay Coasters
- Total Time: 1455 minutes
- Yield: 4 coasters
- Diet: N/A
Description
Create unique and eco-friendly honeycomb clay coasters that add charm to your home decor.
Ingredients
- Air-dry clay (white or natural)
- Honeycomb pattern stamp or cookie cutter
- Rolling pin
- Craft knife or clay cutter
- Sandpaper (fine grit)
- Acrylic paint or glaze (optional)
- Paintbrush (if using paint)
- Clear sealant (optional)
Instructions
- Knead air-dry clay until soft and pliable.
- Roll it out to about ¼ inch thickness.
- Cut out circular shapes using a cookie cutter or craft knife.
- Smooth the edges with your fingers or a tool.
- Press a honeycomb texture stamp onto each coaster to create the design.
- Lay the coasters flat on a non-stick surface to dry for 24 to 48 hours.
- Lightly sand any rough edges for a smooth finish.
- Optional: Paint or glaze the coasters for added color; let dry before sealing.
- Apply a clear sealant if desired for protection.
Notes
Experiment with different shapes and sizes. Use food-safe paint for coasters for holding mugs or glassware.
- Prep Time: 15 minutes
- Cook Time: 1440 minutes
- Category: Craft
- Method: DIY Crafting
- Cuisine: N/A
Nutrition
- Serving Size: 1 coaster
- Calories: 0
- Sugar: 0g
- Sodium: 0mg
- Fat: 0g
- Saturated Fat: 0g
- Unsaturated Fat: 0g
- Trans Fat: 0g
- Carbohydrates: 0g
- Fiber: 0g
- Protein: 0g
- Cholesterol: 0mg

