Introduction
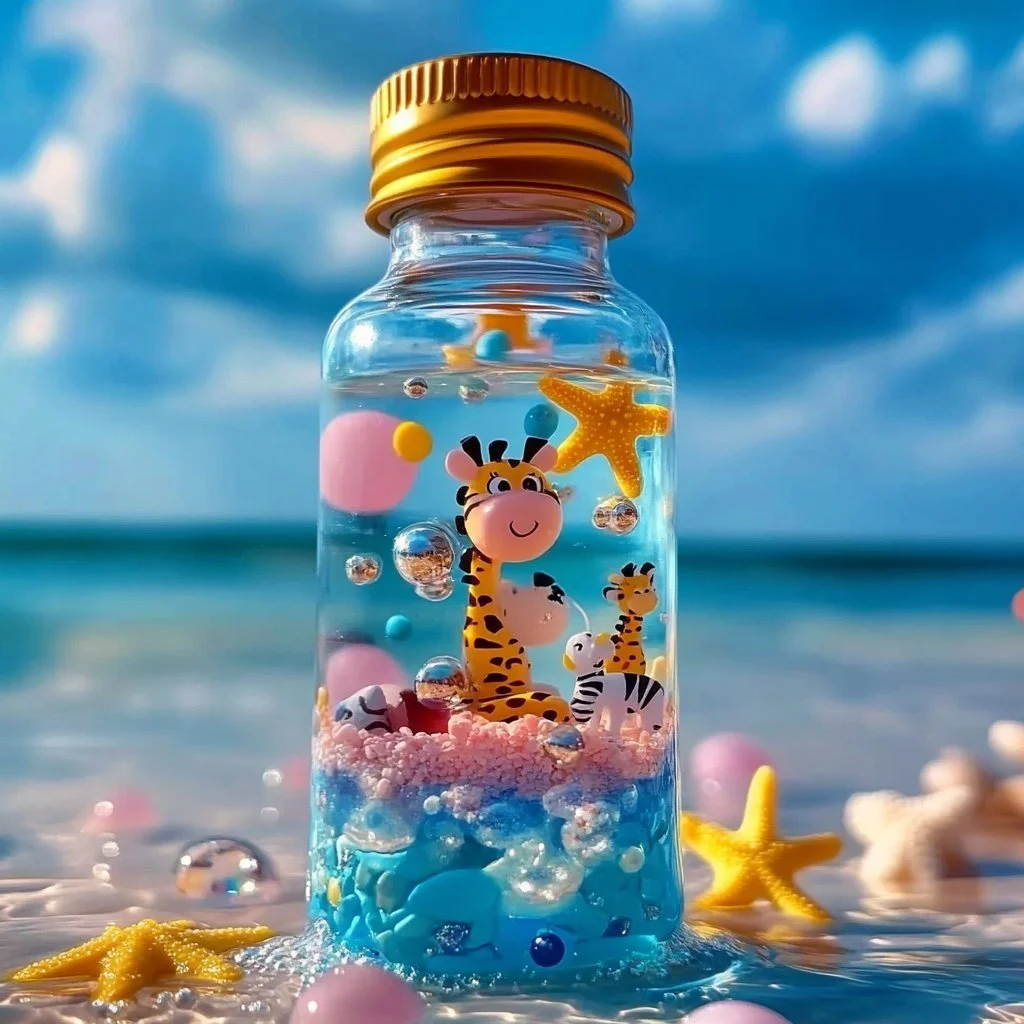
Creating a mini sensory bottle is a delightful activity that not only sparks creativity but also provides numerous sensory benefits for children and adults alike. The Zoo Mini Sensory Bottle brings the vibrant world of wildlife right to your fingertips. With its captivating colors and textures, it serves as a great visual and tactile experience. Whether you’re wanting to calm a fidgety child, teach kids about animals, or simply enjoy an engaging craft, this DIY project is the ideal solution. Plus, it’s an excellent way to spend quality time with loved ones as you create something unique together.
Why You’ll Love This Zoo Mini Sensory Bottle
- Promotes Relaxation: The gentle movement of the bottle can soothe and calm.
- Enhances Focus: Ideal for sensory play, it can help with concentration during quiet times.
- Educational Value: Great tool for teaching children about different animals.
- Easy to Make: Requires minimal materials and can be created in just a few minutes.
- Customizable: Personalize it with various themes or colors to suit your preferences.
- Reusable: Can be refreshed by swapping the contents for new experiences.
Materials
- A clear plastic or glass bottle with a secure lid (approximately 8 oz)
- Water
- Clear glue or glycerin
- Animal figurines (small toy jungle or zoo animals)
- Glitter (optional)
- Food coloring (optional)
- Funnel (for easy pouring)
- Stickers (optional for decoration)
Step-by-Step Instructions
1. Prepare the Bottle
- Start by cleaning and drying your bottle thoroughly.
- Use a funnel to fill the bottle about halfway with water.
2. Add Glycerin or Glue
- Pour in some clear glue or glycerin until the bottle is three-quarters full. This will slow down the movement of the glitter and animals.
3. Customize with Color and Glitter
- If desired, add a few drops of food coloring for a vibrant effect.
- Sprinkle in the glitter for added sparkle and sensory appeal.
4. Insert Animal Figurines
- Carefully place the small animal figurines inside, ensuring they fit within the neck of the bottle.
5. Seal and Shake
- Screw the lid on tightly. Shake the bottle gently to mix the contents and let the animals float among the glitter and colored water.
6. Final Touches
- Decorate the outside with stickers if you like, making it more personal and appealing.
Tips & Variations
- Color Themes: Use different colored glues or food colorings to match a theme (e.g., blue for ocean, green for jungle).
- Add Natural Elements: Consider adding small natural stones or shells for a more tactile experience.
- Sensory Focus: Swap contents based on the season or holidays (e.g., adding holiday-themed miniatures).
- Texture Variety: Combine different textures by adding foam balls or beads to enhance sensory exploration.
Frequently Asked Questions
Q1: Can I use any type of bottle?
A: Yes, but make sure it has a secure lid to prevent leaks, especially with younger children.
Q2: What if I don’t have glycerin?
A: You can use clear glue instead, although the viscosity may be slightly different.
Q3: Is this safe for young children?
A: Yes, but always supervise during play, as some small figurines may pose a choking hazard.
Q4: How can I make it more educational?
A: Label the animals or discuss their habitats while creating the sensory bottle to enhance learning.
Serving Suggestions or Pairings
- Pair this activity with a refreshing lemonade or fruit-infused water for a complete sensory experience.
- Use alongside storytelling sessions about animals to deepen the educational aspect.
- Set up a mini wildlife display with books or articles about the animals included in the bottle.
Final Thoughts
Creating a Zoo Mini Sensory Bottle is a fun and engaging way to unleash creativity and enjoy sensory exploration. We hope this guide inspires you to craft your own unique version. Feel free to share your creations or any variations you’ve tried in the comments below – we’d love to hear from you!
Print
Zoo Mini Sensory Bottle
- Total Time: 10 minutes
- Yield: 1 sensory bottle
- Diet: N/A
Description
A fun and engaging DIY project to create a Zoo Mini Sensory Bottle that promotes relaxation, focus, and educational value through sensory play.
Ingredients
- A clear plastic or glass bottle with a secure lid (approximately 8 oz)
- Water
- Clear glue or glycerin
- Animal figurines (small toy jungle or zoo animals)
- Glitter (optional)
- Food coloring (optional)
- Funnel (for easy pouring)
- Stickers (optional for decoration)
Instructions
- Start by cleaning and drying your bottle thoroughly.
- Use a funnel to fill the bottle about halfway with water.
- Pour in some clear glue or glycerin until the bottle is three-quarters full.
- If desired, add a few drops of food coloring and sprinkle in the glitter.
- Carefully place the small animal figurines inside the bottle.
- Screw the lid on tightly and shake gently to mix the contents.
- Decorate the outside with stickers if you like.
Notes
Supervise young children during play, as some small figurines may pose a choking hazard. Customize with seasonal themes or additional textures for enhanced exploration.
- Prep Time: 10 minutes
- Cook Time: 0 minutes
- Category: Craft
- Method: DIY Crafting
- Cuisine: N/A
Nutrition
- Serving Size: 1 bottle
- Calories: 0
- Sugar: 0g
- Sodium: 0mg
- Fat: 0g
- Saturated Fat: 0g
- Unsaturated Fat: 0g
- Trans Fat: 0g
- Carbohydrates: 0g
- Fiber: 0g
- Protein: 0g
- Cholesterol: 0mg

