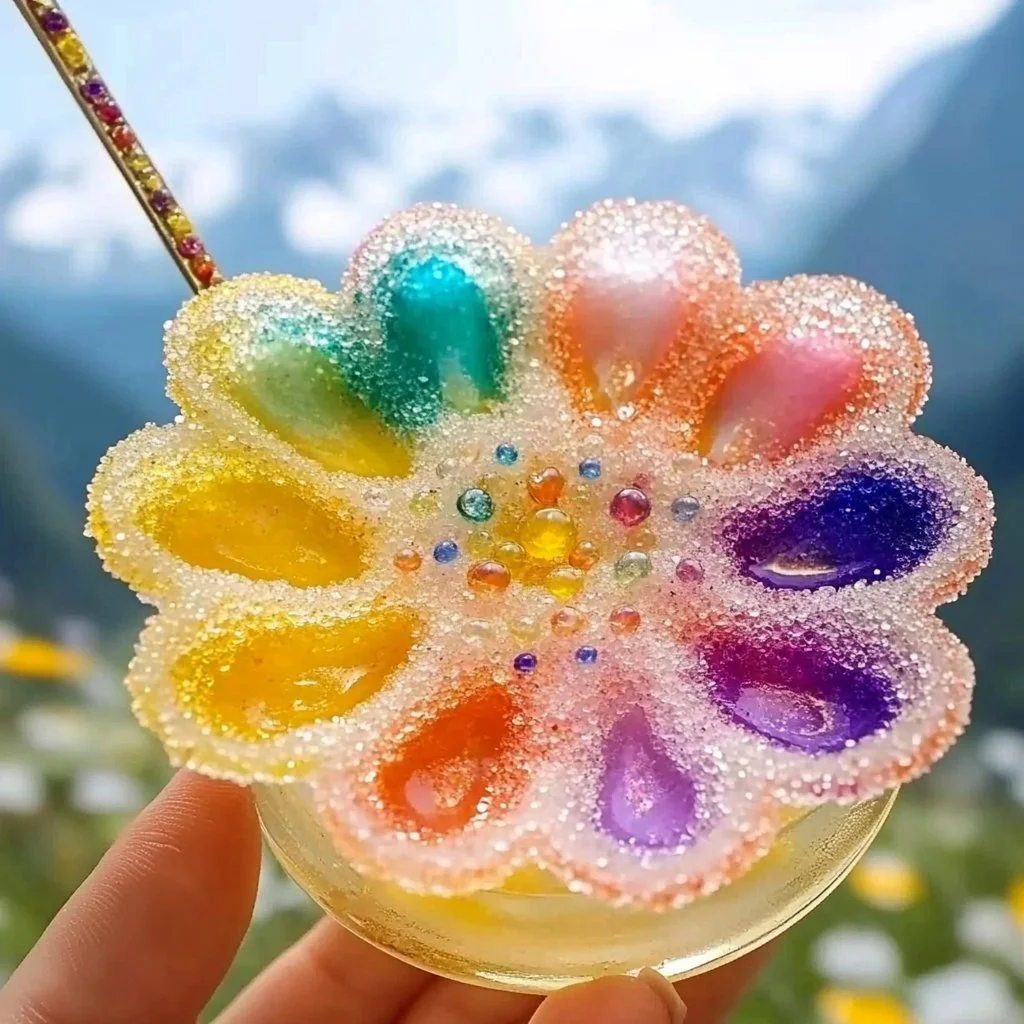
DIY projects can be a delightful way to explore creativity while enjoying a fun bonding experience. One unique craft that marries art with sensory play is salt painting. This vibrant and engaging activity is perfect for all ages, allowing you to transform simple materials into beautiful masterpieces. Imagine creating colorful flowers that bloom right off the page! Salt painting not only develops fine motor skills but also encourages patience and attention to detail. In this guide, we’ll walk you through the process of making DIY flower salt paintings, sharing tips and ideas to customize your creation. Whether you’re looking for a fun afternoon activity or a creative lesson plan for kids, this project is sure to inspire.
Why You’ll Love This DIY Flowers Salt Painting
- Engaging Creative Outlet: Perfect for kids and adults alike, allowing everyone to unleash their inner artist.
- Sensory Experience: The combination of salt, paint, and glue creates an engaging texture that’s visually stimulating.
- Easy to Make: Simple materials and steps make this project accessible for all skill levels.
- Customizable Designs: Personalize your artwork with different colors and flower shapes.
- Educational Value: Great for lessons on colors, textures, and artistic methods.
Materials
- White school glue
- Fine salt
- Watercolor paints or food coloring
- Heavyweight paper or cardstock
- A paintbrush
- Dish or tray (for salt)
- Spray bottle with water (optional)
- Protective covering for your workspace
Step-by-Step Instructions
1. Prepare Your Workspace
- Lay down protective covering to avoid mess.
- Gather all your materials.
2. Create Your Flower Design
- Use the white glue to draw flower shapes on the heavyweight paper.
- Experiment with different designs like petals, leaves, or stems.
3. Sprinkle the Salt
- While the glue is still wet, carefully sprinkle salt over the glue designs.
- Ensure that the salt covers all the glue to create a textured surface.
4. Shake Off Excess Salt
- Gently lift the paper and tilt it to shake off any extra salt.
- You should have a glittery, white surface where the glue was applied.
5. Add Color
- Dilute your watercolor paints or food coloring with a little water for better flow.
- Use a paintbrush to drop colors onto the salt, watching as they spread along the grains.
6. Let it Dry
- Place your artwork in a safe space to dry completely, which may take a few hours.
Tips & Variations
- Color Blending: Experiment by using two colors on the same flower for a gradient effect.
- Different Shapes: Try creating other shapes, such as grass or butterflies, to enhance your composition.
- Texture: Use coarser salt for different textures, which can add a unique dynamic to your painting.
- Layering: Once the first layer is dry, you can add more glue and salt to create depth in your artwork.
Frequently Asked Questions
1. Can I use regular paint instead of watercolor?
Yes, while watercolor works best, you can use any diluted paint. Just ensure it flows well.
2. How do I preserve my salt painting once it’s dry?
To protect your painting, you can spray it lightly with a fixative spray or frame it under glass.
3. What if I run out of salt?
Table salt can be used as a substitute in a pinch, or try using sugar for a different texture.
4. How can I make this project more educational?
Incorporate discussions about color theory, flower anatomy, or even history of salt painting.
Serving Suggestions or Pairings
- Pair this craft with a refreshing lemonade or fruit-infused water for a delightful afternoon.
- Play light music or have a storytelling session while creating to enhance the experience.
Final Thoughts
DIY flower salt painting is a uniquely enjoyable way to express creativity while developing artistic skills. Remember, there are no strict rules—let your imagination lead you! We’d love to hear about your creations and any unique variations you come up with. Feel free to share your artwork or leave a comment below!
Print
DIY Flower Salt Painting
- Total Time: 120 minutes
- Yield: 1 painting
- Diet: N/A
Description
A fun and engaging craft activity for all ages that combines art with sensory play through vibrant salt painting.
Ingredients
- White school glue
- Fine salt
- Watercolor paints or food coloring
- Heavyweight paper or cardstock
- A paintbrush
- Dish or tray (for salt)
- Spray bottle with water (optional)
- Protective covering for your workspace
Instructions
- Prepare Your Workspace: Lay down protective covering to avoid mess and gather all your materials.
- Create Your Flower Design: Use white glue to draw flower shapes on heavyweight paper.
- Sprinkle the Salt: While the glue is still wet, carefully sprinkle salt over the designs.
- Shake Off Excess Salt: Gently lift the paper and tilt it to shake off any extra salt.
- Add Color: Dilute watercolor paints or food coloring with water and drop colors onto the salt.
- Let it Dry: Place your artwork in a safe space to dry completely, which may take a few hours.
Notes
Experiment with color blending and different shapes for unique creations.
- Prep Time: 15 minutes
- Cook Time: 0 minutes
- Category: Craft
- Method: Crafting
- Cuisine: N/A
Nutrition
- Serving Size: 1 project
- Calories: 0
- Sugar: 0g
- Sodium: 0mg
- Fat: 0g
- Saturated Fat: 0g
- Unsaturated Fat: 0g
- Trans Fat: 0g
- Carbohydrates: 0g
- Fiber: 0g
- Protein: 0g
- Cholesterol: 0mg

