- Introduction
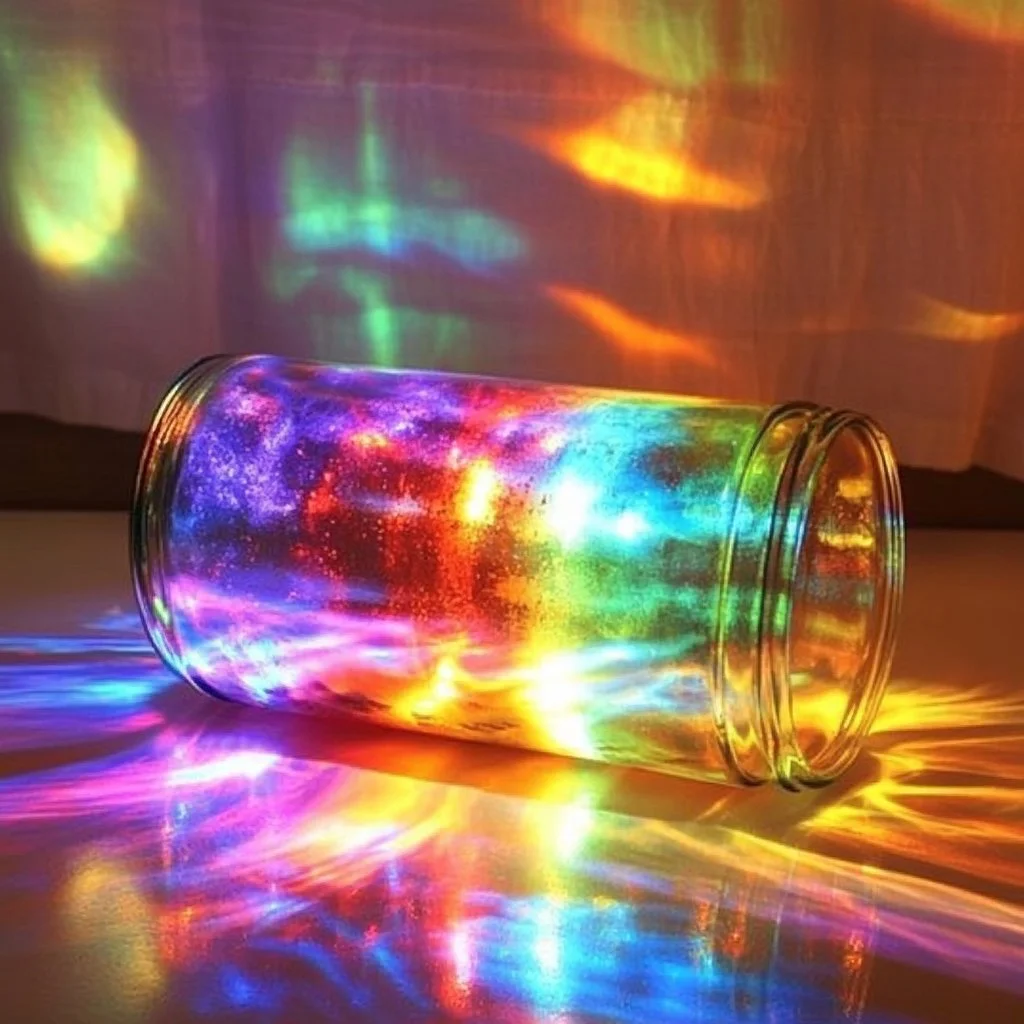
Creating a DIY Rainbow Light Show is an artful blend of creativity and science that will not only mesmerize you but also ignite the imagination of anyone who witnesses it. Designed for kids and adults alike, this engaging project invites you to explore the principles of light and color in a playful and hands-on manner. With just a few basic materials and straightforward instructions, you can transform your living room or backyard into a vibrant spectacle of swirling colors! Whether you’re gearing up for a birthday party, a family gathering, or simply looking to add a dash of fun to your evening, this DIY experience is both educational and entertaining.
- Why You’ll Love This DIY Rainbow Light Show:
- Engaging Experience: Perfect for families, bringing everyone together for a fun project.
- Educational: Learn about light, color mixing, and optics while having fun.
- Easy Setup: Requires minimal materials and can be assembled in no time.
- Visually Stunning: The resulting light show will captivate both children and adults.
- Customizable: Adjust the colors, patterns, and settings to suit your style.
- Materials
- Clear plastic cups (8-10)
- Water
- Food coloring (red, orange, yellow, green, blue, purple)
- LED flashlight or projector
- White cardboard or wall (for projection)
- Optional: Glitter or sequins for added sparkle
- Step-by-Step Instructions
Prepare Your Cups:
- Fill each plastic cup with water, about three-quarters full.
- Add a few drops of different food coloring to each cup. Use one color per cup: red, orange, yellow, green, blue, and purple to create the rainbow effect.
Set Up the Light Source:
- In a dimly lit room, place the LED flashlight or projector on a stable surface.
- Position the white cardboard or use a blank wall for the projection surface.
Create Your Rainbow Show:
- Arrange the cups in a line in front of the light source, ensuring each cup is lit up.
- Adjust the position of the flashlight until you see the colorful light streaming from the cups.
- Create movement by gently swaying or repositioning the cups, or translate the light’s colors onto the wall using different angles.
- Tips & Variations
- Try Different Colors: Use various shades of food coloring for an expanded palette.
- Incorporate Patterns: Experiment with the arrangement of cups to form different patterns.
- Add Sparklers: For an even more magical touch, sprinkle a little glitter or sequins into the cups to catch the light.
- Color Mixing: Use clear cups for a mixing effect and blend two or more colors together for new shades.
- Frequently Asked Questions
Q1: What type of flashlight works best?
A1: An LED flashlight with a strong beam is ideal, but you can also use a projector for larger displays.
Q2: Can I use other liquids instead of water?
A2: Yes, clear liquids like soda or tonic water can work, but they might alter the color intensity.
Q3: How can I enhance the light show?
A3: Experiment with reflective surfaces or screens to amplify the effect, or add a colored filter to your light source.
Q4: Is this safe for young children?
A4: Yes, this project is safe; however, be cautious with food coloring and avoid letting it stain clothing.
- Serving Suggestions or Pairings
- Pair this light show with fun, colorful snacks such as rainbow fruit skewers or sorbet for a visually delightful treat.
- Serve refreshing drinks like lemonades or fruit punches that add to the vibrant theme.
- Consider setting the scene with soft music or soundtracks to enhance the immersive experience.
- Final Thoughts
The DIY Rainbow Light Show is a fabulous way to explore the magic of light and color while enjoying quality time with loved ones. As you watch the colors dance and interact, you’ll create memories that last a lifetime. We’d love to see your versions of this light show! Feel free to share your experiences or leave a comment below with your results and any unique twists you added!
Print
DIY Rainbow Light Show
- Total Time: 10 minutes
- Yield: Unlimited fun
- Diet: N/A
Description
Transform your living room or backyard into a vibrant spectacle with this engaging and educational DIY Rainbow Light Show. Perfect for families, this project combines creativity and science to captivate audiences of all ages.
Ingredients
- Clear plastic cups (8-10)
- Water
- Food coloring (red, orange, yellow, green, blue, purple)
- LED flashlight or projector
- White cardboard or wall (for projection)
- Optional: Glitter or sequins for added sparkle
Instructions
- Fill each plastic cup with water, about three-quarters full.
- Add a few drops of different food coloring to each cup, using one color per cup.
- In a dimly lit room, place the LED flashlight or projector on a stable surface.
- Position the white cardboard or use a blank wall for the projection surface.
- Arrange the cups in a line in front of the light source, ensuring each cup is lit up.
- Adjust the position of the flashlight until you see the colorful light streaming from the cups.
- Create movement by gently swaying or repositioning the cups to enhance the light show.
Notes
Try different colors and patterns for variety. Adding glitter or sequins can create an enchanting sparkly effect.
- Prep Time: 10 minutes
- Cook Time: 0 minutes
- Category: Craft
- Method: DIY Project
- Cuisine: N/A
Nutrition
- Serving Size: N/A
- Calories: 0
- Sugar: 0g
- Sodium: 0mg
- Fat: 0g
- Saturated Fat: 0g
- Unsaturated Fat: 0g
- Trans Fat: 0g
- Carbohydrates: 0g
- Fiber: 0g
- Protein: 0g
- Cholesterol: 0mg

