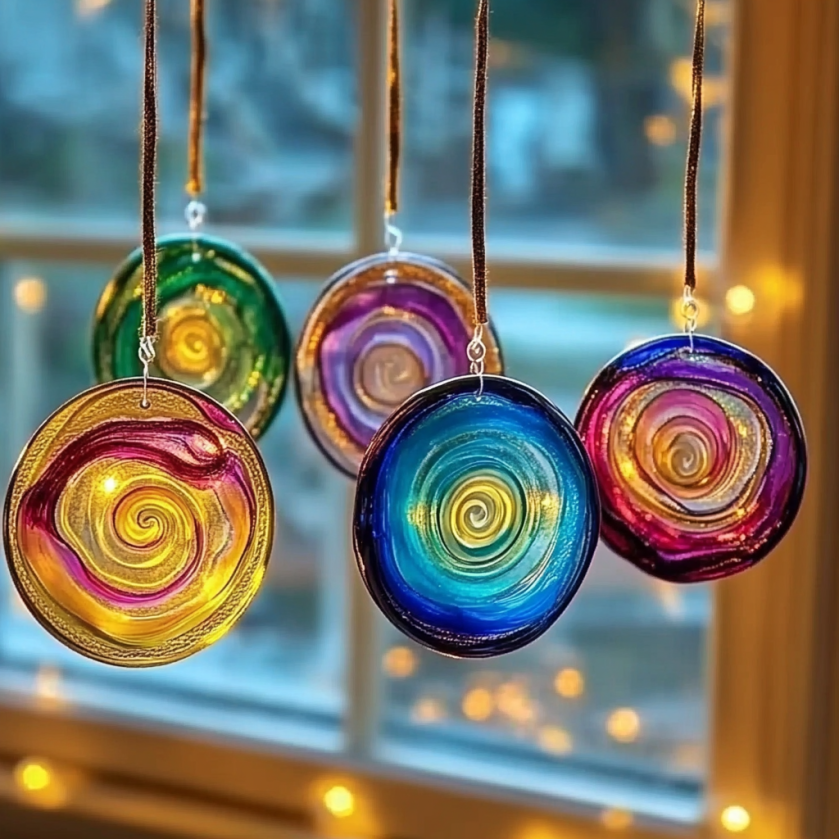
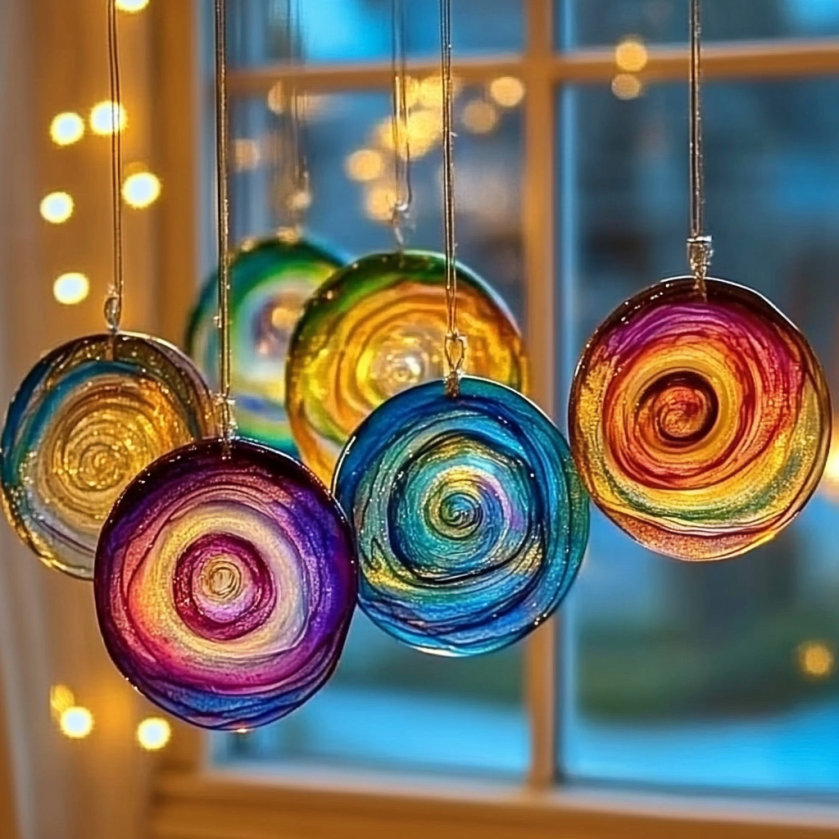
DIY glue suncatchers are a delightful and creative activity that transforms ordinary ingredients into vibrant pieces of art. Perfect for kids and adults alike, these suncatchers use simple materials to create stunning, colorful designs that catch and reflect sunlight. Whether you’re looking to brighten up a room, get crafty with children, or explore your artistic side, this project is both fun and rewarding. With just a few steps, you can create a timeless decoration that can be hung in windows to enhance the natural beauty of sunlight. Let’s dive into the benefits and how-to of making your own glue suncatchers!
Why You’ll Love This DIY Glue Suncatchers
- Easy to Make: Requires minimal materials and preparation.
- Creative Expression: Customize designs with various colors and textures.
- Affordable: Uses everyday items that you probably already have at home.
- Family Fun: Engaging project for kids, fostering creativity and coordination.
- Brightens Spaces: Beautifully colored suncatchers bring joy and light to any room.
- Educative: Teaches children about colors, mixing, and following instructions

Materials
- White glue (like Elmer’s)
- Food coloring (various colors)
- Wax paper or plastic sheet
- A bowl and spoon
- Craft items (like glitter, beads, or confetti) — optional
- Scissors
- Paintbrush or sponge (optional for spreading)
Step-by-Step Instructions
Prepare Your Workspace
- Lay down newspaper or a plastic covering to catch any spills.
- Gather all your materials within reach.
Mix the Glue and Color
- In a bowl, squeeze out about a cup of white glue.
- Add several drops of food coloring to the glue. Mix thoroughly using a spoon or a small paintbrush until you achieve your desired shade.
Create Your Design
- Lay a piece of wax paper or plastic sheet flat on your workspace.
- Use the spoon or paintbrush to pour or spread the mixed glue onto the wax paper in your desired shapes and patterns. Think of swirls, circles, or even hearts!
Add Extra Texture
- Sprinkle glitter, beads, or confetti onto the wet glue for some sparkle and interest.
- Feel free to mix colors for a more dynamic effect.
Let It Dry
- Allow your suncatcher to dry for at least 24 hours. Ensure it’s in a dry area where it won’t be disturbed.
Cut and Hang
- Once dry, carefully peel the suncatcher off the wax paper.
- Use scissors to cut into various shapes if desired.
- Hang your creation in a sunny window and admire how it transforms the light!
Tips & Variations
- Color Mixing: Experiment with mixing different food coloring to create unique shades.
- Shape Templates: Use cookie cutters or stencils to outline shapes on your wax paper before filling them.
- Layering Colors: Try layering different colors of glue for a more intricate look.
- Natural Elements: Incorporate leaves or flowers before it dries for a botanical touch.

Frequently Asked Questions
Can I use any type of glue for this project?
While white school glue works best for transparency and flexibility, you can experiment with other types of glue, although results may vary.
How can I hang these suncatchers?
Use a thin string or fishing line to attach them to a window. You can also use double-sided tape for a simpler method.
What if the glue doesn’t dry clear?
Ensure you’re using a non-yellowing, clear-drying glue. If it’s still cloudy, allow it more drying time, or try a different glue.
Can I store leftover glue mixture?
It’s best to use the glue mixture immediately, as it may not last long in storage and could clump or dry out.
Serving Suggestions or Pairings
Pair your suncatcher-making fun with refreshing beverages like iced tea or lemonade. For a more complete afternoon, consider serving light snacks, such as veggie sticks with dip or fruit skewers, to keep crafting energizing!
Final Thoughts
DIY glue suncatchers are an enjoyable way to channel creativity while adding bright, personal touches to your home. Whether hanging in your window or gifting to a friend, these colorful creations are a joyful reminder of the beauty of light and imagination. We’d love to see your unique suncatcher designs! Share your versions and any creative twists in the comments below!
Print
DIY Glue Suncatchers
- Total Time: 1455 minutes
- Yield: 1 suncatcher (can make multiple) 1x
- Diet: N/A
Description
Brighten your space with colorful DIY glue suncatchers that are fun and easy to make using simple materials.
Ingredients
- 1 cup white glue (like Elmer’s)
- Food coloring (various colors)
- Wax paper or plastic sheet
- Bowl and spoon
- Craft items (like glitter, beads, or confetti) – optional
- Scissors
- Paintbrush or sponge (optional for spreading)
Instructions
- Prepare Your Workspace: Lay down newspaper or a plastic covering to catch any spills and gather all your materials.
- Mix the Glue and Color: In a bowl, squeeze out about a cup of white glue, add several drops of food coloring, and mix thoroughly.
- Create Your Design: Lay a piece of wax paper flat, use a spoon or paintbrush to pour or spread the mixed glue onto the wax paper in desired shapes.
- Add Extra Texture: Sprinkle glitter, beads, or confetti onto the wet glue for sparkle.
- Let It Dry: Allow your suncatcher to dry for at least 24 hours in a dry area.
- Cut and Hang: Once dry, carefully peel off the wax paper, cut into shapes if desired, and hang in a sunny window.
Notes
Experiment with different food colorings and shapes for unique designs. Use cookie cutters for templates or layer colors for complexity.
- Prep Time: 15 minutes
- Cook Time: 1440 minutes
- Category: Craft
- Method: Crafting
- Cuisine: N/A
Nutrition
- Serving Size: 1 suncatcher
- Calories: 0
- Sugar: 0g
- Sodium: 0mg
- Fat: 0g
- Saturated Fat: 0g
- Unsaturated Fat: 0g
- Trans Fat: 0g
- Carbohydrates: 0g
- Fiber: 0g
- Protein: 0g
- Cholesterol: 0mg

