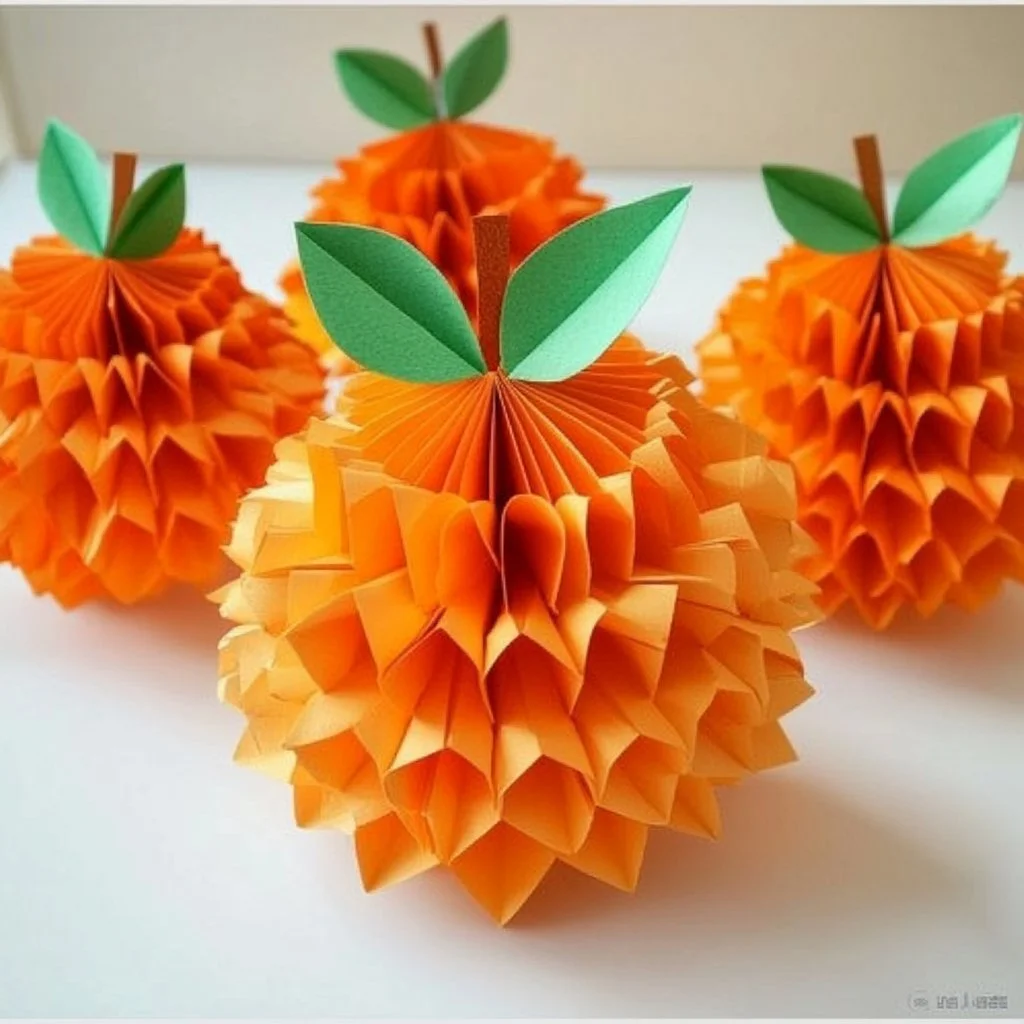
As the leaves turn and the air becomes crisp, it’s the perfect time to embrace the autumn spirit with delightful pumpkin decorations. This DIY project is not only easy to execute but also adds a personal touch to your fall festivities. Whether you’re preparing for Halloween, Thanksgiving, or simply want to bring some seasonal charm to your home, crafting your own pumpkin decoration is a delightful way to express creativity. With just a few materials and a bit of time, you can transform ordinary pumpkins into stunning focal pieces. Ready to brighten up your harvest season? Let’s dive into the details!
Why You’ll Love This Pumpkin Decoration
- Customizable: Tailor the design and colors to match your personal style or home decor.
- Affordable: Use inexpensive materials you may already have on hand.
- Fun for All Ages: Great activity for families, kids, or even a creative night with friends.
- Seasonal Flair: Instantly enhance your home’s autumn ambiance.
- Environmentally Friendly: Opt for real pumpkins or reusable materials for an eco-conscious project.
Materials
- Fresh pumpkins (variety of sizes)
- Acrylic paint (various colors)
- Paintbrushes (small and medium)
- Craft glue or hot glue gun
- Decorative items (glitter, sequins, fabric scraps, ribbons)
- Scissors
- Optional: Stencils for patterns
Step-by-Step Instructions
Prepare Your Workspace
- Choose a clean, flat surface where you can get creative.
- Lay down newspaper or a plastic sheet to protect the area from paint and glue.
Select and Prepare Pumpkins
- Pick pumpkins based on size and character.
- If desired, wash and dry them to create a clean painting surface.
Painting Your Pumpkins
- Choose your base color and use a medium brush to paint the entire pumpkin.
- Tip: Use a sponge brush for a smoother finish.
- Let the first coat dry completely before applying a second coat for vibrancy.
Adding Decorative Elements
- Once dried, use glue to attach decorative items like glitter or fabric.
- Consider creating patterns or shapes using stencils for added flair.
Final Touches
- Highlight with a contrasting color for details (like eyes or mouths for a jack-o’-lantern).
- Allow all glue and paint to dry completely before displaying.
Tips & Variations
- Color Swap: Instead of traditional orange, try pastel shades for a modern look.
- Material Alternatives: Use natural materials, like twigs and leaves, for a rustic appearance.
- Theme Inspired: Create themed pumpkins, such as spooky ones for Halloween or elegant ones for Thanksgiving.
- Lighting: Place small LED lights inside for a glowing effect in the evening.
Frequently Asked Questions
Q1: Can I use real pumpkins for this decoration?
A1: Absolutely! Real pumpkins are perfect for these decorations, but keep in mind they may not last as long as artificial ones.
Q2: What if I don’t have paint?
A2: You can also use markers, washi tape, or even cutouts from colored paper as alternatives.
Q3: How can I preserve my decorated pumpkins?
A3: To prolong the life of real pumpkins, consider sealing them with a clear spray sealant.
Q4: Do I need to carve the pumpkins before painting?
A4: No, carving is optional! You can simply paint over the skin for a fresh look without cutting.
Serving Suggestions or Pairings
- Pair your decorative pumpkins with seasonal decorations like hay bales or autumn leaves.
- Consider adding candles or lanterns around them to create an inviting atmosphere.
- Create a cozy corner with warm beverages like spiced cider or pumpkin latte for a complete fall experience.
Final Thoughts
Crafting your own pumpkin decorations is a wonderful way to welcome the autumn season and express your creativity. With endless opportunities for customization, this project is sure to bring joy not only to you but also to your friends and family who visit your home. I’d love to hear about your pumpkin creations! Please share your versions or any tips in the comments below. Happy decorating!
Print
DIY Pumpkin Decoration
- Total Time: 75 minutes
- Yield: Varies based on number of pumpkins decorated
- Diet: N/A
Description
Create delightful pumpkin decorations to add a personal touch to your fall festivities. This easy DIY project is perfect for Halloween, Thanksgiving, or simply enhancing your autumn ambiance.
Ingredients
- Fresh pumpkins (variety of sizes)
- Acrylic paint (various colors)
- Paintbrushes (small and medium)
- Craft glue or hot glue gun
- Decorative items (glitter, sequins, fabric scraps, ribbons)
- Scissors
- Optional: Stencils for patterns
Instructions
- Prepare your workspace by choosing a clean, flat surface and laying down newspaper or a plastic sheet to protect the area.
- Select and prepare pumpkins based on size and character; wash and dry them.
- Use a medium brush to paint the entire pumpkin in your chosen base color; let the first coat dry completely before applying a second coat.
- Once dried, use glue to attach decorative items like glitter or fabric, and consider stencils for patterns.
- Highlight with a contrasting color for details and allow all glue and paint to dry completely.
Notes
Consider using natural materials for a rustic appearance or LED lights for a glowing effect.
- Prep Time: 15 minutes
- Cook Time: 60 minutes
- Category: Crafts
- Method: Crafting
- Cuisine: N/A
Nutrition
- Serving Size: 1 decoration
- Calories: 0
- Sugar: 0g
- Sodium: 0mg
- Fat: 0g
- Saturated Fat: 0g
- Unsaturated Fat: 0g
- Trans Fat: 0g
- Carbohydrates: 0g
- Fiber: 0g
- Protein: 0g
- Cholesterol: 0mg

