- Introduction
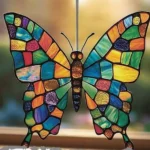
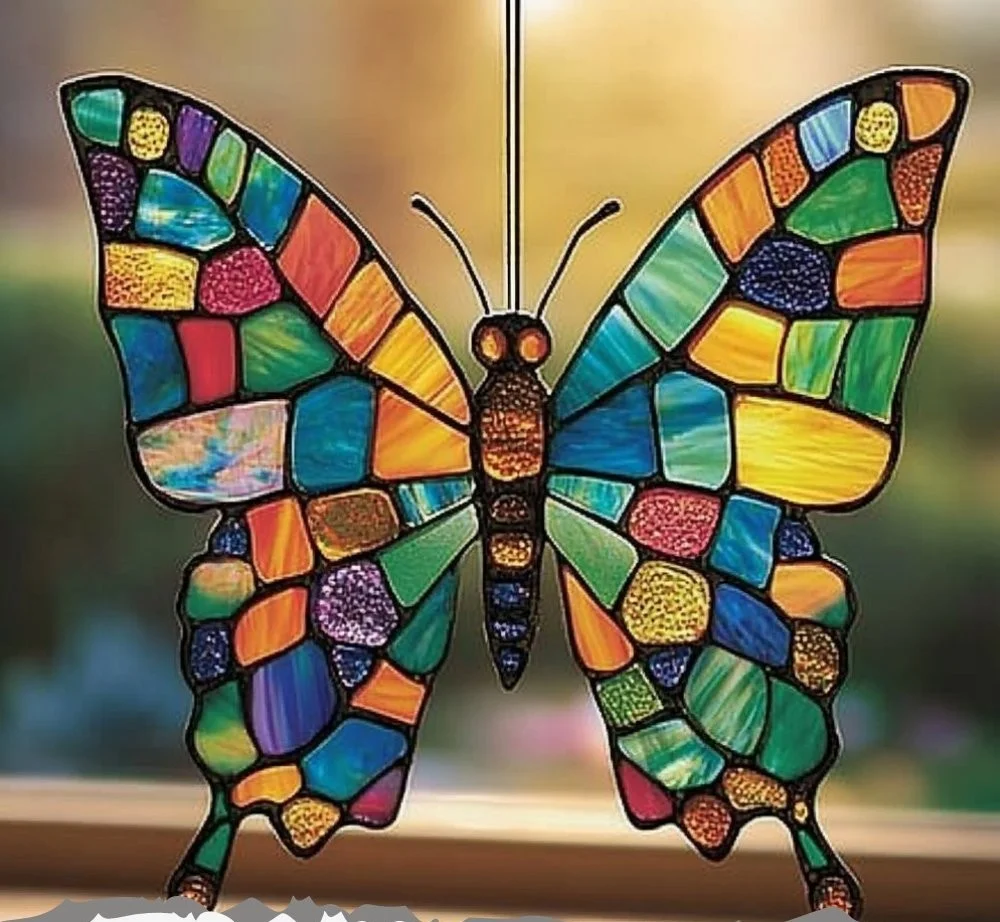
Crafting can be a soothing and fulfilling activity, especially when you create something visually stunning like a stained glass butterfly. This colorful project not only brings a touch of whimsy into your home but also serves as a wonderful opportunity to ignite your creativity. Whether you’re an experienced crafter or just starting out, this stained glass butterfly craft is a joyful expression of art that you can personalize. By using simple materials and following straightforward instructions, you can create a vibrant decoration that catches the light beautifully. Let’s dive into the world of vibrant colors and creative freedom as we explore how to make your very own stained glass butterfly!
- Why You’ll Love This Stained Glass Butterfly Craft
- Great for All Ages: Perfect for kids and adults, making it a fantastic family activity.
- Enhances Creativity: Unleash your inner artist as you choose colors and designs.
- Home Decor: Adds a cheerful ambiance to any space.
- Educational: Teaches basic crafting skills and fine motor coordination.
- Giftable: A unique handmade gift for friends and family.
- Materials
- Colored tissue paper (various colors)
- Clear plastic sheet (transparency film)
- Black construction paper or cardstock
- Scissors
- Glue or mod podge
- Paintbrush (for applying glue)
- Pencil
- Ruler
- Optional: String or fishing line for hanging
- Step-by-Step Instructions
Prepare Your Workspace
- Clear a large, flat surface.
- Gather all materials in one area for easy access.
Design Your Butterfly
- Use a pencil to sketch the outline of a butterfly on the black construction paper.
- Ensure the wings are of a size you desire for your craft.
Cut Out the Butterfly
- Carefully cut out your butterfly shape. This will serve as the base for your stained glass.
Create the Stained Glass Look
- Cut the colored tissue paper into small squares or fun shapes.
- Lay the clear plastic sheet over your butterfly outline.
Assemble the Butterfly
- Using a paintbrush, apply glue on the areas of the plastic where you want to place the tissue paper.
- Layer the colored tissue papers over the glued areas, creating an arrangement you love.
- Allow the glue to dry completely.
Finish Your Craft
- Once dry, place the black butterfly cutout over the tissue paper design.
- Secure with additional glue if necessary.
Optional: Hang Your Masterpiece
- If you want to display it, attach a piece of string or fishing line to the top.
- Tips & Variations
- Customize Colors: Use different shades of tissue paper to match your home decor.
- Add Glitter: Sprinkle some fine glitter before the glue dries for extra sparkle.
- Shape Variations: Experiment with other shapes like birds or flowers for variety.
- Layering: For a more elaborate design, layer multiple pieces of colored tissue paper.
- Frequently Asked Questions
Q: Can I use regular paper instead of tissue paper?
A: While regular paper can work, tissue paper is preferred for its translucent properties, which mimic stained glass better.
Q: What if I don’t have clear plastic sheets?
A: You can also use a sturdy plastic wrap or a repurposed clear plastic container.
Q: How do I keep the butterfly from curling?
A: Make sure to use a good amount of glue and let it dry flat to avoid curling.
Q: Can I make a larger butterfly?
A: Absolutely! Just adjust the size of the template and materials accordingly.
- Serving Suggestions or Pairings
- Display your stained glass butterfly near a window where it can catch the sunlight beautifully.
- Pair it with other homemade crafts, like a matching stained glass flower, for a coordinated display.
- Final Thoughts
Crafting a stained glass butterfly is not only an enjoyable project but also a way to brighten up your living space. We hope you found joy in every step of the process and are happy with your creation. We encourage you to share your versions or any variations you came up with in the comments below! Your feedback is invaluable and inspires other crafters to explore their creativity!

Stained Glass Butterfly Craft
- Total Time: 15 minutes
- Yield: 1 butterfly
- Diet: N/A
Description
Create a vibrant stained glass butterfly using simple materials and unleash your creativity.
Ingredients
- Colored tissue paper (various colors)
- Clear plastic sheet (transparency film)
- Black construction paper or cardstock
- Scissors
- Glue or mod podge
- Paintbrush (for applying glue)
- Pencil
- Ruler
- Optional: String or fishing line for hanging
Instructions
- Prepare Your Workspace: Clear a large, flat surface and gather all materials.
- Design Your Butterfly: Sketch the outline of a butterfly on the black construction paper.
- Cut Out the Butterfly: Cut out your butterfly shape to serve as the base.
- Create the Stained Glass Look: Cut the colored tissue paper into small squares or shapes and lay the clear plastic sheet over your butterfly outline.
- Assemble the Butterfly: Apply glue on areas of the plastic, layer with tissue papers and allow to dry.
- Finish Your Craft: Place the black butterfly cutout over the tissue paper design and secure with glue.
- Optional: Hang Your Masterpiece: Attach a piece of string or fishing line to display.
Notes
Customize colors, add glitter for sparkle, or experiment with different shapes.
- Prep Time: 15 minutes
- Cook Time: 0 minutes
- Category: Craft
- Method: Crafting
- Cuisine: N/A
Nutrition
- Serving Size: 1 butterfly
- Calories: 0
- Sugar: 0g
- Sodium: 0mg
- Fat: 0g
- Saturated Fat: 0g
- Unsaturated Fat: 0g
- Trans Fat: 0g
- Carbohydrates: 0g
- Fiber: 0g
- Protein: 0g
- Cholesterol: 0mg

