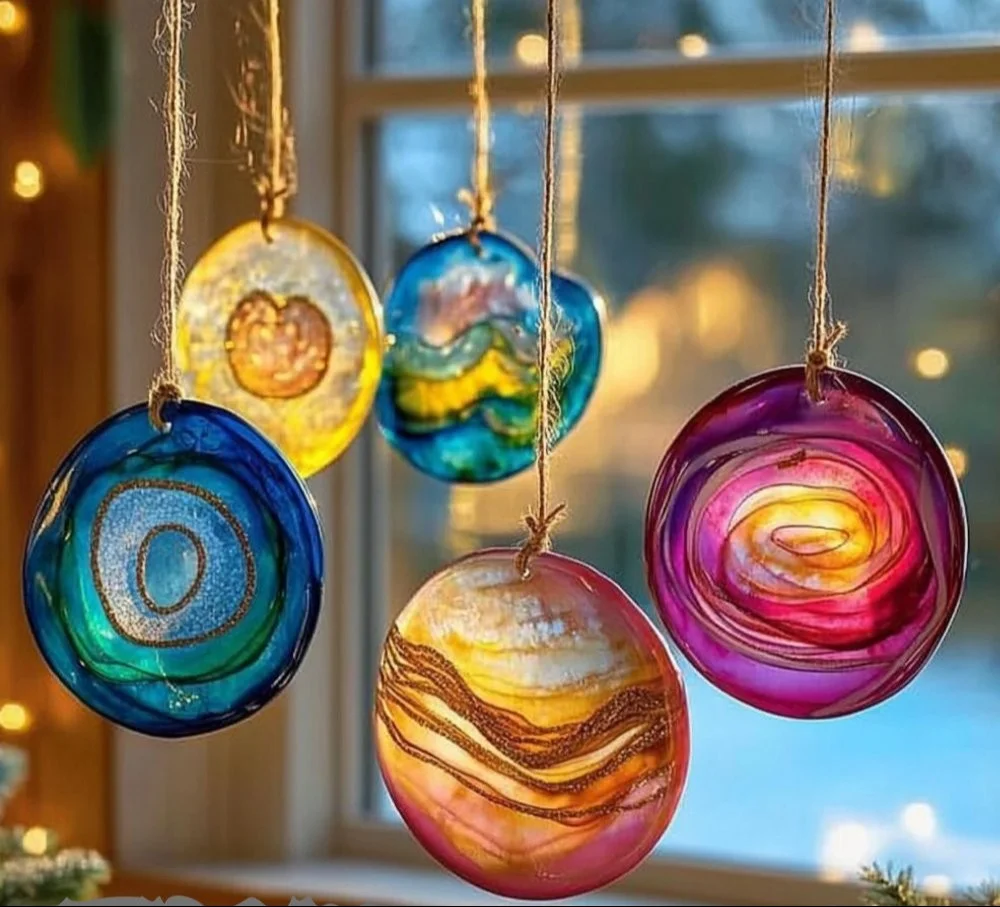
Creating colorful DIY glue suncatchers is a fun and easy project that brightens your home while providing a creative outlet for kids and adults alike. These suncatchers are made using simple ingredients that can be found around the house, allowing you to explore your artistic side without needing specialized materials. The translucent nature of glue and colorful additives makes every piece unique as it catches and refracts sunlight, filling your space with vibrant colors. Whether you’re looking for a weekend project with your kids or a solo activity to relieve stress, making glue suncatchers is a delightful way to spend your time. With minimal preparation and cleanup, you’ll have beautiful decorations ready to adorn your windows in no time.
Why You’ll Love This DIY Glue Suncatchers
- Creative Expression: Unleash your inner artist by experimenting with colors and shapes.
- Easy & Fun: Simple materials and steps make it accessible for all ages.
- Sensory Experience: Enjoy the tactile sensation of mixing and pouring the glue.
- Educational Opportunity: Teach children about colors, light, and the science of transparency.
- Customizable Designs: Personalize your suncatchers for any holiday or season.
- Sustainable Crafting: Repurpose old materials and engage in eco-friendly crafting.
Materials
- Clear glue (like school or craft glue)
- Food coloring or liquid watercolors
- Wax paper or clear plastic sheets
- Scissors
- Paintbrush (optional)
- Cookie cutters or stencils (optional)
Step-by-Step Instructions
Prepare Your Workspace
- Gather all your materials on a flat surface.
- Lay down wax paper or clear plastic sheets—this will act as your canvas.
Mix Your Glue and Color
- In a small cup, pour some clear glue.
- Add a few drops of food coloring or liquid watercolors to your glue.
- Use a paintbrush or stick to mix until you achieve your desired color.
Create Your Design
- Use cookie cutters or freely pour the colored glue onto the wax paper to create shapes.
- Encourage layering and swirling colors for more texture and visual interest.
Let It Dry
- Allow the suncatchers to dry completely (about 4-6 hours or overnight).
- Once dry, carefully peel off the wax paper.
Finish Up
- Cut your suncatchers into desired shapes if needed.
- Use tape or suction cups to hang them in a sunny window.
Tips & Variations
- Add Glitter: Sprinkle glitter into the glue mixture for extra sparkle.
- Use Different Shapes: Cut out fun shapes from construction paper or use stencils.
- Natural Dyes: Experiment with natural dyes made from fruits and vegetables instead of food coloring.
- Layering Techniques: Create a 3D effect by layering different colored glues.
Frequently Asked Questions
1. Can I use other types of glue?
Yes, you can use clear craft glue, school glue, or even gel medium. Avoid using adhesives that dry yellow.
2. How can I make my suncatchers more vibrant?
Add more drops of food coloring to the glue mix for richer colors. You can also layer colors for depth.
3. What can I do if my glue doesn’t dry clear?
Ensure you’re using clear glue and allow enough drying time. Humidity can also affect drying, so consider letting them dry in a less humid area.
4. How do I store extra glue mixture?
It’s best to use the glue mixture immediately, but if you have leftovers, seal them in a container. However, the colors may change over time.
Serving Suggestions or Pairings
Pair your suncatchers with a refreshing lemonade or iced tea for a hot sunny day. They also make great gifts alongside homemade treats or during family gatherings as you showcase your crafty skills.
Final Thoughts
DIY glue suncatchers are not only a creative way to brighten your home but also serve as a wonderful bonding activity for families and friends. The joy of watching the sunlight dance through your colorful creations is unbeatable! We’d love to see your versions of these suncatchers—please leave a comment below or share your photos with us! Happy crafting!
Print
DIY Glue Suncatchers
- Total Time: 375 minutes
- Yield: Varies
- Diet: N/A
Description
Create colorful DIY glue suncatchers using simple materials for a fun and artistic project that brightens your home.
Ingredients
- Clear glue (school or craft glue)
- Food coloring or liquid watercolors
- Wax paper or clear plastic sheets
- Scissors
- Paintbrush (optional)
- Cookie cutters or stencils (optional)
Instructions
- Prepare Your Workspace: Gather all your materials on a flat surface and lay down wax paper or clear plastic sheets.
- Mix Your Glue and Color: In a small cup, pour some clear glue and add a few drops of food coloring or liquid watercolors. Mix until desired color is achieved.
- Create Your Design: Use cookie cutters or pour the colored glue onto the wax paper to create shapes, layering and swirling colors for texture.
- Let It Dry: Allow the suncatchers to dry completely (about 4-6 hours or overnight), then carefully peel off the wax paper.
- Finish Up: Cut the suncatchers into desired shapes if needed and use tape or suction cups to hang them in a sunny window.
Notes
Add glitter for extra sparkle or experiment with natural dyes. Store any leftover glue mixture in a sealed container.
- Prep Time: 15 minutes
- Cook Time: 360 minutes
- Category: Craft
- Method: Crafting
- Cuisine: N/A
Nutrition
- Serving Size: N/A
- Calories: 0
- Sugar: 0g
- Sodium: 0mg
- Fat: 0g
- Saturated Fat: 0g
- Unsaturated Fat: 0g
- Trans Fat: 0g
- Carbohydrates: 0g
- Fiber: 0g
- Protein: 0g
- Cholesterol: 0mg

