Introduction
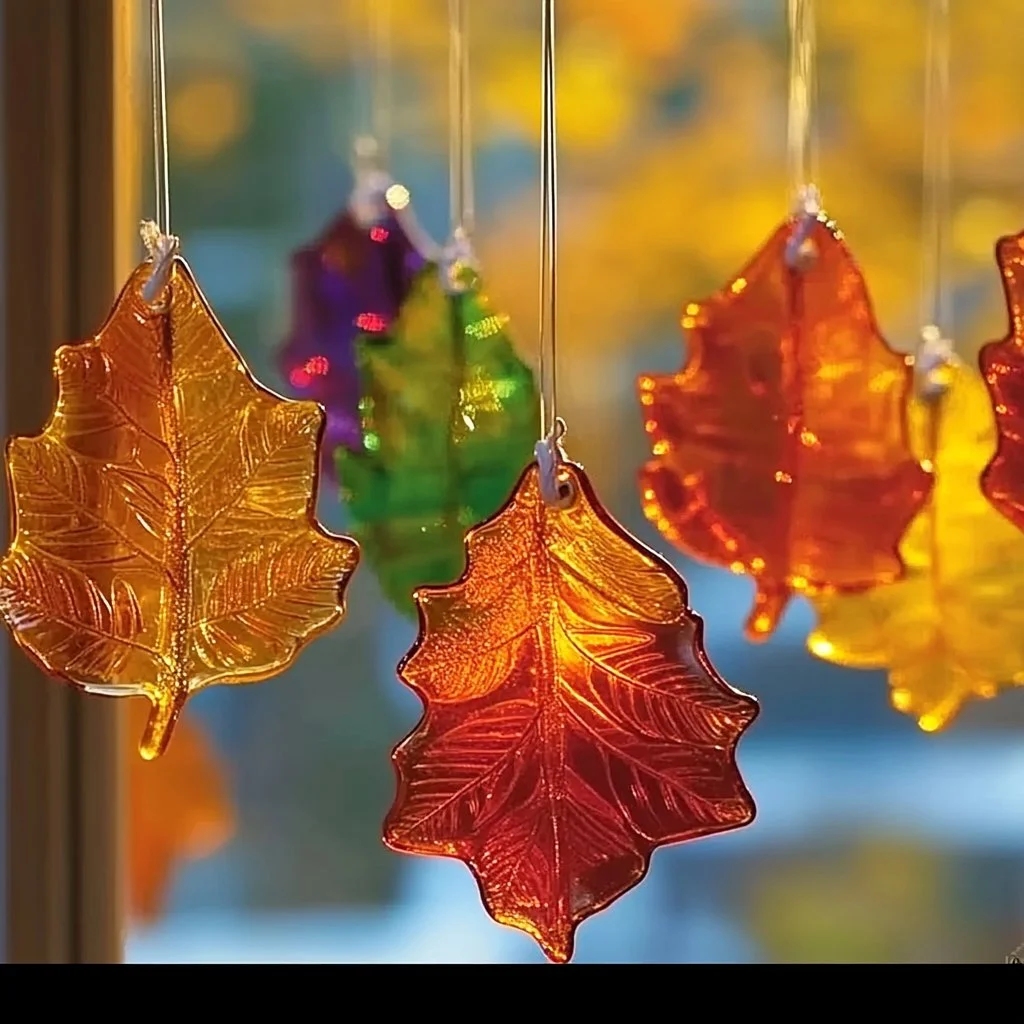
Wax paper sun catchers are a delightful and creative way to bring a splash of color and warmth into your home. Perfect for a rainy day activity or a fun weekend project, these vibrant creations can transform natural sunlight into a dazzling display of colors, making them an appealing addition to any window. Not only are they easy to make, but they also offer an excellent opportunity for kids and adults alike to express their artistic side. With just a few simple materials and a little bit of time, you’ll have beautiful sun catchers that catch the eye and brighten your space.
Why You’ll Love This Wax Paper Sun Catchers
- Simple and Fun: Ideal for crafters of all ages, this project is easy to set up and execute.
- Brightens Up Your Space: Catching sunlight, these sun catchers create a vibrant atmosphere.
- Encourages Creativity: You can experiment with various colors, shapes, and designs.
- Great for All Occasions: Perfect for seasonal decorations, holidays, or just because!
- Eco-Friendly: A wonderful way to repurpose materials and reduce waste.
Materials
- Wax paper
- Crayons (various colors)
- Grater
- Parchment paper
- Iron
- Scissors
- Hole punch (optional)
- String or ribbon for hanging (optional)
Step-by-Step Instructions
1. Shred the Crayons
- Use the grater to shred your chosen crayon colors. Aim for a variety of colors for a beautiful effect.
2. Prepare the Wax Paper
- Cut two pieces of wax paper to your desired size and shape, such as circles or hearts.
3. Layer the Crayon Shavings
- Place one piece of wax paper on a flat surface. Spread the crayon shavings evenly over half of it.
4. Cover with Second Piece
- Place the second piece of wax paper on top, sandwiching the crayon shavings in between.
5. Iron the Layers
- Set your iron to a low setting without steam. Place a piece of parchment paper on top of the wax paper sandwich.
- Gently press the iron over the parchment paper, moving it around to melt the crayon shavings for 10-20 seconds.
6. Cut out Shapes (Optional)
- Once cooled, you can cut out various shapes from the sun catcher for added interest.
7. Create a Hanging Option (Optional)
- Use a hole punch to make a small opening at the top and thread a string or ribbon for hanging.
Tips & Variations
- Color Combinations: Experiment with different color combinations for unique effects.
- Shape Variety: Try different shapes like stars, flowers, or animal silhouettes.
- Layering Technique: For an ombre effect, layer colors gradually from light to dark.
Frequently Asked Questions
Q1: Can I use colored paper instead of wax paper?
A1: While colored paper won’t give you the same transparent effect, you can layer it to create a different style.
Q2: What can I substitute if I don’t have crayons?
A2: Oil pastels or even colored pencil shavings can be used, though they may yield different results.
Q3: How should I store these sun catchers?
A3: Store them flat between sheets of parchment paper to prevent sticking.
Q4: Can this project be done outdoors?
A4: Yes, a sunny day can enhance the melting process, making it a perfect outdoor activity!
Serving Suggestions or Pairings
To enhance the experience of making these wax paper sun catchers, consider pairing this craft with:
- A refreshing lemonade or iced tea
- Light snacks like fruit skewers or mini sandwiches
- A family board game or movie to enjoy after crafting
Final Thoughts
Creating wax paper sun catchers is not only a fantastic way to add color to your home but also a fun project that can be enjoyed by people of all ages. Whether you use them as an everyday decoration or for special occasions, these sun catchers are sure to bring a smile to your face as they catch the sunlight. We’d love to see your versions! Feel free to share your creations or leave a comment about your experience!
Print
Wax Paper Sun Catchers
- Total Time: 30 minutes
- Yield: 1 sun catcher (serving suggestions for multiple)
- Diet: N/A
Description
A delightful and creative way to bring color and warmth into your home with easy-to-make wax paper sun catchers.
Ingredients
- Wax paper
- Crayons (various colors)
- Grater
- Parchment paper
- Iron
- Scissors
- Hole punch (optional)
- String or ribbon for hanging (optional)
Instructions
- Shred the crayons using a grater to get a variety of colors.
- Cut two pieces of wax paper to your desired size and shape.
- Spread crayon shavings evenly over half of one piece of wax paper.
- Sandwich the shavings with the second piece of wax paper on top.
- Set your iron to a low setting, place parchment paper over the sandwich, and gently press for 10-20 seconds to melt the crayons.
- Once cooled, cut out shapes for added interest (optional).
- Use a hole punch to make an opening and thread string or ribbon for hanging (optional).
Notes
Experiment with different color combinations and shapes for unique effects. Store the sun catchers flat between sheets of parchment paper.
- Prep Time: 10 minutes
- Cook Time: 20 minutes
- Category: Craft
- Method: Crafting
- Cuisine: N/A
Nutrition
- Serving Size: 1 sun catcher
- Calories: 0
- Sugar: 0g
- Sodium: 0mg
- Fat: 0g
- Saturated Fat: 0g
- Unsaturated Fat: 0g
- Trans Fat: 0g
- Carbohydrates: 0g
- Fiber: 0g
- Protein: 0g
- Cholesterol: 0mg

