Introduction
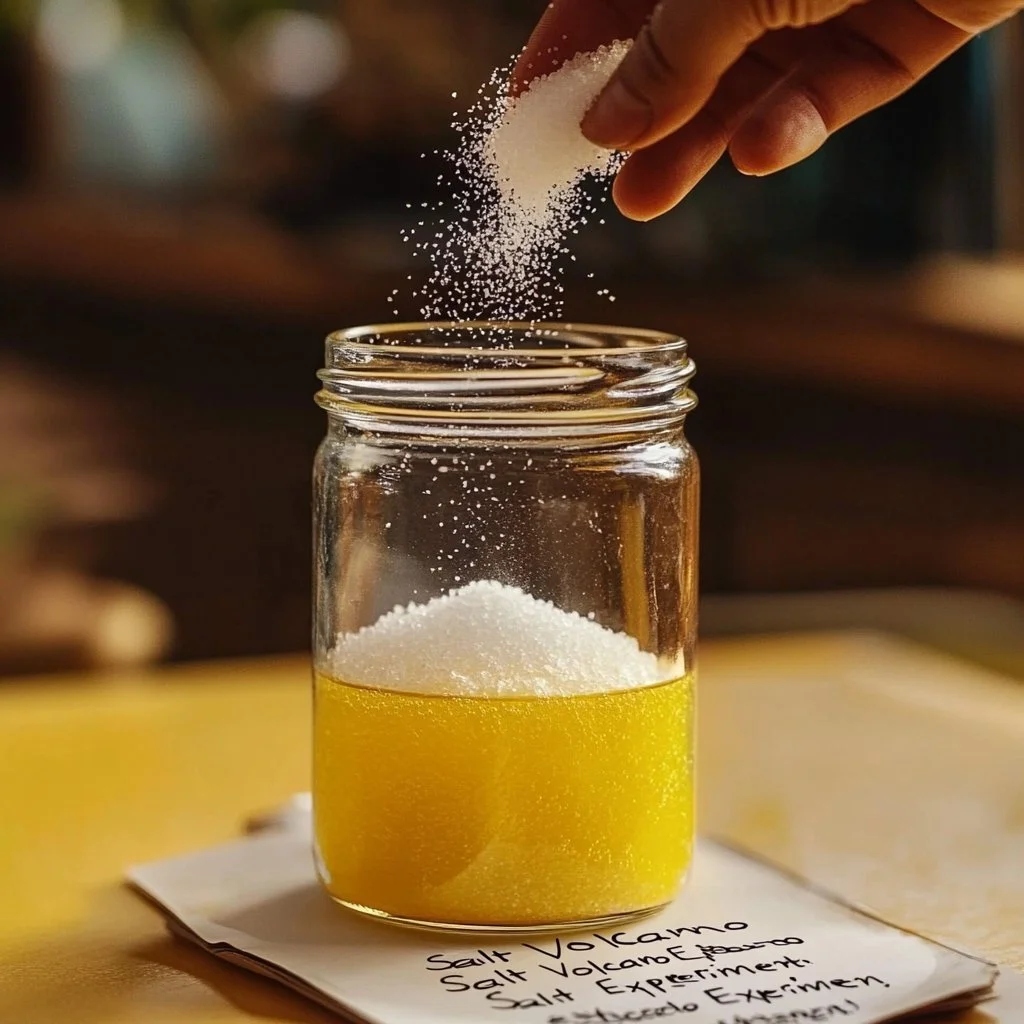
Salt volcanoes are a fun and interactive way to explore the fascinating world of science while engaging in a creative DIY project. This whimsical activity is perfect for kids and adults alike and serves as an exciting opportunity to learn about chemical reactions while creating a vibrant display. Not only does this project demonstrate basic principles of volcanology, but it also encourages imagination and hands-on learning.
In this guide, you will discover everything you need to know to create your very own salt volcano from the comfort of your home. With simple ingredients you likely already have on hand, this is an accessible and enjoyable experiment that can be tailored to fit various interests. Grab your materials, roll up your sleeves, and get ready to ignite your creativity in a playful and educational way!
Why You’ll Love This Salt Volcano
- Educational Fun: Introduces basic scientific concepts like chemical reactions and volcanology.
- Easy to Make: Simple ingredients and steps make it accessible for all ages.
- Customizable: Personalize the volcano with different colors, sizes, and shapes.
- Engaging Activity: An interactive experiment that sparks curiosity and imagination.
- Great for Groups: Perfect for birthday parties, classrooms, or family gatherings.
Materials
- Baking soda (1 cup)
- Vinegar (1/2 cup)
- Dish soap (1 tablespoon)
- Food coloring (optional)
- Salt (1/4 cup)
- Small plastic container or cup
- Tray or baking sheet
- Water (for mixing)
- Funnel (optional)
Step-by-Step Instructions
Prepare Your Volcano Base
- Choose a Location: Set up your volcano on a tray or baking sheet to contain any mess.
- Construct the Volcano: Place your small container or cup in the center of the tray.
- Create the Base: Around the container, build a mound using salt mixed with a bit of water to help it hold shape. Shape it like a volcano.
Mix Your Eruption Ingredients
- Combine Dry Ingredients: In a bowl, mix baking soda and dish soap well.
- Add Color: If desired, stir in a few drops of food coloring to the baking soda mixture.
Erupt!
- Prepare for the Eruption: Carefully pour the baking soda mixture into the volcano’s container.
- Initiate the Reaction: Slowly pour vinegar into the container using a funnel if needed.
- Watch the Eruption: Step back and observe as your salt volcano erupts with fizzing and bubbling!
Tips & Variations
- Change Colors: Use different food coloring to create unique lava flows.
- Add Glitter: For a sparkly effect, mix in some edible glitter with the baking soda.
- Experiment with Ratios: Adjust the baking soda and vinegar amounts to see how it affects the eruption’s intensity.
- Create a Landscape: Add toy dinosaurs or mini figurines to enhance the volcano scene.
Frequently Asked Questions
1. What can I use as a base instead of salt?
You can use flour or sand as an alternative to salt for creating the volcano structure.
2. How long will the eruption last?
The eruption typically lasts a few minutes, depending on the amounts of baking soda and vinegar used.
3. Can I reuse the materials afterward?
While the reaction won’t work again, you can store the solid materials for future projects.
4. Is there a way to make it sparkle?
Yes! Mixing edible glitter into the baking soda can create a sparkling effect during the eruption.
Serving Suggestions or Pairings
- Pair this experiment with a themed beverage like lemonade or fruity punch.
- Serve snacks such as volcano-shaped cookies or cupcakes decorated in vibrant colors.
- Consider adding educational posters about volcanoes to enhance the learning experience.
Final Thoughts
Creating a salt volcano is not only an exciting hands-on project but also a fantastic educational opportunity. Whether you choose to customize it or stick to the classic version, the surprise and joy of watching it erupt will surely entertain everyone involved.
We would love to hear about your experiences! Share your unique versions of the salt volcano or tell us how it went in the comments below. Happy experimenting!
Print
Salt Volcano
- Total Time: 15 minutes
- Yield: 1 volcano 1x
- Diet: N/A
Description
An exciting and educational hands-on project to explore chemical reactions by creating your very own salt volcano.
Ingredients
- 1 cup Baking soda
- 1/2 cup Vinegar
- 1 tablespoon Dish soap
- Food coloring (optional)
- 1/4 cup Salt
- Small plastic container or cup
- Tray or baking sheet
- Water (for mixing)
- Funnel (optional)
Instructions
- Choose a Location: Set up your volcano on a tray or baking sheet to contain any mess.
- Construct the Volcano: Place your small container or cup in the center of the tray.
- Create the Base: Build a mound around the container using salt mixed with a bit of water.
- Combine Dry Ingredients: In a bowl, mix baking soda and dish soap well.
- Add Color: Stir in food coloring to the baking soda mixture, if desired.
- Prepare for Eruption: Carefully pour the baking soda mixture into the volcano’s container.
- Initiate the Reaction: Slowly pour vinegar into the container.
- Watch the Eruption: Step back and observe the fizzing and bubbling!
Notes
Customize your volcano with different colors, edible glitter, or mini figurines for a more engaging experience.
- Prep Time: 10 minutes
- Cook Time: 5 minutes
- Category: Science Experiment
- Method: DIY Project
- Cuisine: N/A
Nutrition
- Serving Size: 1 volcano
- Calories: Variable (based on materials used)
- Sugar: 0g
- Sodium: 100mg
- Fat: 0g
- Saturated Fat: 0g
- Unsaturated Fat: 0g
- Trans Fat: 0g
- Carbohydrates: 20g
- Fiber: 0g
- Protein: 0g
- Cholesterol: 0mg

