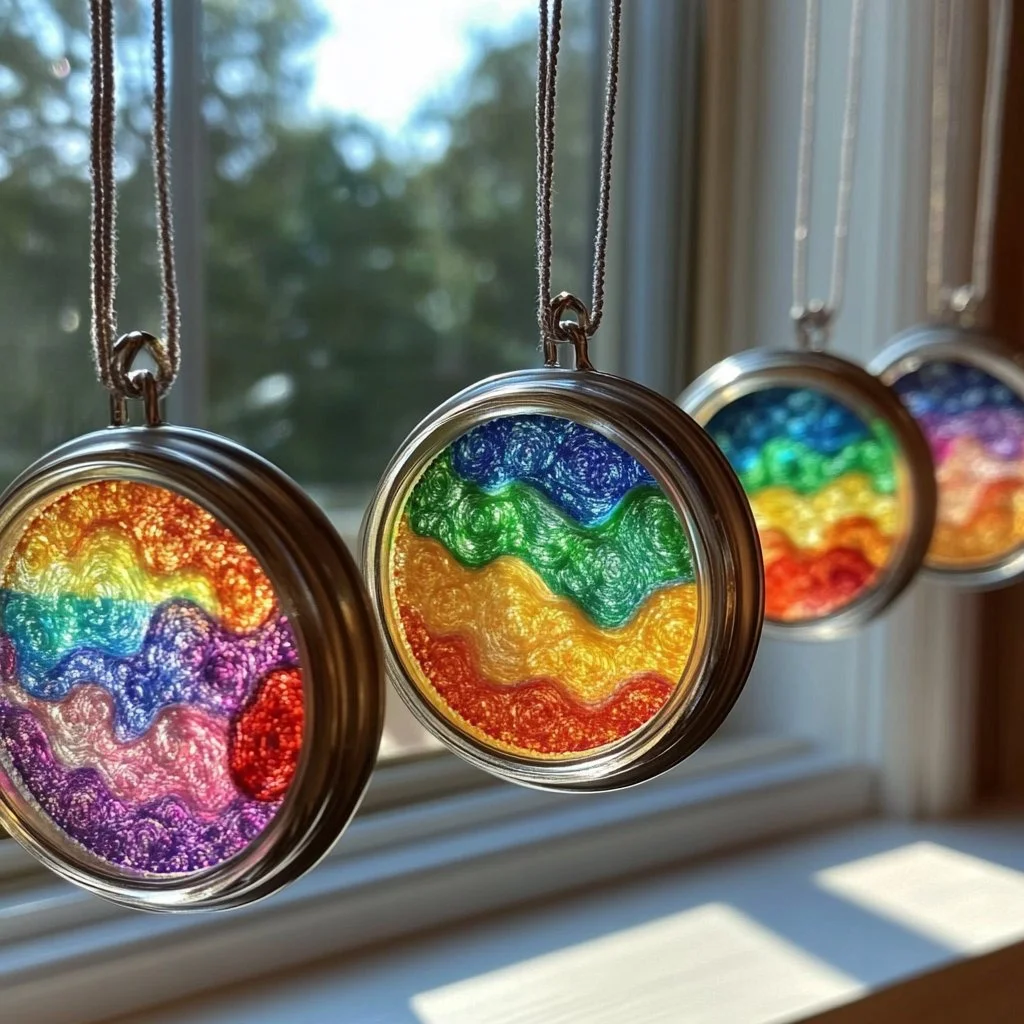
Creating your own DIY sun catchers is a delightful and engaging project that not only adds vibrant colors to your space but also encourages creativity and mindfulness. These enchanting pieces catch the sunlight beautifully, casting a kaleidoscope of colors on your walls and floors, transforming any room into a bright and cheerful environment. Plus, they make for excellent gifts and educational projects for kids!
Whether you’re looking to spruce up your home decor, engage in a fun family activity, or explore your artistic side, these sun catchers will undoubtedly bring joy and inspiration. In this guide, we’ll walk you through the simple steps required to create your very own stunning sun catchers, providing all the necessary materials and tips to make the process smooth and enjoyable.
Why You’ll Love This DIY Sun Catchers
- Creative Expression: Allow you to experiment with colors and shapes.
- Easy to Make: Perfect for all ages, from kids to adults.
- Brighten Your Space: Add colorful accents to any room.
- Educational Activity: A wonderful way to teach kids about light and colors.
- Customizable: Personalize your catchers with unique designs.
- Budget-Friendly: Utilizes inexpensive materials for a stunning result.
Materials
- Clear plastic lids (from food containers, etc.)
- Acrylic paints or permanent markers
- Paintbrushes or sponges
- Scissors
- Hole puncher
- String or fishing line
- Clear adhesive or glue (optional)
- Optional decorations (glitter, beads, etc.)
Step-by-Step Instructions
Prepare Your Workspace
- Clear a flat surface and cover it with newspaper or a plastic tablecloth to catch any spills.
Design Your Sun Catcher
- Use acrylic paints or permanent markers to create designs on the clear plastic lids.
- Experiment with different colors and patterns; the more vibrant, the better!
Cut Out Your Shape
- After the paint dries, use scissors to cut out the shape you desire (circle, heart, star, etc.).
- Leave a small border around the design to ensure durability.
Punch a Hole
- Using the hole puncher, carefully punch a hole at the top of your shape for hanging.
Add String
- Cut a length of string or fishing line and thread it through the hole.
- Tie a knot at the end to secure it.
Hang and Enjoy
- Find a sunny spot to hang your sun catcher where it can catch the light.
- Step back and enjoy the vibrant colors dancing in your space!
Tips & Variations
- Customize Colors: Use seasonal colors for different looks. For instance, warm yellows and oranges for summer.
- Mix Materials: Incorporate beads or sequins into your designs for added texture and flair.
- Layering: Create multiple layers of shapes for a more dynamic piece.
- Themed Designs: Make catchers for holidays (like hearts for Valentine’s Day) to celebrate special occasions.
Frequently Asked Questions
Q1: Can I use regular paint for this project?
A1: It’s best to use acrylic paints or permanent markers, as they adhere better to plastic and are more durable.
Q2: What if I want to hang it outdoors?
A2: Make sure to use waterproof paint and materials, like clear adhesive, to ensure durability against the elements.
Q3: Can I use old CDs or DVDs instead of plastic lids?
A3: Yes! Old CDs or DVDs can be used to create unique reflective sun catchers.
Q4: How can I clean my sun catchers?
A4: Gently wipe them with a damp cloth or use a mild soap solution if necessary to remove dust.
Serving Suggestions or Pairings
- Pair your sun catchers with simple, light decor pieces such as potted plants or candles.
- Create a sunny nook with a refreshing lemonade or herbal iced tea to enjoy while you admire your handiwork.
Final Thoughts
Creating DIY sun catchers is not only a fun and simple project but also a fantastic way to bring a splash of color to your home. Embrace your creativity, invite friends or family to join, and most importantly, enjoy the process. Don’t forget to share your creations or leave a comment about your experience with us! Happy crafting!
Print
DIY Sun Catchers
- Total Time: 15 minutes
- Yield: 1 sun catcher
- Diet: N/A
Description
A delightful and engaging project to create vibrant sun catchers that add colorful accents to your home while promoting creativity and mindfulness.
Ingredients
- Clear plastic lids (from food containers, etc.)
- Acrylic paints or permanent markers
- Paintbrushes or sponges
- Scissors
- Hole puncher
- String or fishing line
- Clear adhesive or glue (optional)
- Optional decorations (glitter, beads, etc.)
Instructions
- Prepare Your Workspace: Clear a flat surface and cover it with newspaper or a plastic tablecloth.
- Design Your Sun Catcher: Use acrylic paints or permanent markers to create designs on the clear plastic lids.
- Cut Out Your Shape: After the paint dries, use scissors to cut out your desired shape.
- Punch a Hole: Using the hole puncher, punch a hole at the top of your shape for hanging.
- Add String: Thread a length of string or fishing line through the hole and tie a knot to secure it.
- Hang and Enjoy: Find a sunny spot to hang your sun catcher and enjoy the vibrant colors!
Notes
Customize designs with seasonal colors, mix materials like beads for texture, and create layered shapes for dynamic pieces.
- Prep Time: 15 minutes
- Cook Time: 0 minutes
- Category: Crafts
- Method: Crafting
- Cuisine: N/A
Nutrition
- Serving Size: 1 sun catcher
- Calories: 0
- Sugar: 0g
- Sodium: 0mg
- Fat: 0g
- Saturated Fat: 0g
- Unsaturated Fat: 0g
- Trans Fat: 0g
- Carbohydrates: 0g
- Fiber: 0g
- Protein: 0g
- Cholesterol: 0mg

