
This post contains Amazon affiliate links. As an Amazon Associate I earn from qualifying purchases.
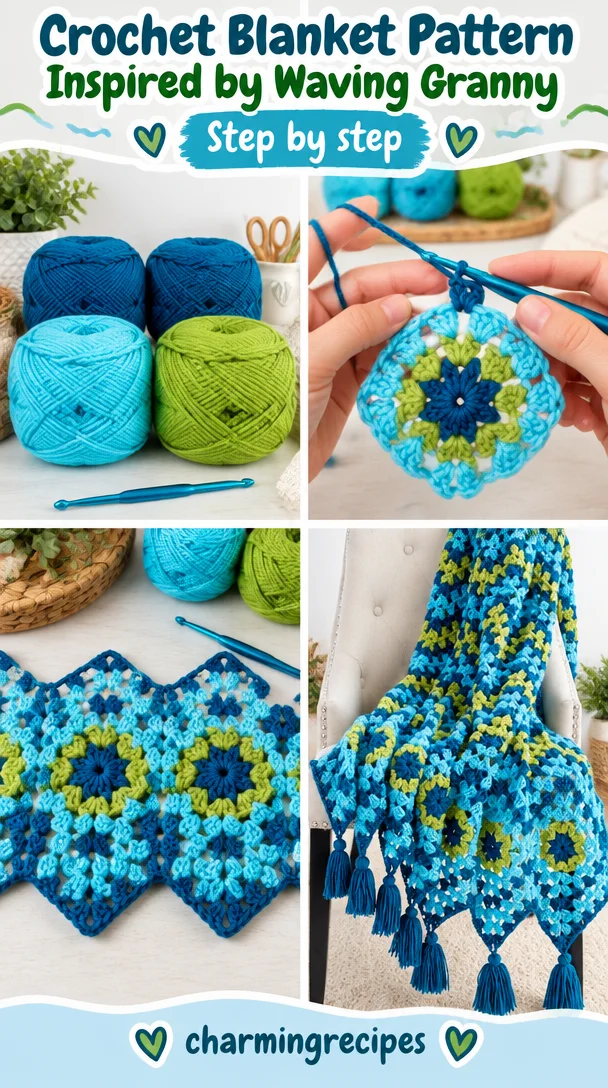
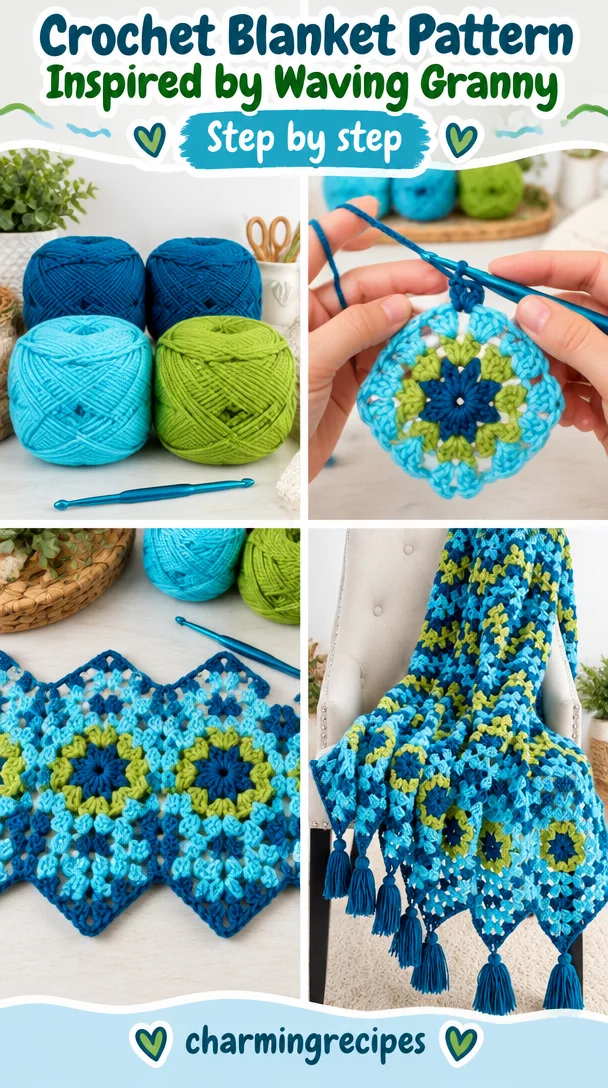
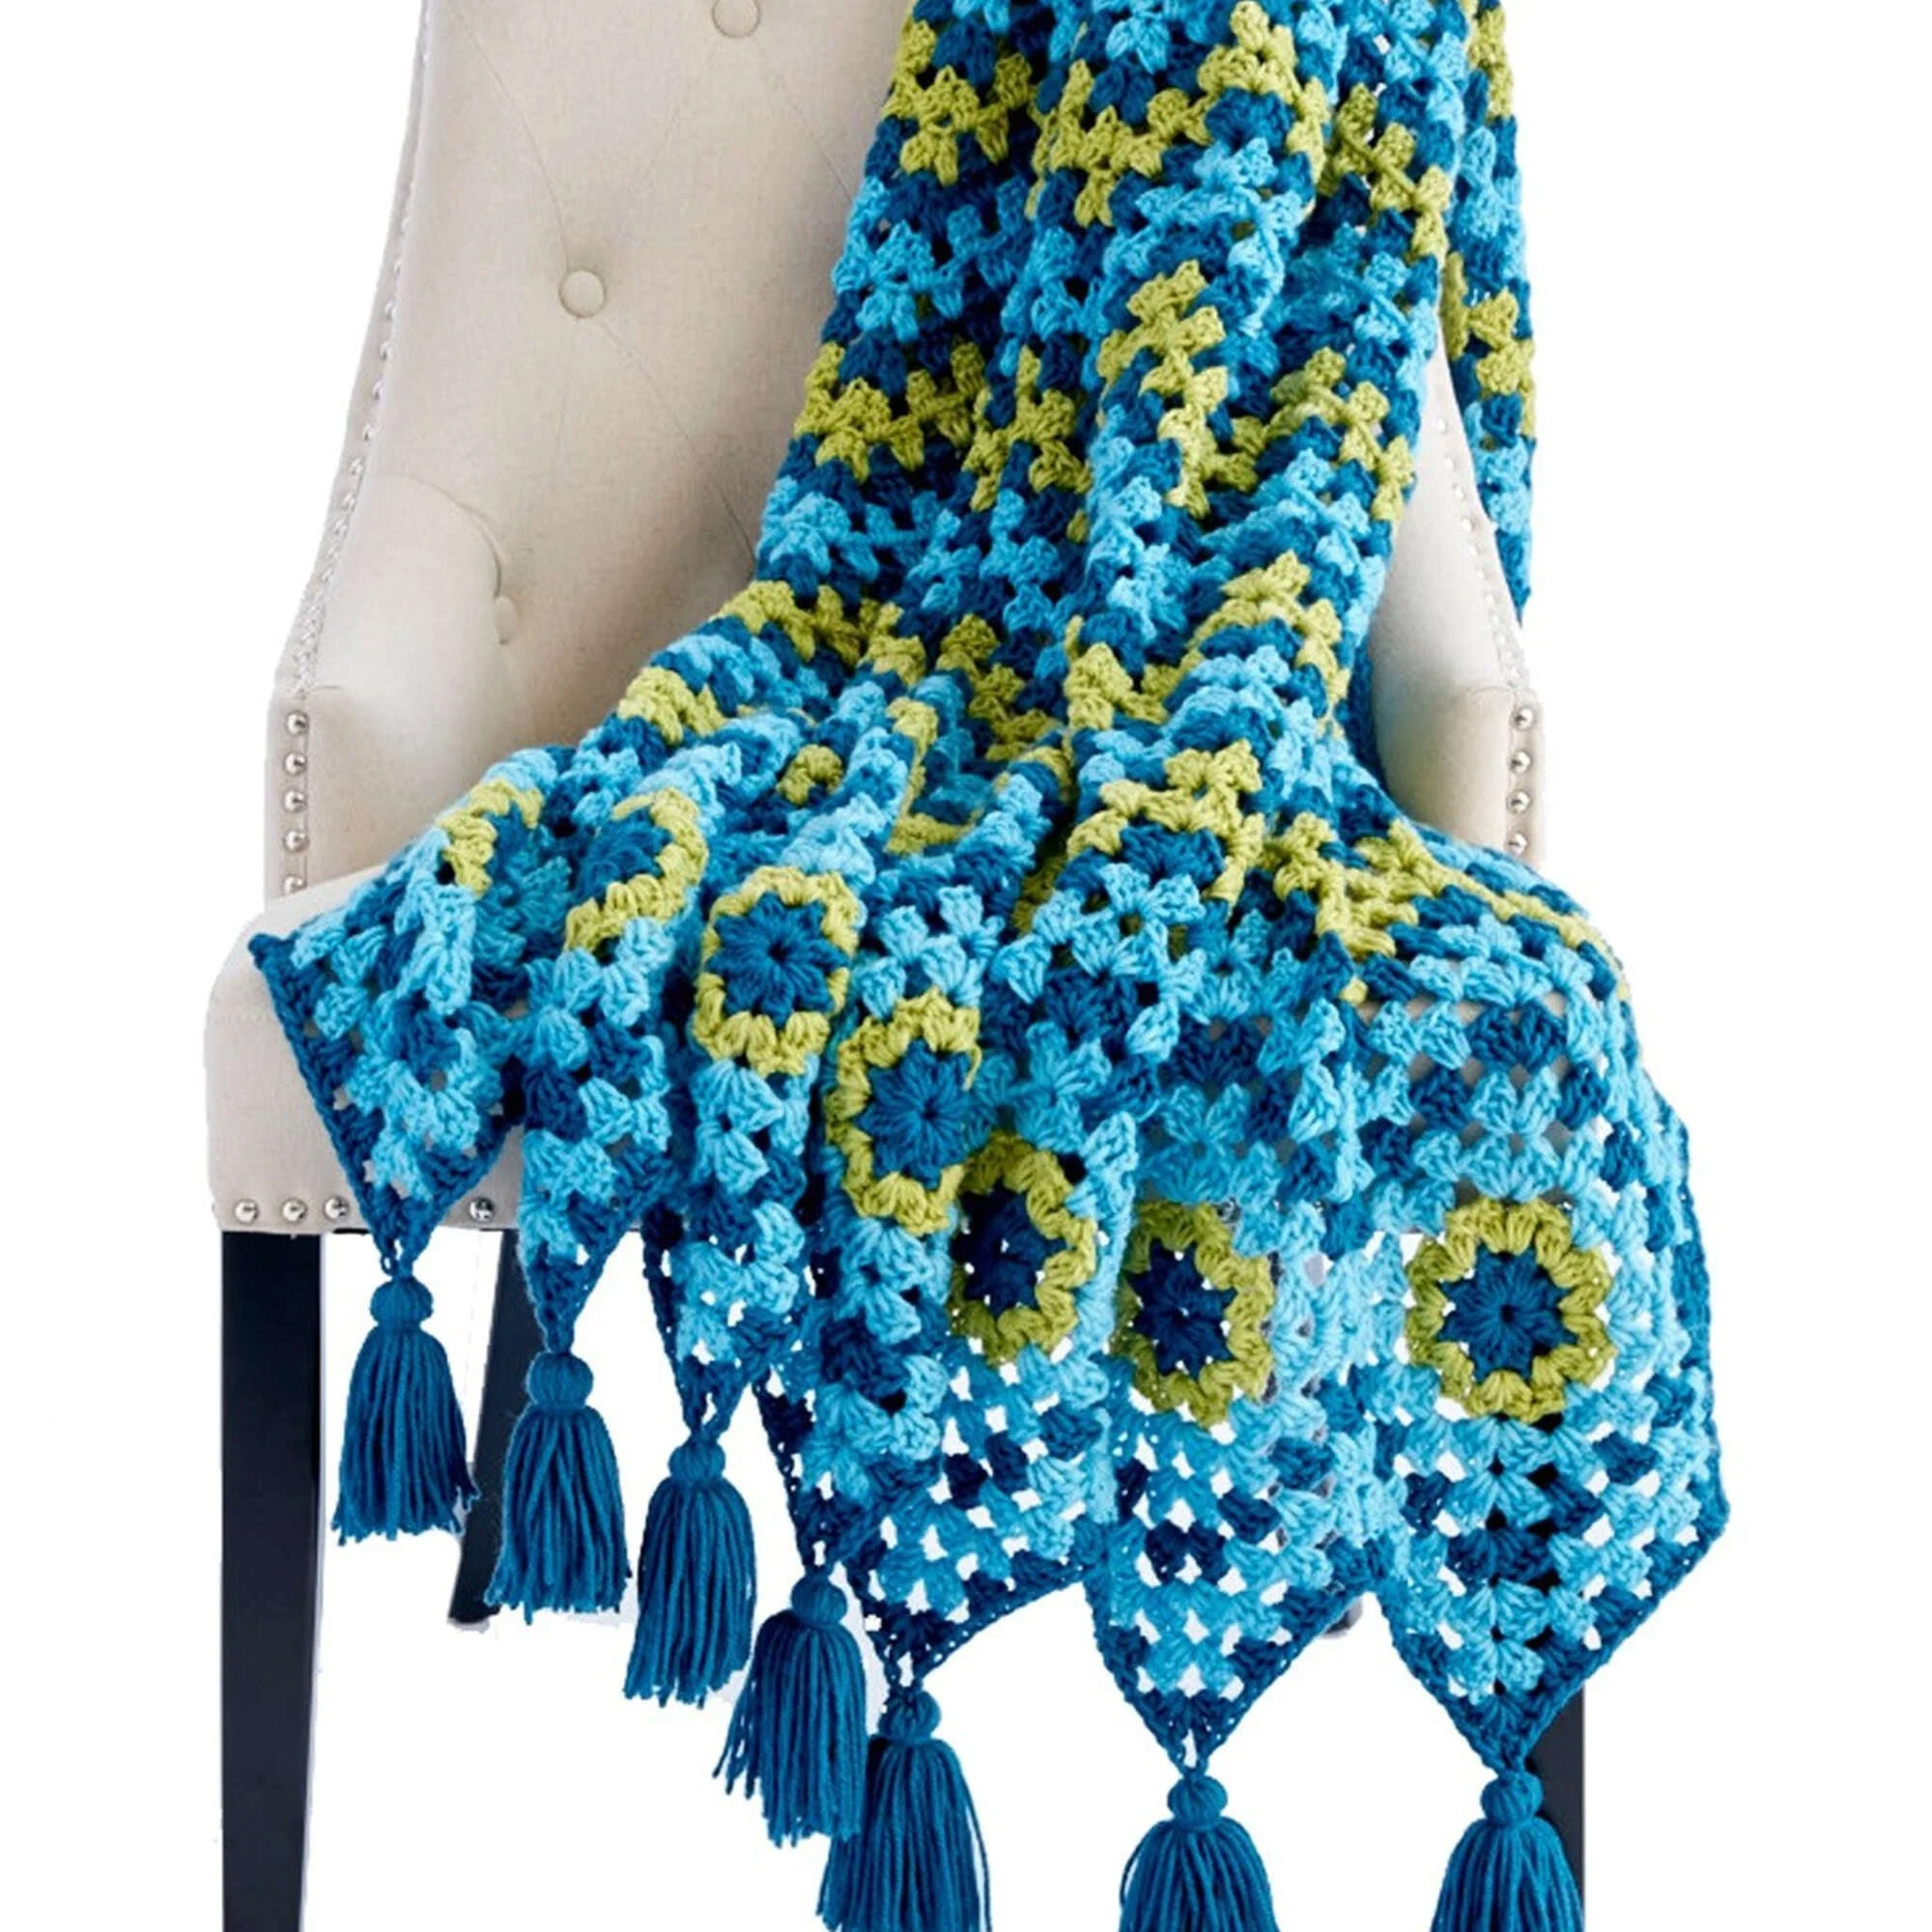
The Waving to Granny blanket combines small, joined granny-style motifs with rows of open, wavy clusters. Ocean blue, aqua, and grass green give the finished blanket a fresh, watery palette, while the repeated stitch pattern makes the growing fabric satisfying to work. It’s a good project for crocheters who know basic stitches and want to practice joining motifs, keeping row edges tidy, and working a large piece in sections.
Why you’ll love this pattern
This blanket has a thoughtful mix of construction methods. You begin with seven small motifs, joining the later motifs to the first as you crochet their final rounds. Then you work a lower border and build the main section in long rows. The change from motif work to rows keeps the project interesting without making the stitch pattern overly complicated.
The repeating clusters and chain spaces create a soft, lacy texture without requiring intricate stitch combinations. The blanket is also easy to personalize: the original colors make a calm ocean-inspired combination, but you can choose a completely different palette to suit a bedroom, sofa, or handmade gift.
Because the main section is worked in rows, you can settle into a rhythm as the blanket grows. It’s a substantial project, so it’s best enjoyed over time rather than rushed. The motifs and first border rows also give you clear milestones along the way.
“I liked how the little motifs came together before the long rows began. Once I learned where the cluster spaces were, the pattern had a nice rhythm, and the colors made the finished blanket feel special.”
How this crochet blanket comes together
The blanket starts with seven motifs made in rounds. Each motif begins with a ring and grows into a square through cluster stitches, chain spaces, and groups of double crochet. The first motif is completed on its own; the remaining six are attached to it during their fourth round.
After joining the motifs, you work four rows along one edge to form the lower border. Turn the blanket 180 degrees, then work the main section along the opposite, unworked edges of the motifs. The main section follows a repeating sequence of rows, with the yarn color changing at specific points. Continue until the blanket measures about 64 inches (162.5 cm) from the point of the lower border. Finish with single crochet edging along both sides and 14 tassels.
The pattern uses chain stitches, slip stitches, single crochet, double crochet, and clusters. It’s most suitable for an adventurous beginner or intermediate crocheter who is comfortable with those stitches and can recognize chain spaces. A confident beginner can work it by taking time with the motif joins and checking the placement of each cluster.
The supplied instructions don’t give a fixed completion time. Since this is a large blanket, allow plenty of time and plan to work it in manageable sessions.
Materials you’ll need
- Caron® One Pound® yarn (16 oz/454 g; 812 yds/742 m per ball):
- Contrast A, Ocean (10611): 2 balls
- Contrast B, Aqua (10622): 1 ball
- Contrast C, Grass Green (10620): 1 ball
- U.S. I/9 (5.5 mm) crochet hook
The pattern specifies the Caron One Pound yarn and the colors listed above. Check the yarn label for fiber content and care directions for the particular yarn you purchase. If you substitute another yarn, choose a comparable yarn weight and check your gauge or make a test motif first. A different yarn or hook can change the blanket’s size, drape, and yarn requirements.
Step-by-step instructions
Abbreviations and stitch notes
- beg: beginning
- ch: chain
- ch-sp: chain space
- dc: double crochet
- rnd: round
- RS: right side
- sc: single crochet
- sl st: slip stitch
- rep: repeat
- rem: remaining
A cluster here is the cluster stitch specified by the original pattern. Work a beginning cluster where instructed at the start of a round or row, and a regular cluster wherever the instructions say “cluster.” Keep the cluster stitches consistent throughout the blanket. A corner ch-3 space is the chain-3 space at a motif corner.
1. Make the first motif
With Contrast A:
- Chain 5. Join with a slip stitch to the first chain to make a ring.
- Round 1: Work a beginning cluster into the ring. Chain 3. Work a cluster into the ring; repeat the “chain 3, cluster in the ring” sequence 7 times. Chain 3, then join with a slip stitch to the top of the beginning cluster. Fasten off.
- Round 2: Join Contrast C with a slip stitch in any chain-3 space. In that same space, work a beginning cluster, chain 3, and a cluster.
Chain 1. In the next chain-3 space, work a cluster, chain 3, and a cluster. Repeat the starred instructions 6 more times. Chain 1, then join with a slip stitch to the top of the beginning cluster. Fasten off. - Round 3: Join Contrast B with a slip stitch in any chain-3 space. Chain 3 and work 2 double crochet in the same space.
Chain 1. In the next chain-3 space, work 3 double crochet, chain 3, and 3 double crochet. Chain 1. Work 3 double crochet in the next chain-3 space. Repeat the starred instructions twice more. Chain 1. In the next chain-3 space, work 3 double crochet, chain 3, and 3 double crochet. Chain 1, then join with a slip stitch to the top of the beginning chain-3. - Round 4: Slip stitch across the next 2 double crochet and into the next chain-1 space. Chain 3 and work 2 double crochet in that same space.
Chain 1. In the next chain-3 space, work 3 double crochet, chain 3, and 3 double crochet. Chain 1, then work 3 double crochet in each of the next 2 chain-1 spaces. Repeat the starred instructions twice more. Chain 1. In the next chain-3 space, work 3 double crochet, chain 3, and 3 double crochet. Chain 1, then join with a slip stitch to the top of the beginning chain-3. Fasten off.
2. Make and join motifs two through seven
Work Rounds 1–3 as for the first motif. Join each new motif to the previous motif during Round 4:
- Slip stitch across the next 2 double crochet and into the next chain-1 space. Chain 3 and work 2 double crochet in that same space.
- Chain 1. In the next chain-3 space, work 3 double crochet, chain 3, and 3 double crochet. Chain 1, then work 3 double crochet in each of the next 2 chain-1 spaces. Repeat the starred instructions twice more.
- Chain 1. Work 3 double crochet in the next chain-1 space, then chain 1.
- Join to the adjoining corner chain-3 space of the previous motif with a slip stitch.
- Chain 1. Work 3 double crochet in the same chain-3 space as the last 3 double crochet. Chain 1. Work 3 double crochet in the next chain-1 space, then chain 1.
- Join with a slip stitch to the top of the beginning chain-3. Fasten off.
Keep each join snug but not tight. The motifs should lie flat and the shared corner should not pull the squares out of shape.
3. Work the lower border
Row 1, with the right side facing: Join Contrast A with a slip stitch in the side corner chain-3 space of the first motif. Work a beginning cluster in the same space. Chain 1, then work 3 double crochet in the next chain-1 space; repeat this placement 3 times total. Chain 1.
In the next corner chain-3 space, work 3 double crochet, chain 3, and 3 double crochet. Chain 1. Work 3 double crochet in each of the next 2 chain-1 spaces, with a chain 1 between groups. Work a cluster in the next chain-1 space. Skip the joining corner between motifs. Work a cluster in the next chain-1 space of the next motif. Work 3 double crochet in each of the next 2 chain-1 spaces, with a chain 1 between groups. Chain 1.
Repeat the starred instructions 5 more times, then repeat from the star to the double asterisk once. Work 3 double crochet in each of the next 3 chain-1 spaces, with a chain 1 between groups. Chain 1. Work a cluster in the next side corner chain-3 space. Fasten off.
Row 2, with the right side facing: Join Contrast B with a slip stitch in the first chain-1 space of Row 1. Work a beginning cluster in the same space. Chain 1, then work 3 double crochet in the next chain-1 space; repeat this placement 3 times total. Chain 1.
In the next corner chain-3 space, work 3 double crochet, chain 3, and 3 double crochet. Chain 1. Work 3 double crochet in each of the next 2 chain-1 spaces, with a chain 1 between groups. Work a cluster in the next chain-1 space. Skip the next 2 clusters, then work a cluster in the next chain-1 space. Work 3 double crochet in each of the next 2 chain-1 spaces, with a chain 1 between groups. Chain 1.
Repeat the starred instructions 5 more times, then repeat from the star to the double asterisk once. Work 3 double crochet in each of the next 3 chain-1 spaces, with a chain 1 between groups. Chain 1. Work a cluster in the next chain-1 space. Turn.
Row 3: Slip stitch into the first chain-1 space. Work a beginning cluster in that space. Chain 1, then work 3 double crochet in the next chain-1 space; repeat this placement 3 times total. Chain 1.
In the next corner chain-3 space, work 3 double crochet, chain 3, and 3 double crochet. Chain 1. Work 3 double crochet in each of the next 2 chain-1 spaces, with a chain 1 between groups. Work a cluster in the next chain-1 space. Skip the next 2 clusters, then work a cluster in the next chain-1 space. Work 3 double crochet in each of the next 2 chain-1 spaces, with a chain 1 between groups. Chain 1.
Repeat the starred instructions 5 more times, then repeat from the star to the double asterisk once. Work 3 double crochet in each of the next 3 chain-1 spaces, with a chain 1 between groups. Chain 1. Work a cluster in the next chain-1 space. Fasten off.
Row 4, with the right side facing: Join Contrast A with a slip stitch in the last chain-1 space of Row 3. Work a beginning cluster in the same space. Chain 1, then work 3 double crochet in the next chain-1 space; repeat this placement 3 times total. Chain 1.
In the next corner chain-3 space, work 3 double crochet, chain 3, and 3 double crochet. Chain 1. Work 3 double crochet in each of the next 2 chain-1 spaces, with a chain 1 between groups. Work a cluster in the next chain-1 space. Skip the next 2 clusters, then work a cluster in the next chain-1 space. Work 3 double crochet in each of the next 2 chain-1 spaces, with a chain 1 between groups. Chain 1.
Repeat the starred instructions 5 more times, then repeat from the star to the double asterisk once. Work 3 double crochet in each of the next 3 chain-1 spaces, with a chain 1 between groups. Chain 1. Work a cluster in the next chain-1 space. Fasten off.
4. Begin the main section
Turn the blanket 180 degrees so the unworked edges of the motifs are now along the top.
Row 1, with the right side facing: Join Contrast A with a slip stitch in the same side corner chain-3 space of the far-right motif used for Row 1 of the lower border. Work a beginning cluster in the same space. Chain 1, then work 3 double crochet in the next chain-1 space; repeat this placement 3 times total. Chain 1.
In the next corner chain-3 space, work 3 double crochet, chain 3, and 3 double crochet. Chain 1. Work 3 double crochet in each of the next 2 chain-1 spaces, with a chain 1 between groups. Work a cluster in the next chain-1 space. Skip the joining corner between motifs. Work a cluster in the next chain-1 space of the next motif. Work 3 double crochet in each of the next 2 chain-1 spaces, with a chain 1 between groups. Chain 1.
Repeat the starred instructions 5 more times, then repeat from the star to the double asterisk once. Work 3 double crochet in each of the next 3 chain-1 spaces, with a chain 1 between groups. Chain 1. Work a cluster in the side corner chain-3 space—the same side space used at the start of the lower border. Fasten off.
Rows 2–4: Work Rows 2–4 as given for the lower border.
5. Continue the main section
Row 5, with the right side facing: Join Contrast C with a slip stitch in the first chain-1 space of Row 4. Work a beginning cluster in the same space. Chain 1, then work 3 double crochet in the next chain-1 space; repeat this placement 3 times total. Chain 1.
In the next corner chain-3 space, work 3 double crochet, chain 3, and 3 double crochet. Chain 1. Work 3 double crochet in each of the next 2 chain-1 spaces, with a chain 1 between groups. Work a cluster in the next chain-1 space. Skip the next 2 clusters, then work a cluster in the next chain-1 space. Work 3 double crochet in each of the next 2 chain-1 spaces, with a chain 1 between groups. Chain 1.
Repeat the starred instructions 5 more times, then repeat from the star to the double asterisk once. Work 3 double crochet in each of the next 3 chain-1 spaces, with a chain 1 between groups. Chain 1. Work a cluster in the next chain-1 space. Turn.
Row 6: Slip stitch into the first chain-1 space. Work a beginning cluster in that space. Chain 1, then work 3 double crochet in the next chain-1 space; repeat this placement 3 times total. Chain 1.
In the next corner chain-3 space, work 3 double crochet, chain 3, and 3 double crochet. Chain 1. Work 3 double crochet in each of the next 2 chain-1 spaces, with a chain 1 between groups. Work a cluster in the next chain-1 space. Skip the next 2 clusters, then work a cluster in the next chain-1 space. Work 3 double crochet in each of the next 2 chain-1 spaces, with a chain 1 between groups. Chain 1.
Repeat the starred instructions 5 more times, then repeat from the star to the double asterisk once. Work 3 double crochet in each of the next 3 chain-1 spaces, with a chain 1 between groups. Chain 1. Work a cluster in the next chain-1 space. Fasten off.
Row 7, with the right side facing: Join Contrast A with a slip stitch in the last chain-1 space of Row 6. Work a beginning cluster in the same space. Chain 1, then work 3 double crochet in the next chain-1 space; repeat this placement 3 times total. Chain 1.
In the next corner chain-3 space, work 3 double crochet, chain 3, and 3 double crochet. Chain 1. Work 3 double crochet in each of the next 2 chain-1 spaces, with a chain 1 between groups. Work a cluster in the next chain-1 space. Skip the next 2 clusters, then work a cluster in the next chain-1 space. Work 3 double crochet in each of the next 2 chain-1 spaces, with a chain 1 between groups. Chain 1.
Repeat the starred instructions 5 more times, then repeat from the star to the double asterisk once. Work 3 double crochet in each of the next 3 chain-1 spaces, with a chain 1 between groups. Chain 1. Work a cluster in the next chain-1 space. Fasten off.
Repeat Rows 2–7 for the pattern height until the blanket measures about 64 inches (162.5 cm) from the point of the lower border. End on Row 4 or Row 7 of the pattern.
6. Add side edging and tassels
Side edging: With the right side facing, join Contrast A with a slip stitch in a lower corner of the blanket. Work single crochet evenly up the side edge to the top corner. Fasten off. Repeat along the opposite side edge.
Tassels: Make 14.
- Cut a piece of cardboard 5 inches (12.5 cm) wide.
- Wind Contrast A around the cardboard 50 times.
- Break the yarn, leaving a long end. Thread the end through a yarn needle, pass the needle through all the loops, and tie tightly.
- Remove the cardboard. Wrap yarn tightly around the bundle about ¾ inch (1.5 cm) below the fold and fasten securely.
- Cut through the remaining loops and trim the ends evenly.
- Sew one tassel to each point of the blanket.
Take time to secure each tassel firmly, especially if the blanket will be used often. Weave in the ends neatly and check the joins and side edging before using the finished piece.
Ways to use your finished project
The Waving to Granny blanket makes a cozy layer for a sofa, reading chair, or bed. Its open stitches add texture without making the design look overly dense, and the tassels bring a decorative finish to each point.
It can also be a thoughtful handmade gift for a housewarming, wedding, or birthday. If you’re making it for someone else, check that the colors suit their home and keep the yarn-label care information with the gift. Because the blanket is a substantial project, it’s a good choice when you have time to make a memorable, personal present.
How to care for your crochet blanket
Check the care instructions on the yarn label before washing. Follow those directions for the specific yarn you used, particularly if you substituted a different fiber.
- Use the recommended wash method and water temperature. If the label permits machine washing, a gentle cycle and a laundry bag can help protect the tassels and open stitches.
- Avoid harsh agitation and wringing, which can stretch the fabric or distort the motif joins.
- Reshape the blanket while damp and dry it flat if the label allows. Support the full weight of the wet blanket when moving it so it does not stretch.
- Avoid high heat unless the yarn label specifically says it is suitable.
- Store the blanket clean and completely dry. Fold it loosely in a dry space rather than hanging it, which may pull on the stitches.
- Keep it away from rough surfaces that can cause snags or pilling. If you wash it with other items, consider color transfer, especially during the first wash.
Blocking can help the sides and motifs lie more evenly. Use a method that suits the yarn fiber, and avoid stretching the chain spaces or pulling the tassels out of shape.
Helpful crochet tips
- Mark the motif corners. A removable stitch marker in each chain-3 corner space can make it easier to find the right place for the corner groups, especially in the first motif.
- Use the chain spaces, not the stitches alone, as your landmarks. The pattern places many groups in chain-1 or chain-3 spaces. Check the space before inserting the hook so you don’t accidentally work into a nearby double crochet.
- Keep the joins relaxed. Pulling the slip stitch too tightly at the adjoining motif corner can make the square pucker. Aim for a secure join that still lets the motif lie flat.
- Count repeats as you go. The rows repeat across several motifs. Pause after each repeated section and confirm that you have reached the next corner or joining area in the right order.
- Watch the skipped clusters. In the border and main-section rows, the instruction to skip the next 2 clusters is important to the shape and spacing. Keep track of where the next cluster belongs rather than working into every cluster you see.
- Check the blanket’s shape regularly. Lay it flat after finishing a few rows. If the edge waves more than expected or the fabric pulls inward, review your stitch placement and tension before continuing.
- Keep color changes organized. The pattern changes colors at specified rounds and rows. Fasten off where instructed, then join the next color in the exact chain space named.
- Try a motif before making all seven. Use it to check your stitch definition and tension with the specified hook and yarn. This helps you spot a tension issue before you’ve joined all the squares.
- Secure ends and tassels carefully. A blanket gets handled often. Weave in yarn tails securely, and check that each tassel attachment is firm.
Creative variations
- Choose a different palette. Keep the three-color arrangement but substitute shades that match your room or the recipient’s taste. The original Ocean, Aqua, and Grass Green combination gives the blanket a cool, fresh look; warm neutrals or autumn colors would create a different mood.
- Make the color contrast stronger or softer. A pale shade and a dark shade can emphasize the pattern sections. Similar shades will give a more blended appearance. Keep the colors in the same positions if you want to preserve the pattern’s original color rhythm.
- Adjust the length thoughtfully. The instructions give a target length of about 64 inches from the lower-border point. To make the blanket longer or shorter, work more or fewer repeats of Rows 2–7. Changes to the number of rows affect the amount of yarn needed.
- Use a different yarn cautiously. A different fiber, yarn weight, or hook can change the blanket’s finished dimensions, thickness, drape, and tassel appearance. Make a motif swatch first and expect to adjust yarn quantities if the new yarn has a different yardage.
- Coordinate the tassels. The pattern uses Contrast A for all 14 tassels. You could use a different listed contrast for tassels, but that will change the finished color balance. Make all tassels the same way so they look consistent.
- Consider a simple finishing treatment. The pattern already includes single crochet edging along both side edges. If you add another decorative border, check that it does not make the sides ripple or pull; extra rounds will also increase the finished size and yarn use.
Frequently asked questions
Is the Waving to Granny blanket suitable for beginners?
It’s a good option for an adventurous beginner who knows chains, slip stitches, single crochet, double crochet, and clusters. The motif joining and repeated row instructions require attention, so new crocheters may find it helpful to make one motif slowly before continuing.
What yarn and hook does the pattern use?
The pattern specifies Caron® One Pound® in Contrast A Ocean, Contrast B Aqua, and Contrast C Grass Green, with a U.S. I/9 (5.5 mm) crochet hook. The quantities are 2 balls of Contrast A and 1 ball each of Contrasts B and C.
How much yarn do I need?
Use the specified quantities: 2 balls of Contrast A, plus 1 ball each of Contrasts B and C. Each Caron One Pound ball is listed as 16 oz/454 g and 812 yds/742 m. If you substitute yarn, compare the yardage and make a motif swatch; a different yarn may require more or less.
How do I make the blanket larger or smaller?
Adjust the number of repeats of Rows 2–7 in the main section. The pattern instructs you to continue until the blanket measures about 64 inches (162.5 cm) from the point of the lower border. Any change to the length will affect yarn use. Make sure to finish on a Row 4 or Row 7, as directed.
Why is my blanket curling or pulling out of shape?
Curling or puckering can come from tight tension, a missed chain space, or a cluster worked in the wrong place. Check that the corner groups are in the chain-3 spaces and that the pattern’s skipped clusters remain unworked. Lay the blanket flat as you go so you can correct a problem early.
Can I use a different hook size?
You can, but changing the hook may change the size, openness, and drape of the fabric. The pattern calls for a 5.5 mm hook. If you choose another size, make a motif first and see whether you like how it lies and feels before committing to the whole blanket.
How should I wash the finished blanket?
Follow the care instructions on the yarn label for the yarn you used. Use gentle handling, avoid wringing, and reshape the blanket while damp. Dry it flat if the care label permits, and support its weight when lifting it wet to reduce stretching.
Can I sell blankets made from this pattern?
The supplied pattern information does not state whether finished items may be sold. Check the original designer’s usage terms before selling any blankets made from the pattern.
Print
Waving to Granny Blanket
Description
The Waving to Granny blanket combines small, joined granny-style motifs with rows of open, wavy clusters. This blanket is suitable for crocheters who know basic stitches and want to practice joining motifs.
Materials
- Caron® One Pound® yarn (16 oz/454 g; 812 yds/742 m per ball):
- – Contrast A, Ocean (10611): 2 balls
- – Contrast B, Aqua (10622): 1 ball
- – Contrast C, Grass Green (10620): 1 ball
- U.S. I/9 (5.5 mm) crochet hook
Instructions
- 1. Make the first motif: Chain 5, join with a slip stitch to form a ring. Work rounds as specified using Contrast A, C, and B.
- 2. Make and join motifs two through seven using the same steps, joining during Round 4.
- 3. Work the lower border in four rows using Contrast A and B.
- 4. Begin the main section: Turn the blanket 180 degrees and join Contrast A to work in rows.
- 5. Continue the main section, changing colors as specified until the blanket measures about 64 inches.
- 6. Add side edging and tassels using Contrast A, making sure to secure each tassel firmly.
Notes
The blanket is a substantial project, best enjoyed over time rather than rushed. Consider color preferences if making it as a gift.