

This post contains Amazon affiliate links. As an Amazon Associate I earn from qualifying purchases.
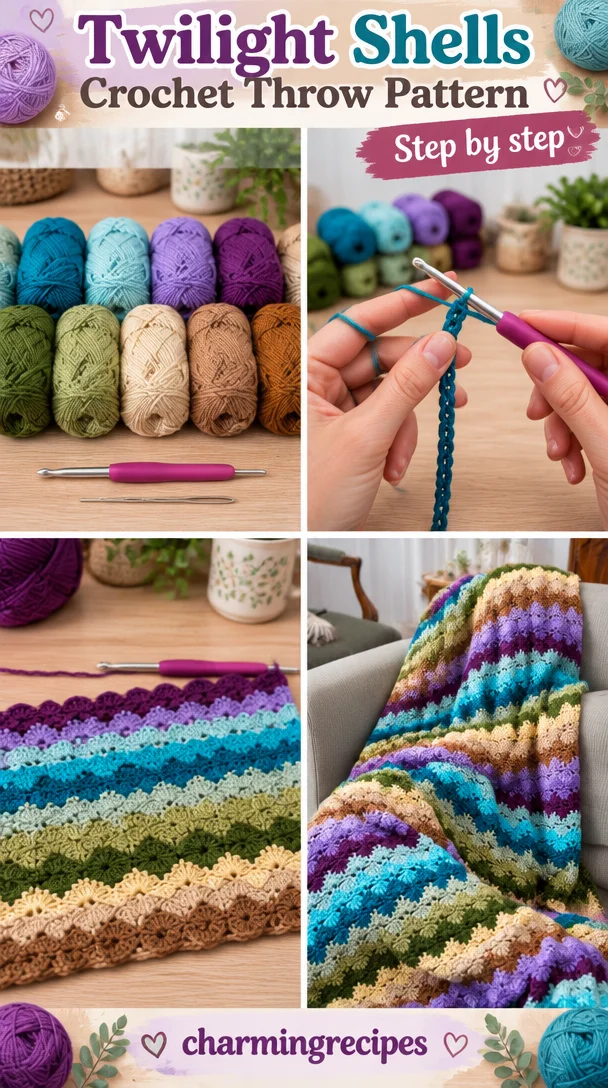
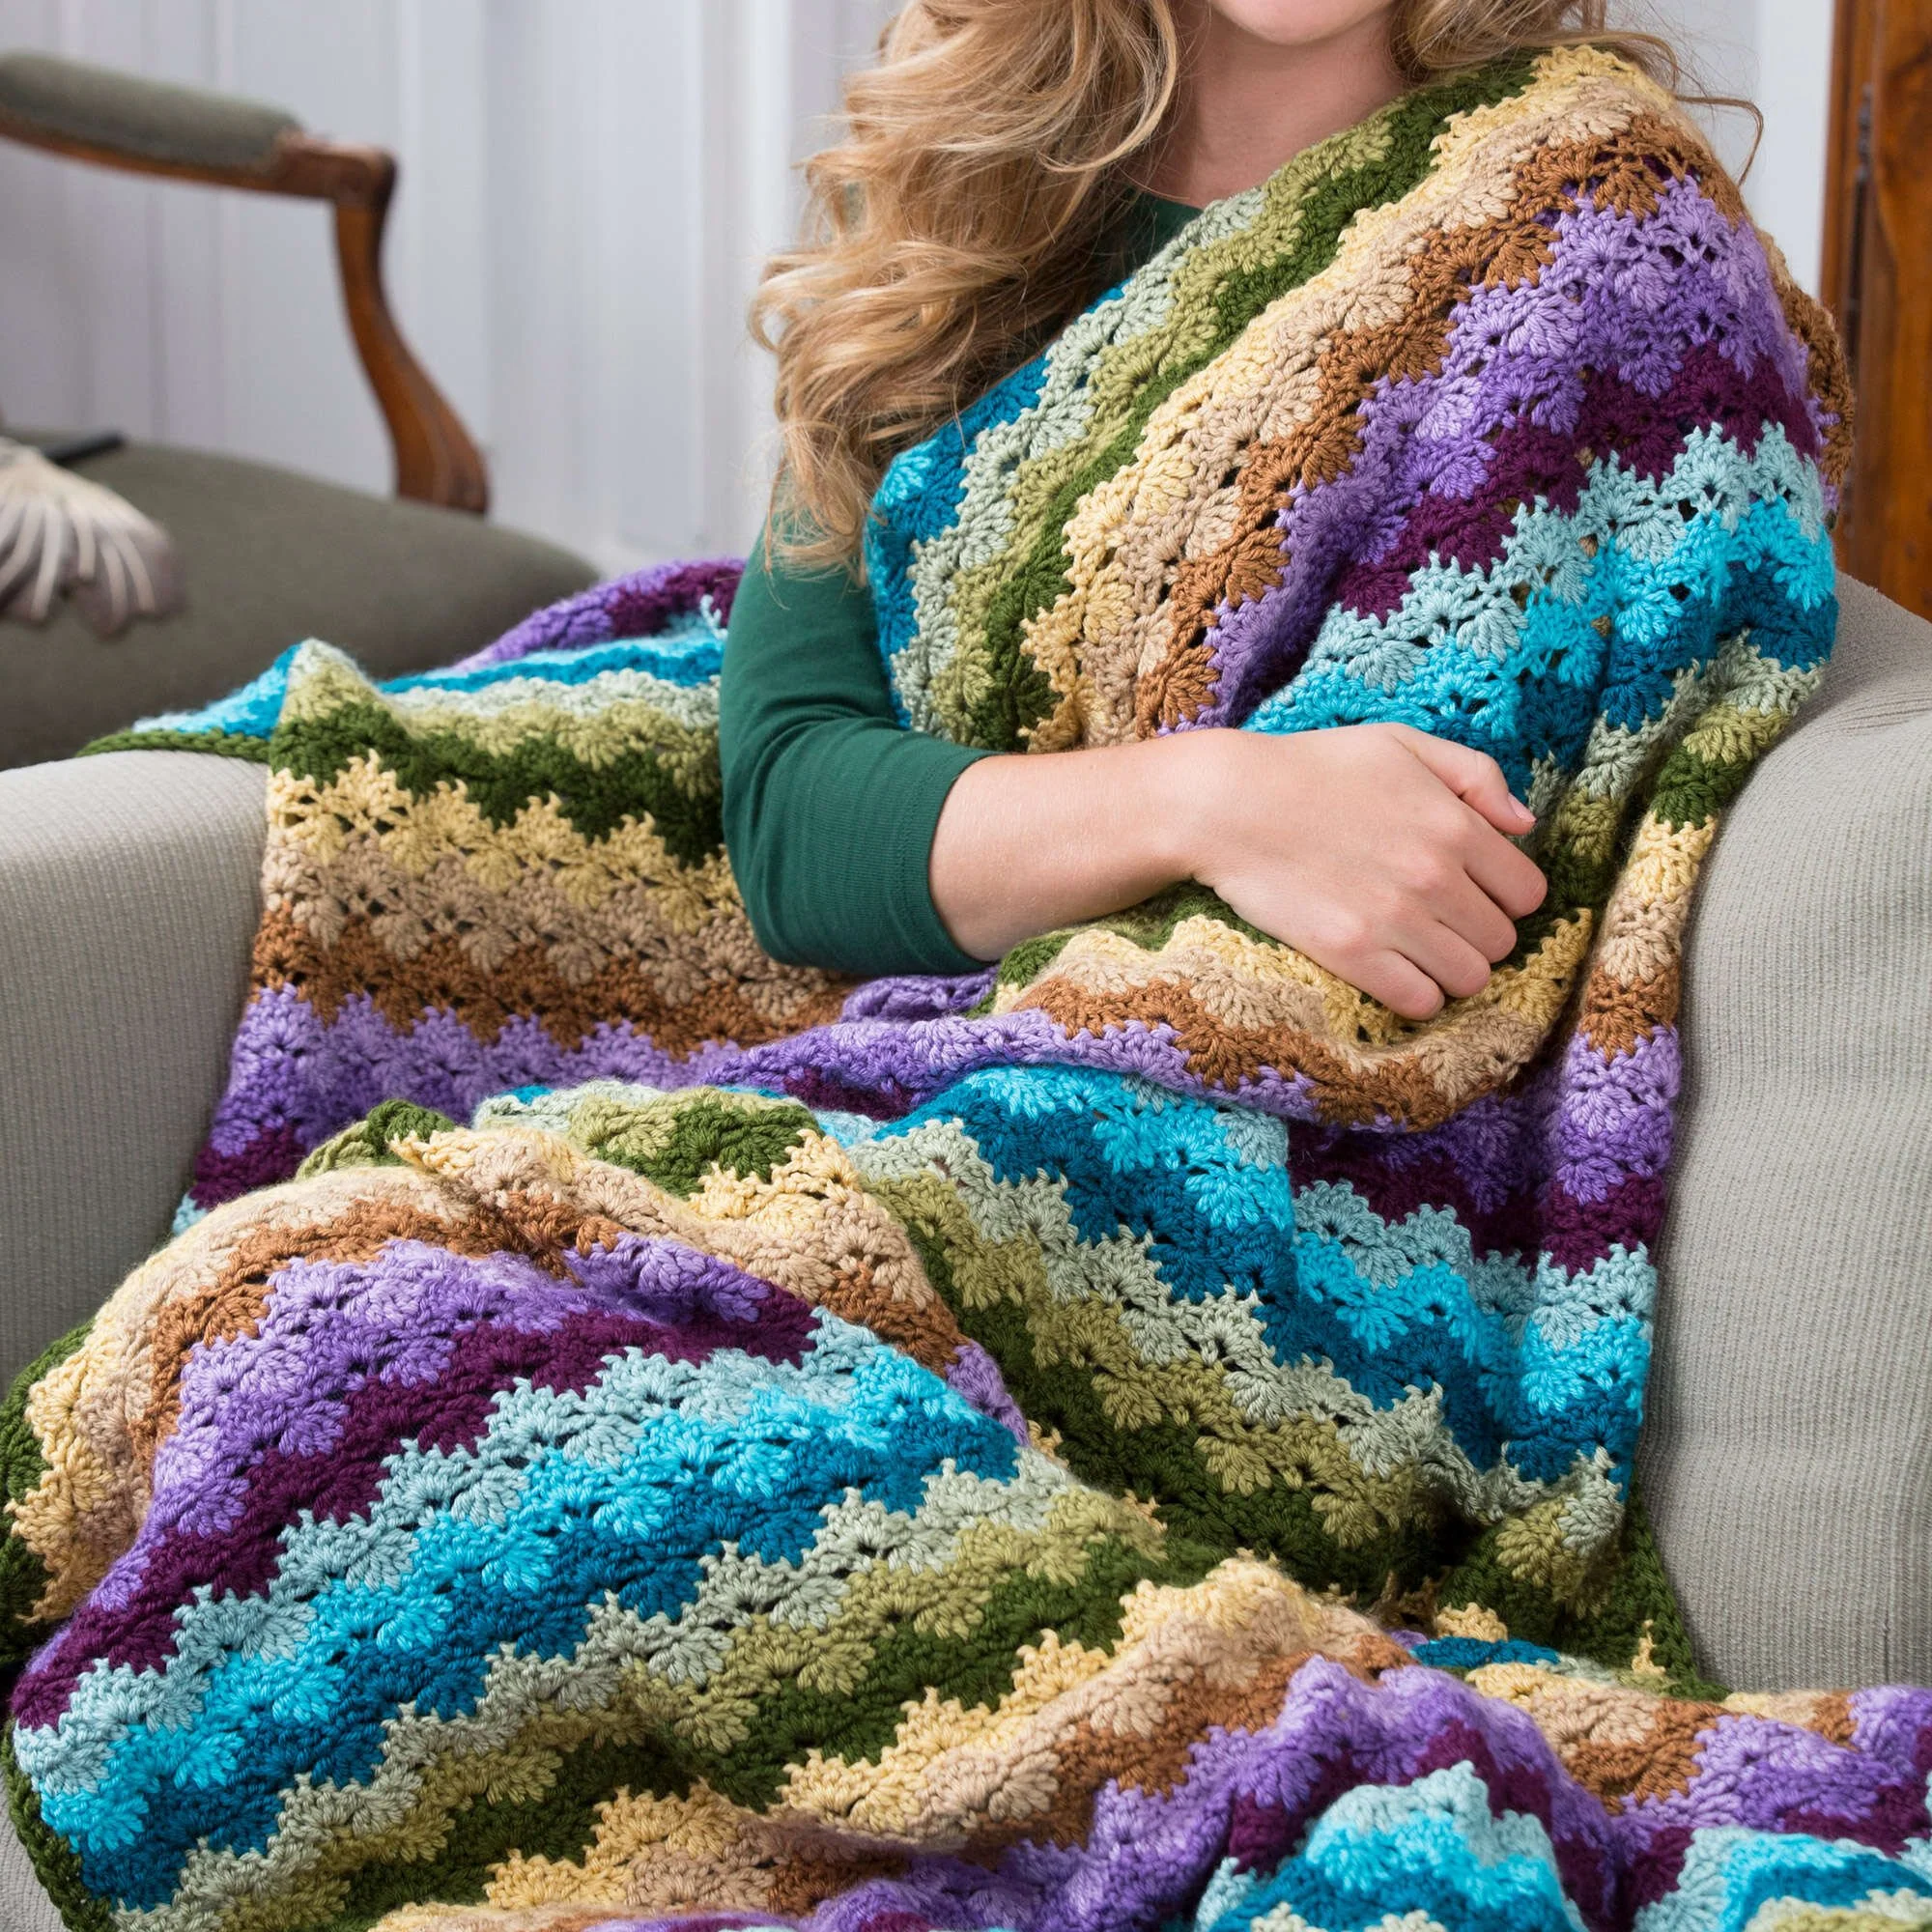
The Crochet Twilight Shells Throw features alternating rows of shell clusters and open, lacy stitches, with color changes that give the fabric its distinctive striped look. Its repeating two-row rhythm makes it a satisfying project to settle into: once the shell and decrease pattern feels familiar, the rows become easier to follow. It’s a lovely choice for crocheters who want to build confidence with stitch repeats while making a cozy throw for the sofa, a reading nook, or a thoughtful handmade gift.
Why you’ll love this pattern
The throw combines simple stitches in a way that creates plenty of texture. Groups of double crochet form the shells, while chain spaces and decreases shape the lighter, open rows between them. You’ll practice reading a repeat, working into specific stitches, and changing colors without needing to learn a complicated collection of techniques.
The pattern is worked back and forth in rows, so there are no rounds to join. The broad fabric also gives you a chance to develop a steady rhythm and notice how consistent tension affects the finished piece. Color changes make each section visually distinct, and the repeating texture keeps the blanket interesting without requiring a new stitch pattern on every row.
A finished throw can make a welcoming addition to a living room or bedroom. It’s also a personal gift for a housewarming, birthday, or holiday. Because the pattern uses many rows, it’s best thought of as a longer, relaxing project rather than a quick afternoon make.
“Once I got used to the two-row repeat, the shells were easy to recognize. I enjoyed watching each new color stripe appear, and the finished fabric feels special without being difficult to crochet.”
Before you begin
You’ll make a rectangular throw from a long starting chain. The first row establishes the shell pattern, and the next row works single crochets, chain spaces, and decreases into that foundation. From there, you alternate the two-row texture pattern through row 120, following the color sequence.
The main techniques are chain stitches, single crochet, double crochet, decreases, and color changes. The instructions assume familiarity with common crochet abbreviations, but a confident beginner can approach the project by taking time to identify the stitch locations and check each repeat.
No finished measurements or gauge are supplied, so the final size will depend on your yarn, hook, and tension. The pattern includes 120 rows, plus a border, so allow for a substantial amount of crocheting time. Your pace, the number and frequency of color changes, and any breaks will affect how long it takes.
Before starting, decide on your color sequence and keep the yarns organized. The instructions refer to the first color as A, the next as B, and then to the next color in the sequence. They do not specify how many colors to use or how to distribute them, so arrange your colors in the order you prefer and follow that same sequence throughout.
Materials you’ll need
- RED HEART® Soft® yarn in various colors. The amount of yarn is not specified in the supplied pattern, so check the original yarn requirements if you need an exact quantity.
- Susan Bates® crochet hook, 5 mm [US H-8].
- Yarn needle for weaving in ends.
Use the same yarn weight and a similar fiber content across the color choices when possible. This helps the rows stay consistent in width and drape. If you substitute a different yarn, the throw may turn out larger or smaller, heavier or lighter, and more or less flexible. A different yarn may also require more or less yardage.
A pair of scissors is useful for cutting yarn at color changes, though it is not listed as a required material. Keep the yarn labels until the project is finished so you can refer back to their care instructions.
Step-by-step instructions
Abbreviations used: ch = chain; sc = single crochet; dc = double crochet; dec = decrease. The source does not specify the exact decrease stitch or method. If you have the designer’s full pattern key, follow its definition of “dec”; otherwise, confirm the intended decrease before beginning the repeated rows.
-
Make the foundation chain. With color A, chain 188. Keep the chain relaxed rather than pulling each stitch tight; a very tight foundation can make the bottom edge narrower than the rest of the throw.
-
Work Row 1. Make 2 dc in the fourth chain from the hook. Then repeat the following sequence 22 times: skip the next 3 chains, work 1 sc in the next chain, skip the next 3 chains, and work 5 dc in the next chain.
After those 22 repeats, skip the next 3 chains and work 1 sc in the next chain. Skip the next 3 chains, then work 3 dc in the last chain. Change to color B in the last dc. Turn.
-
Work Row 2. Chain 1. Work 1 sc in the first dc. Repeat this sequence across: chain 3, work a decrease, chain 3, then work 1 sc in the next dc. Work the final sc into the top of the starting chain-3 at the edge. Turn.
The decrease is worked in the designated stitch or stitches according to the pattern’s decrease definition. Keep the chain spaces loose enough to lie flat, but not so loose that they form noticeably larger gaps than the rest of the row.
-
Work Row 3. Chain 3 and work 2 dc in the first sc. Repeat the following sequence across: work 1 sc in the top of the decrease, then work 5 dc in the next sc. Continue to the last sc. At the final sc, work 3 dc and change to the next color in the last dc. Turn.
The instruction says to end at the last sc and place 3 dc there. Take care to work into the actual last stitch rather than the turning chain unless the pattern’s stitch placement indicates otherwise.
-
Repeat the texture rows. For rows 4–120, follow the color sequence and repeat rows 2 and 3 fifty-eight times. Then work row 2 once more.
Keep track of both row numbers and color changes as you go. Since the pattern uses a long repeat, a simple written checklist or row counter can help prevent losing your place. The instructions do not give a specific color assignment for each row, so use the chosen sequence consistently.
-
Finish row 120 without turning. At the end of row 120, do not fasten off color A and do not turn. The border begins from the current position, working down the left side.
This detail is important: turning before the border would change the direction in which you work along the edge.
-
Work the border along the left side. Chain 3. Along the edge, work 2 dc in the edge of the first row, then 1 dc in the edge of the next row. Repeat this pair 59 times. Work 2 dc in the edge of the next row.
The source specifies these edge stitches and repeat counts but does not provide a separate placement diagram. Aim to space the stitches evenly along the row ends. If the fabric puckers or flares, check that the edge stitches are distributed consistently rather than crowded into some rows and sparse in others.
-
Continue across the starting-chain edge. Work along the opposite side of the starting chain. Make 3 dc in the first chain, then repeat the border series across for the specified count. Fasten off.
The supplied instructions refer to a “specified count” for this side but do not give a number. Do not guess if you need exact symmetry; consult the original pattern for the intended count or placement details.
-
Weave in the ends. Thread each yarn tail onto the yarn needle and weave it securely through the wrong side of the fabric, following the stitches for a short distance. Change direction within the fabric before trimming the tail. Avoid pulling the yarn so tightly that the edge gathers or the fabric loses its natural drape.
Ways to use your finished throw
Drape the Twilight Shells Throw over the back or arm of a sofa for an easy way to add color and texture to a living room. Fold it at the end of a bed, keep it in a basket beside a reading chair, or use it as an extra layer on cool evenings. The shell pattern has a decorative look that works well when the throw is visible rather than tucked away.
The color sequence can help the blanket suit a particular room. Choose shades that echo existing cushions, curtains, or wall colors for a coordinated look, or use a bold contrast to make the throw a focal point. If you’re making it as a gift, consider the recipient’s preferred colors and the spaces where they might use it.
Because the pattern’s exact finished size is not provided, avoid describing it as a particular bed size or assuming it will fit a specific piece of furniture. Check your own measurements as the fabric grows if you have a target use in mind.
How to care for your crochet project
Follow the care instructions on the RED HEART® Soft® yarn label used for your throw. Yarn-care directions can vary by fiber and product, so check the label rather than relying on a general washing rule.
If the label permits machine washing, use the recommended settings and consider placing the throw in a laundry bag or washing it with similar colors. When the yarn is new or the colors are strong, wash the throw separately the first time to reduce the chance of color transfer. Use a gentle cycle and avoid harsh handling.
After washing, support the blanket as you lift it so its weight does not stretch the wet fabric. Reshape it gently and lay it flat to dry if the care label allows. Avoid hanging it over a line or narrow bar, since the weight of a large, damp throw can pull the stitches out of shape.
When storing the blanket, make sure it is fully dry. Fold it loosely and keep it in a clean, dry place. If it develops light pilling with use, remove pills carefully with a fabric comb or suitable tool, taking care not to catch the crochet stitches.
Helpful tips for success
- Check the foundation chain early. The starting chain is long, so count 188 before beginning row 1. Counting in groups can make this easier, and checking the chain before working into it can save time later.
- Keep the first row consistent. The shell groups and single crochets are worked into spaced sections of the foundation chain. Read each skip-and-stitch sequence slowly at first, then use the established rhythm for the repeats.
- Mark the right side if helpful. Since the fabric is worked back and forth, a removable marker can help you remember which side you are looking at. This is especially useful if you pause between rows.
- Track rows and colors separately. The repeat is two rows, but the pattern also calls for a color sequence. A small chart or checklist can show both the current row number and the color in use.
- Identify where to work each stitch. Row 2 includes decreases and single crochets placed in double crochets; row 3 places single crochets in the tops of decreases and shells in single crochets. Looking carefully at the stitch tops helps keep the texture aligned.
- Use a consistent decrease. “Dec” is not further defined in the supplied instructions. Confirm the intended stitch and method from the complete pattern before repeating it across many rows.
- Watch the edges. Turning chains and edge stitches are easy places to add or miss stitches. Check that the first and last stitches of each row are worked as written.
- Test the border spacing. Along the side edges, distribute the double crochets evenly. Too many can make the edge ruffle; too few can draw it inward. The fabric should lie flat without being stretched.
- Weave in ends with care. Secure the tails in more than one direction where practical, especially on a frequently used blanket. This helps reduce the chance of ends working loose in the wash.
Creative variations
Try a different palette. Use two colors for a clean striped effect, or choose several shades that move from light to dark. Seasonal combinations can make the throw feel suited to a particular time of year. Keep yarns similar in weight and construction so the fabric stays even.
Choose a contrasting border. A border color that appears elsewhere in the stripes can bring the palette together. The provided border instructions do not specify a separate color change, so using a different shade would be an adaptation. It will also mean managing an additional yarn tail.
Adjust the width with care. The pattern begins with a chain of 188 and includes specific repeats, so changing the foundation chain by an arbitrary number may interrupt the shell pattern. To make a wider or narrower throw, first establish the multiple required by the repeat or consult the complete original pattern. A wider version will use more yarn and take longer; a narrower one will use less.
Change the length. Adding or removing pattern rows will change the finished length and yarn requirement. The source specifies rows 4–120, so any length adjustment is a modification. Keep the two-row sequence balanced and finish on a row that suits the pattern’s border instructions; confirm the final-row details before changing the row count.
Use a different yarn. A substitute yarn may alter the size, weight, drape, and texture. A thicker yarn can create a heavier, larger throw; a finer yarn may produce a smaller or more open fabric. Make a small sample with the hook and yarn you plan to use before committing to the full project.
Frequently asked questions
Is the Twilight Shells Throw suitable for beginners?
It can suit a confident beginner who knows how to chain, single crochet, and double crochet and is comfortable following repeated instructions. The long row count and decreases call for careful tracking. If you are new to decreases or color changes, practice those techniques on a small sample first.
What yarn works best for this pattern?
The listed yarn is RED HEART® Soft® in various colors. If you substitute, choose a yarn of similar weight and a consistent construction across all colors. A different yarn can change the blanket’s size, thickness, drape, and yarn requirements, so make a test swatch if you want to compare results.
Can I use a different hook size?
You can, but a different hook may change the fabric. A larger hook generally creates a looser, more open fabric, while a smaller hook can make it denser and stiffer. The finished dimensions may also change. The pattern specifies a 5 mm [US H-8] hook, so start with that size unless your yarn or tension suggests otherwise.
How long does it take to crochet?
The pattern includes 120 rows and a border, so it is a sizeable project. The exact time depends on your speed, how often you work on it, the yarn you choose, and how many color changes you make. The source does not provide a completion-time estimate.
How can I make the throw larger or smaller?
Changing the width requires preserving the stitch repeat in the foundation chain; adding or removing chains without checking the pattern multiple may disrupt the shell sequence. Changing the length means adjusting the number of rows, which also affects yarn use. The supplied instructions do not provide the repeat multiple for resizing or the complete border count, so consult the full original pattern before making structural adjustments.
Why might the sides of my throw look uneven?
Common causes include missed or added edge stitches, inconsistent turning-chain treatment, or uneven tension. Count the stitches or pattern units at the ends of each row and compare the edge with the instructions. Also check that the first and last stitches are placed in the correct stitch rather than accidentally worked into a nearby chain space.
What should I do if the fabric curls or the border waves?
First, check whether your tension is consistent and whether the side-border stitches are spaced evenly. Too many border stitches can make an edge wave; too few can pull it inward. The shell texture may also relax after washing and drying according to the yarn label. If the fabric still does not lie as you want, check your stitch placement before blocking or reshaping it.
How much yarn do I need?
The supplied material list does not include a yardage amount or number of skeins. Check the original pattern for its complete yarn requirements before buying supplies. If you change yarn, hook, or project size, the amount needed may also change.
How should I wash the finished throw?
Use the care instructions on the yarn label. Wash it according to those directions, avoid rough handling, and support the blanket when lifting it wet. Reshape it and dry it as recommended, ideally without hanging it in a way that could stretch the fabric.
Can I sell finished throws made from this pattern?
The supplied pattern information does not state whether finished items may be sold. Check the original designer’s usage terms before selling a throw made from the pattern.
Print
Crochet Twilight Shells Throw
Description
The Crochet Twilight Shells Throw features alternating rows of shell clusters and open, lacy stitches, with color changes that give the fabric its distinctive striped look. This cozy throw is a satisfying project for crocheters looking to build confidence with stitch repeats.
Materials
- RED HEART® Soft® yarn in various colors (quantity not specified)
- Susan Bates® crochet hook, 5 mm [US H-8]
- Yarn needle for weaving in ends
- Pair of scissors (optional)
Instructions
- Make the foundation chain. With color A, chain 188. Keep the chain relaxed rather than pulling each stitch tight.
- Work Row 1. Make 2 dc in the fourth chain from the hook. Then repeat the following sequence 22 times: skip the next 3 chains, work 1 sc in the next chain, skip the next 3 chains, and work 5 dc in the next chain. After those 22 repeats, skip the next 3 chains and work 1 sc in the next chain. Skip the next 3 chains, then work 3 dc in the last chain. Change to color B in the last dc. Turn.
- Work Row 2. Chain 1. Work 1 sc in the first dc. Repeat this sequence across: chain 3, work a decrease, chain 3, then work 1 sc in the next dc. Work the final sc into the top of the starting chain-3 at the edge. Turn.
- Work Row 3. Chain 3 and work 2 dc in the first sc. Repeat the following sequence across: work 1 sc in the top of the decrease, then work 5 dc in the next sc. Continue to the last sc. At the final sc, work 3 dc and change to the next color in the last dc. Turn.
- Repeat the texture rows. For rows 4–120, follow the color sequence and repeat rows 2 and 3 fifty-eight times. Then work row 2 once more.
- Finish row 120 without turning. At the end of row 120, do not fasten off color A and do not turn. The border begins from the current position.
- Work the border along the left side. Chain 3. Along the edge, work 2 dc in the edge of the first row, then 1 dc in the edge of the next row. Repeat this pair 59 times. Work 2 dc in the edge of the next row.
- Continue across the starting-chain edge. Work 3 dc in the first chain, then repeat the border series across for the specified count. Fasten off.
- Weave in the ends. Thread each yarn tail onto the yarn needle and weave it securely through the wrong side of the fabric.
Notes
The pattern does not specify the exact number of rows for the border count or how to distribute the colors. Confirm the intended count or placement details if symmetry is required.