
This post contains Amazon affiliate links. As an Amazon Associate I earn from qualifying purchases.
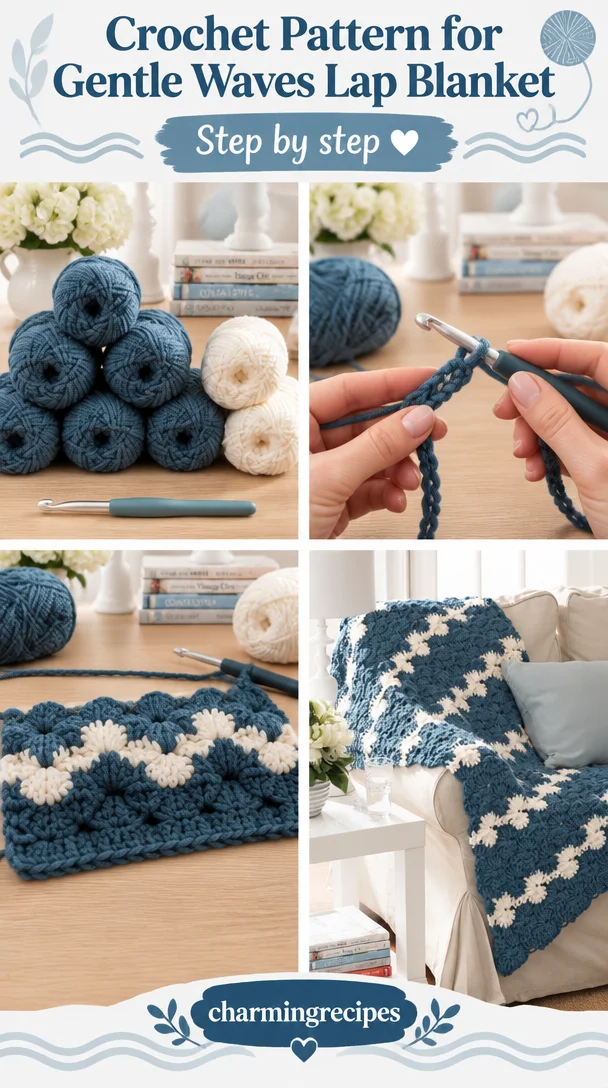
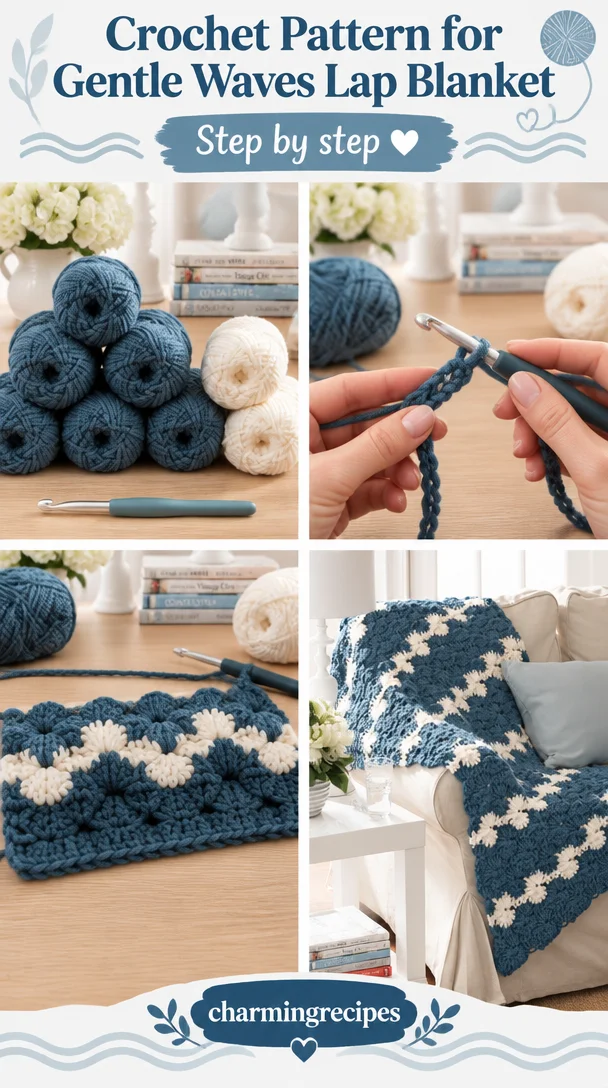
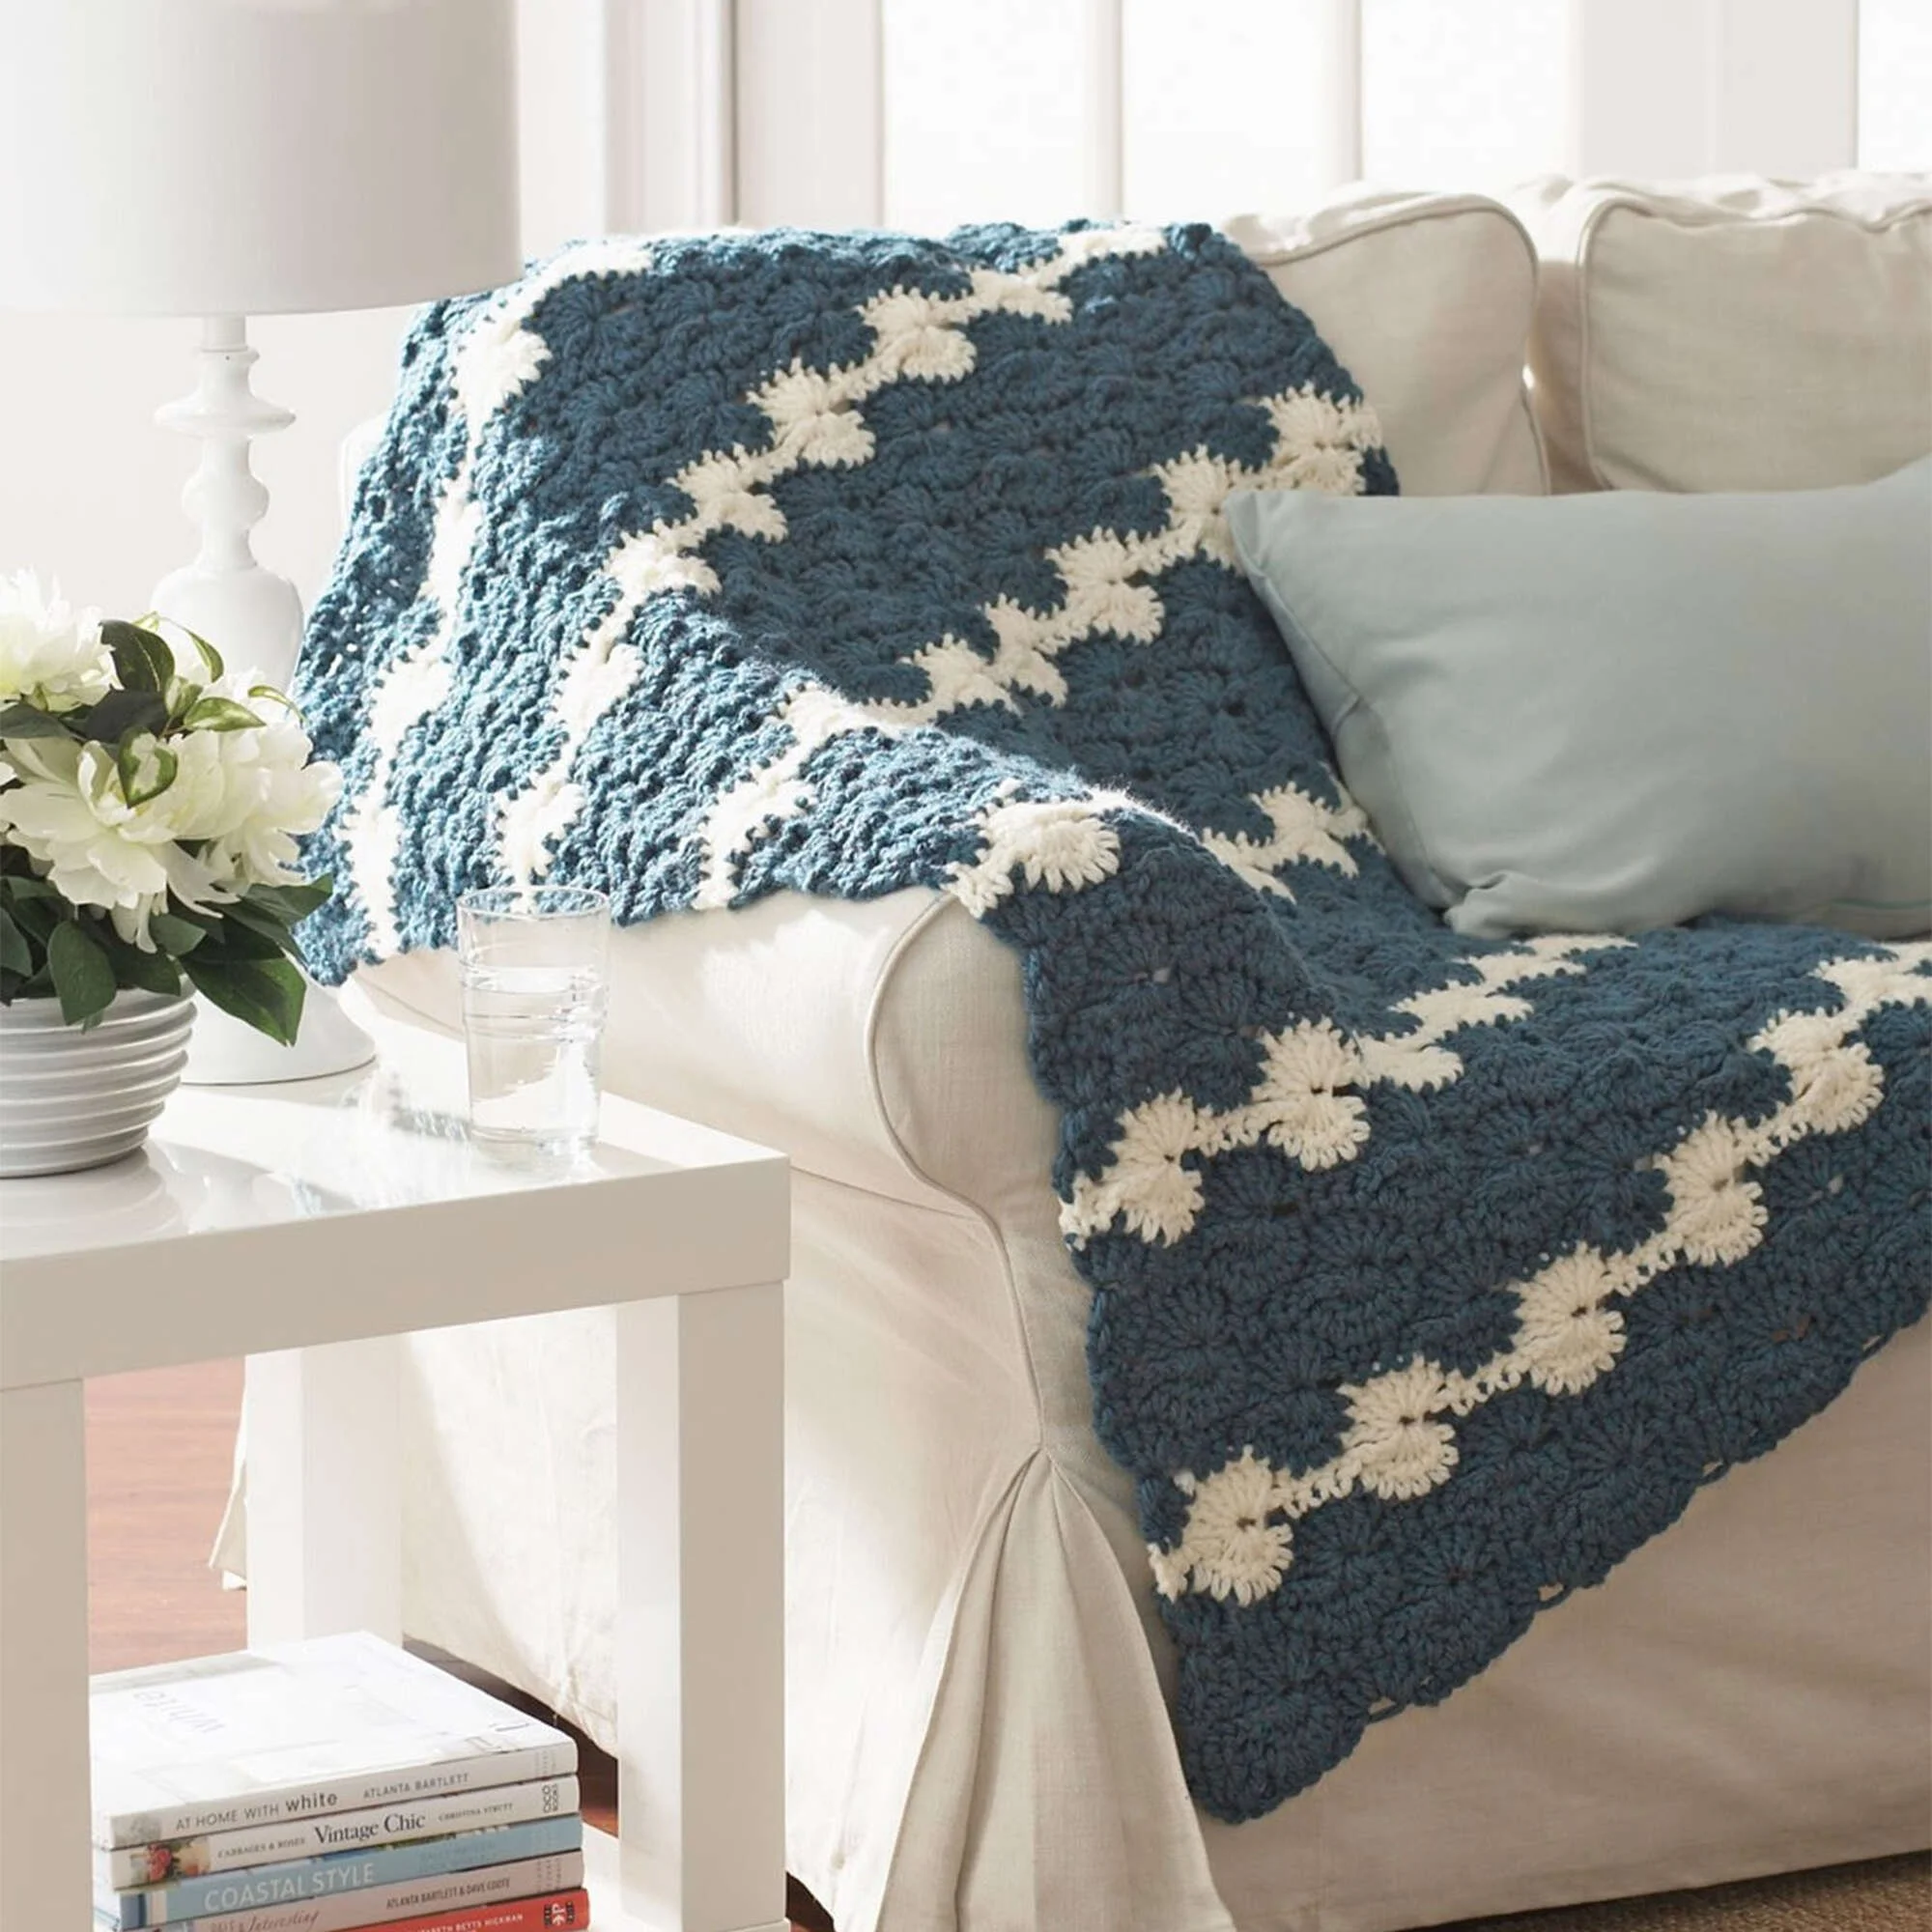
The Gentle Waves Lap Crochet Blanket is a cozy project with a rippling texture formed by groups of double crochet stitches and compact single-crochet sections. Its repeating wave pattern makes a warm, welcoming throw for a favorite chair, quiet evenings, or a thoughtful handmade gift. The chunky yarn gives the fabric a substantial feel, while the row-by-row rhythm offers a satisfying way to practice stitch placement and shaping.
Why you’ll love this pattern
This lap blanket brings together a comforting texture and a clear, repeating stitch sequence. The waves are made with clusters of double crochet stitches, then shaped with decreases on the following row. Once you understand how those two rows relate, the fabric begins to form a recognizable rhythm.
The pattern is worked back and forth in rows rather than joined in the round. That makes it easier to turn the work, inspect the stitch tops, and compare each new row with the one below. The first rows deserve careful attention, but repeating the established sequence can make the project pleasantly meditative.
Bernat Softee Chunky and a 9 mm hook are specified, so the blanket is designed for a plush, bulky fabric. That combination can help the work progress more quickly than a finer yarn project, though your personal pace and the time you have available will determine how long the full blanket takes. The pattern instructions provided here cover the beginning rows; they do not include a complete repeat-to-finish sequence or a finished size, so check the original pattern source for the remaining rows and final dimensions before planning your yarn or schedule.
“The waves were fun to watch take shape. After I got comfortable counting the groups, the rows became an easy rhythm, and the chunky fabric felt lovely in my hands.”
How this crochet pattern comes together
You’ll make a lap-sized blanket in rows, beginning with a chain worked in the main color. The first row establishes the wave pattern with groups of double crochet stitches separated by single crochet stitches. In the next row, decreases gather the tall stitches into pointed valleys. The following rows build on that foundation, alternating raised wave sections with shaped decreases.
The key technique is double crochet seven together, usually written as dc7tog. To make it, work part of a double crochet into each of seven stitches without finishing any of them individually. Once seven partial stitches are on the hook, yarn over and pull through all the loops together. This turns a group of stitches into one top stitch and shapes a valley in the wave. The fourth row also begins and ends with a four-stitch decrease worked in a specific way.
The stitch pattern uses common crochet stitches, but the shaping and placement make careful counting important. A confident beginner who knows how to chain, single crochet, double crochet, and work decreases should be able to learn it. If you are newer to crochet, practise a small swatch of the wave repeat before starting the blanket. The supplied instructions cover the foundation and first five rows, ending as Contrast A is joined. Follow the full original pattern for subsequent rows, edging, and finishing details; those steps are not included in the instructions provided here.
Materials you’ll need
- Bernat® Softee Chunky™ yarn
- Main Color (MC): 7 balls
- Contrast A: 3 balls
- Size 9 mm crochet hook
Bernat Softee Chunky is a bulky yarn, and the large hook is chosen to create a thick, cozy fabric. Check the yarn label before beginning for fiber content, care information, and dye-lot details. If you buy more than one ball of a color, matching dye lots can help keep the color consistent.
You can use other colors if you prefer. To preserve a similar fabric, choose a yarn with a comparable weight and thickness, and make a test swatch with the 9 mm hook. A different yarn may change the blanket’s drape, texture, dimensions, and yarn requirements, even if it looks similar in the ball.
Optional but useful tools include scissors, a yarn needle for weaving in ends, and a ruler or tape measure for checking your swatch and finished work. A few stitch markers can also help identify the beginning and end of a pattern repeat.
Step-by-step instructions
Abbreviations and stitch notes
- ch: chain
- sc: single crochet
- dc: double crochet
- st(s): stitch(es)
- MC: Main Color
- A: Contrast A
- rep: repeat
- miss: skip
- yoh: yarn over
- dc7tog: double crochet seven together; seven partial double crochets are joined at the top
- beg dc4tog: beginning double crochet four together
- WS: wrong side
The chain 3 at the start of the fourth row acts as the beginning of the dc4tog as written in the source. Follow the construction below rather than treating that chain as an ordinary turning chain.
Work the first five rows
-
Make the foundation chain. With MC, chain 84.
-
Work Row 1 on the wrong side. Make 3 dc in the fourth chain from the hook; these stitches count as 4 dc. Miss the next 3 chains, then make 1 sc in each of the next 3 chains. Miss the next 3 chains.
Work the following sequence 7 times: make 7 dc in the next chain, miss the next 3 chains, make 1 sc in each of the next 3 chains, then miss the next 3 chains. Finish with 4 dc in the last chain. Turn. -
Shape the first wave valleys on Row 2. Chain 1. Make 1 sc in each of the next 2 dc. Chain 3.
To make a dc7tog, yarn over and draw up a loop in the next stitch, then yarn over and draw through 2 loops on the hook. Repeat this partial double crochet in each of the next 6 stitches, leaving the final loop of each partial stitch on the hook. Yarn over and draw through all loops on the hook to complete the dc7tog. Chain 3.
Work the following sequence 7 times: make 1 sc in each of the next 3 dc, chain 3, make a dc7tog across the next 7 stitches, then chain 3. Make 1 sc in each of the last 2 dc. Turn. -
Build the wave peaks on Row 3. Chain 1. Make 1 sc in each of the next 2 sc. Miss the next 3 chains, then make 7 dc in the next stitch. Miss the next 3 chains.
Work the following sequence 7 times: make 1 sc in each of the next 3 sc, miss the next 3 chains, make 7 dc in the next stitch, then miss the next 3 chains. Make 1 sc in each of the last 2 sc. Turn. -
Shape the ends and valleys on Row 4. Chain 3. To make the beginning dc4tog, yarn over and draw up a loop in the next stitch, then yarn over and draw through 2 loops on the hook. Repeat this partial double crochet 2 more times, working into the next stitch each time. Yarn over and draw through all loops on the hook to complete the beginning dc4tog. Chain 3.
Make 1 sc in each of the next 3 dc, then chain 3. Work the following sequence 7 times: make a dc7tog across the next 7 stitches, chain 3, make 1 sc in each of the next 3 dc, then chain 3.
For the final dc4tog, yarn over and draw up a loop in the next stitch, then yarn over and draw through 2 loops on the hook. Repeat this partial double crochet 3 more times, working into the next stitch each time. Yarn over and draw through all loops on the hook to complete the dc4tog. Turn. -
Work Row 5 and change colors. Chain 3. Make 3 dc in the first stitch; together with the starting chain, these count as 4 dc. Miss the next 3 chains, then make 1 sc in each of the next 3 sc. Miss the next 3 chains.
Work the following sequence 7 times: make 7 dc in the next stitch, miss the next 3 chains, make 1 sc in each of the next 3 sc, then miss the next 3 chains. Finish with 4 dc in the last stitch. Join Contrast A and turn.
The provided instructions stop after joining Contrast A at the end of Row 5. Use the original pattern source for the remaining rows, any border, and final finishing steps rather than guessing at the omitted instructions.
Ways to use your finished project
A lap blanket is useful wherever you want an extra layer without managing a full-size bed blanket. Keep it folded over the back of a reading chair or sofa, or place it beside a favorite seat for cool mornings and evenings. Its substantial texture also makes it a welcoming layer for a guest room.
The wave design and color contrast can suit a range of home styles. Choose calm, closely related shades for a subtle ripple effect, or use a stronger contrast to emphasize the peaks and valleys. A finished blanket can make a thoughtful gift for a housewarming, birthday, or winter holiday. If you’re making one for someone else, consider their preferred colors and whether they would value a machine-washable option.
How to care for your crochet project
Check the care instructions on the Bernat Softee Chunky label before washing. Yarn fiber content and recommended care can vary, so the label is the best guide for choosing a washing method and water temperature.
When machine washing is permitted, use the label’s recommended cycle and temperature, and consider placing the blanket in a laundry bag to reduce friction. If the label recommends hand washing, use cool or lukewarm water with a gentle detergent. Avoid wringing or twisting the fabric, which can stretch the tall stitch groups and distort the waves.
Support the blanket with both hands when lifting it while wet. Press out excess water gently, then reshape the ripples and lay the blanket flat to dry if the care label allows. Avoid hanging a heavy wet blanket, since its weight can pull the fabric out of shape. Do not apply heat or tumble dry unless the yarn label says it is safe.
Store the blanket clean and completely dry. Fold it loosely in a dry place, away from direct sunlight and rough surfaces that could cause pilling or snagging. If the two colors are very different, test for colorfastness before the first wash, especially if the yarn is from an older or unlabelled supply.
Tips for success
- Count the foundation chain before starting. The pattern begins with 84 chains. It can be helpful to count in groups as you chain, then recount before working the first row.
- Mark the repeats. The repeated wave sections are easy to lose track of when you are learning the pattern. Place removable markers at repeat boundaries or jot down how many repeats you complete.
- Watch the stitch tops in dc7tog. Each partial double crochet needs to be worked into its own stitch. Keep the final loop of each partial stitch on the hook, then close the group by drawing through all the loops together.
- Do not mistake chain spaces for stitches. The instructions tell you to chain 3 in some rows and miss those chains in others. Follow the row directions closely so the next stitch lands in the intended stitch, not in a chain space by accident.
- Check the first repeats before moving on. After Row 3, the 7-dc groups should sit over the valleys created by the dc7tog on Row 2. Looking at the fabric as you go helps catch a misplaced peak early.
- Keep the edge shaping distinct. Rows 1 and 5 have 4-dc groups at the ends, while Row 4 begins and ends with decreases. Those edge instructions differ from the central repeats, so pause at each edge and check the step before proceeding.
- Use a consistent, comfortable tension. If your chains are much tighter than your stitches, the starting edge may pull in. Make the foundation chain with a relaxed hand; if needed, practise a short chain with the 9 mm hook before beginning.
- Make a swatch if finished dimensions matter. No finished size or gauge is included in the supplied instructions. A small sample can help you assess the fabric and estimate whether your tension is close to the intended result, though the full pattern is needed for an accurate size comparison.
- Change colors neatly. Row 5 says to join Contrast A at the end of the row. Follow the original pattern’s joining method if it specifies one. Secure yarn ends carefully, but avoid pulling them tight enough to pucker the blanket.
- Read ahead before continuing. Only the first five rows are provided here. Before you begin the full blanket, confirm that you have access to the remaining pattern instructions so you know how the color changes, repeats, border, and finishing are handled.
Creative variations
Try a new color pairing. The main color and Contrast A can be coordinated neutrals, soft tonal shades, or a more noticeable light-and-dark combination. A strong contrast can make the waves stand out; similar shades create a more blended surface. Keep in mind that changing colors may affect how clearly the stitch pattern shows, but it does not change the stitch count.
Make a wider or narrower blanket only with a repeat plan. The supplied foundation is 84 chains, and the instructions do not state a general multiple for resizing. Do not simply add or remove an arbitrary number of chains: the wave repeat and shaped edges may no longer line up. Check the full pattern for resizing guidance before changing the starting chain. A wider blanket will require more yarn and may take longer to complete.
Adjust the length by adding rows only if the full pattern supports it. More rows mean a longer blanket and additional yarn. Follow the original instructions for row repeats and color changes so the waves remain consistent and the final edge is finished correctly.
Add an edging if you know how the pattern finishes. A simple border can give a blanket a polished outline, but the supplied directions do not specify one. Check the original pattern first. A heavy or tightly worked border may pull the sides inward, add weight, or make the blanket curl at the edges.
You can also coordinate the lap blanket with a matching cushion or smaller home accessory using the same colors. Those projects would need their own sizing and stitch adjustments; the blanket instructions do not automatically provide a pattern for them.
Frequently asked questions
Is this lap blanket pattern beginner-friendly?
It can suit a confident beginner who knows chains, single crochet, and double crochet. The dc7tog decrease and the edge shaping require careful stitch placement, so a beginner may find it helpful to practise the decrease on a small sample before working the blanket.
What yarn and hook does the pattern call for?
The materials are Bernat® Softee Chunky™ yarn in 7 balls of Main Color and 3 balls of Contrast A, with a size 9 mm crochet hook. Check the yarn label and the full original pattern for any additional gauge or sizing information.
Can I use a different yarn or hook size?
You can, but the result may not match the intended fabric. A different yarn weight or hook size can change the blanket’s dimensions, thickness, drape, and yarn requirements. Make a swatch first and compare it with any gauge information in the complete pattern.
How much yarn do I need?
The listed quantity is 7 balls of Main Color and 3 balls of Contrast A. Your actual use can vary with tension and substitutions. If you change yarn, hook, or blanket dimensions, you may need more or less yarn; the supplied instructions do not include a finished size or gauge for a precise recalculation.
How long does the blanket take to crochet?
The exact time depends on your experience, working speed, and how often you crochet. Chunky yarn can make progress feel quicker than a fine-weight project, but the total time cannot be determined from the five rows provided. The complete pattern is needed to see how many rows remain.
How can I make the blanket wider or narrower?
Check the full pattern for the stitch-repeat multiple and any resizing notes before changing the foundation chain. The supplied instructions specify 84 chains but do not give a resizing formula. Changing the chain count without preserving the wave repeat could disrupt the pattern and edge shaping.
Why might the edges look uneven?
The edge stitches change between rows, so it is easy to add or miss a stitch at the beginning or end. Compare each row’s edge directions carefully, especially the 4-dc groups on Rows 1 and 5 and the dc4tog decreases on Row 4. Marking the first and last stitches can help you identify where each row begins and ends.
Can I sell a blanket made using this pattern?
The instructions provided here do not state the designer’s terms for finished items. Check the original designer’s usage terms before selling blankets made from the pattern.
How should I wash the finished blanket?
Follow the Bernat Softee Chunky label for the correct washing method and temperature. Use gentle handling, avoid twisting the fabric, and reshape it while damp. Lay it flat to dry if the yarn label allows.
Print
Gentle Waves Lap Crochet Blanket
Description
A cozy lap blanket with a rippling texture formed by groups of double crochet stitches and compact single-crochet sections, ideal for warm evenings or as a thoughtful handmade gift.
Materials
- Bernat® Softee Chunky™ yarn – Main Color (MC): 7 balls
- Bernat® Softee Chunky™ yarn – Contrast A: 3 balls
- Size 9 mm crochet hook
Instructions
- Make the foundation chain. With MC, chain 84.
- Work Row 1 on the wrong side. Make 3 dc in the fourth chain from the hook; these stitches count as 4 dc. Miss the next 3 chains, then make 1 sc in each of the next 3 chains. Miss the next 3 chains. Work the following sequence 7 times: make 7 dc in the next chain, miss the next 3 chains, make 1 sc in each of the next 3 chains, then miss the next 3 chains. Finish with 4 dc in the last chain. Turn.
- Shape the first wave valleys on Row 2. Chain 1. Make 1 sc in each of the next 2 dc. Chain 3. To make a dc7tog, yarn over and draw up a loop in the next stitch, then yarn over and draw through 2 loops on the hook. Repeat this partial double crochet in each of the next 6 stitches, leaving the final loop of each partial stitch on the hook. Yarn over and draw through all loops on the hook to complete the dc7tog. Chain 3. Work the following sequence 7 times: make 1 sc in each of the next 3 dc, chain 3, make a dc7tog across the next 7 stitches, then chain 3. Make 1 sc in each of the last 2 dc. Turn.
- Build the wave peaks on Row 3. Chain 1. Make 1 sc in each of the next 2 sc. Miss the next 3 chains, then make 7 dc in the next stitch. Miss the next 3 chains. Work the following sequence 7 times: make 1 sc in each of the next 3 sc, miss the next 3 chains, make 7 dc in the next stitch, then miss the next 3 chains. Make 1 sc in each of the last 2 sc. Turn.
- Shape the ends and valleys on Row 4. Chain 3. To make the beginning dc4tog, yarn over and draw up a loop in the next stitch, then yarn over and draw through 2 loops on the hook. Repeat this partial double crochet 2 more times, working into the next stitch each time. Yarn over and draw through all loops on the hook to complete the beginning dc4tog. Chain 3. Make 1 sc in each of the next 3 dc, then chain 3. Work the following sequence 7 times: make a dc7tog across the next 7 stitches, chain 3, make 1 sc in each of the next 3 dc, then chain 3. For the final dc4tog, yarn over and draw up a loop in the next stitch, then yarn over and draw through 2 loops on the hook. Repeat this partial double crochet 3 more times, working into the next stitch each time. Yarn over and draw through all loops on the hook to complete the dc4tog. Turn.
- Work Row 5 and change colors. Chain 3. Make 3 dc in the first stitch; together with the starting chain, these count as 4 dc. Miss the next 3 chains, then make 1 sc in each of the next 3 sc. Miss the next 3 chains. Work the following sequence 7 times: make 7 dc in the next stitch, miss the next 3 chains, make 1 sc in each of the next 3 sc, then miss the next 3 chains. Finish with 4 dc in the last stitch. Join Contrast A and turn.
Notes
The instructions provided stop after joining Contrast A at the end of Row 5. Use the original pattern source for the remaining rows, any border, and final finishing steps.