

This post contains Amazon affiliate links. As an Amazon Associate I earn from qualifying purchases.
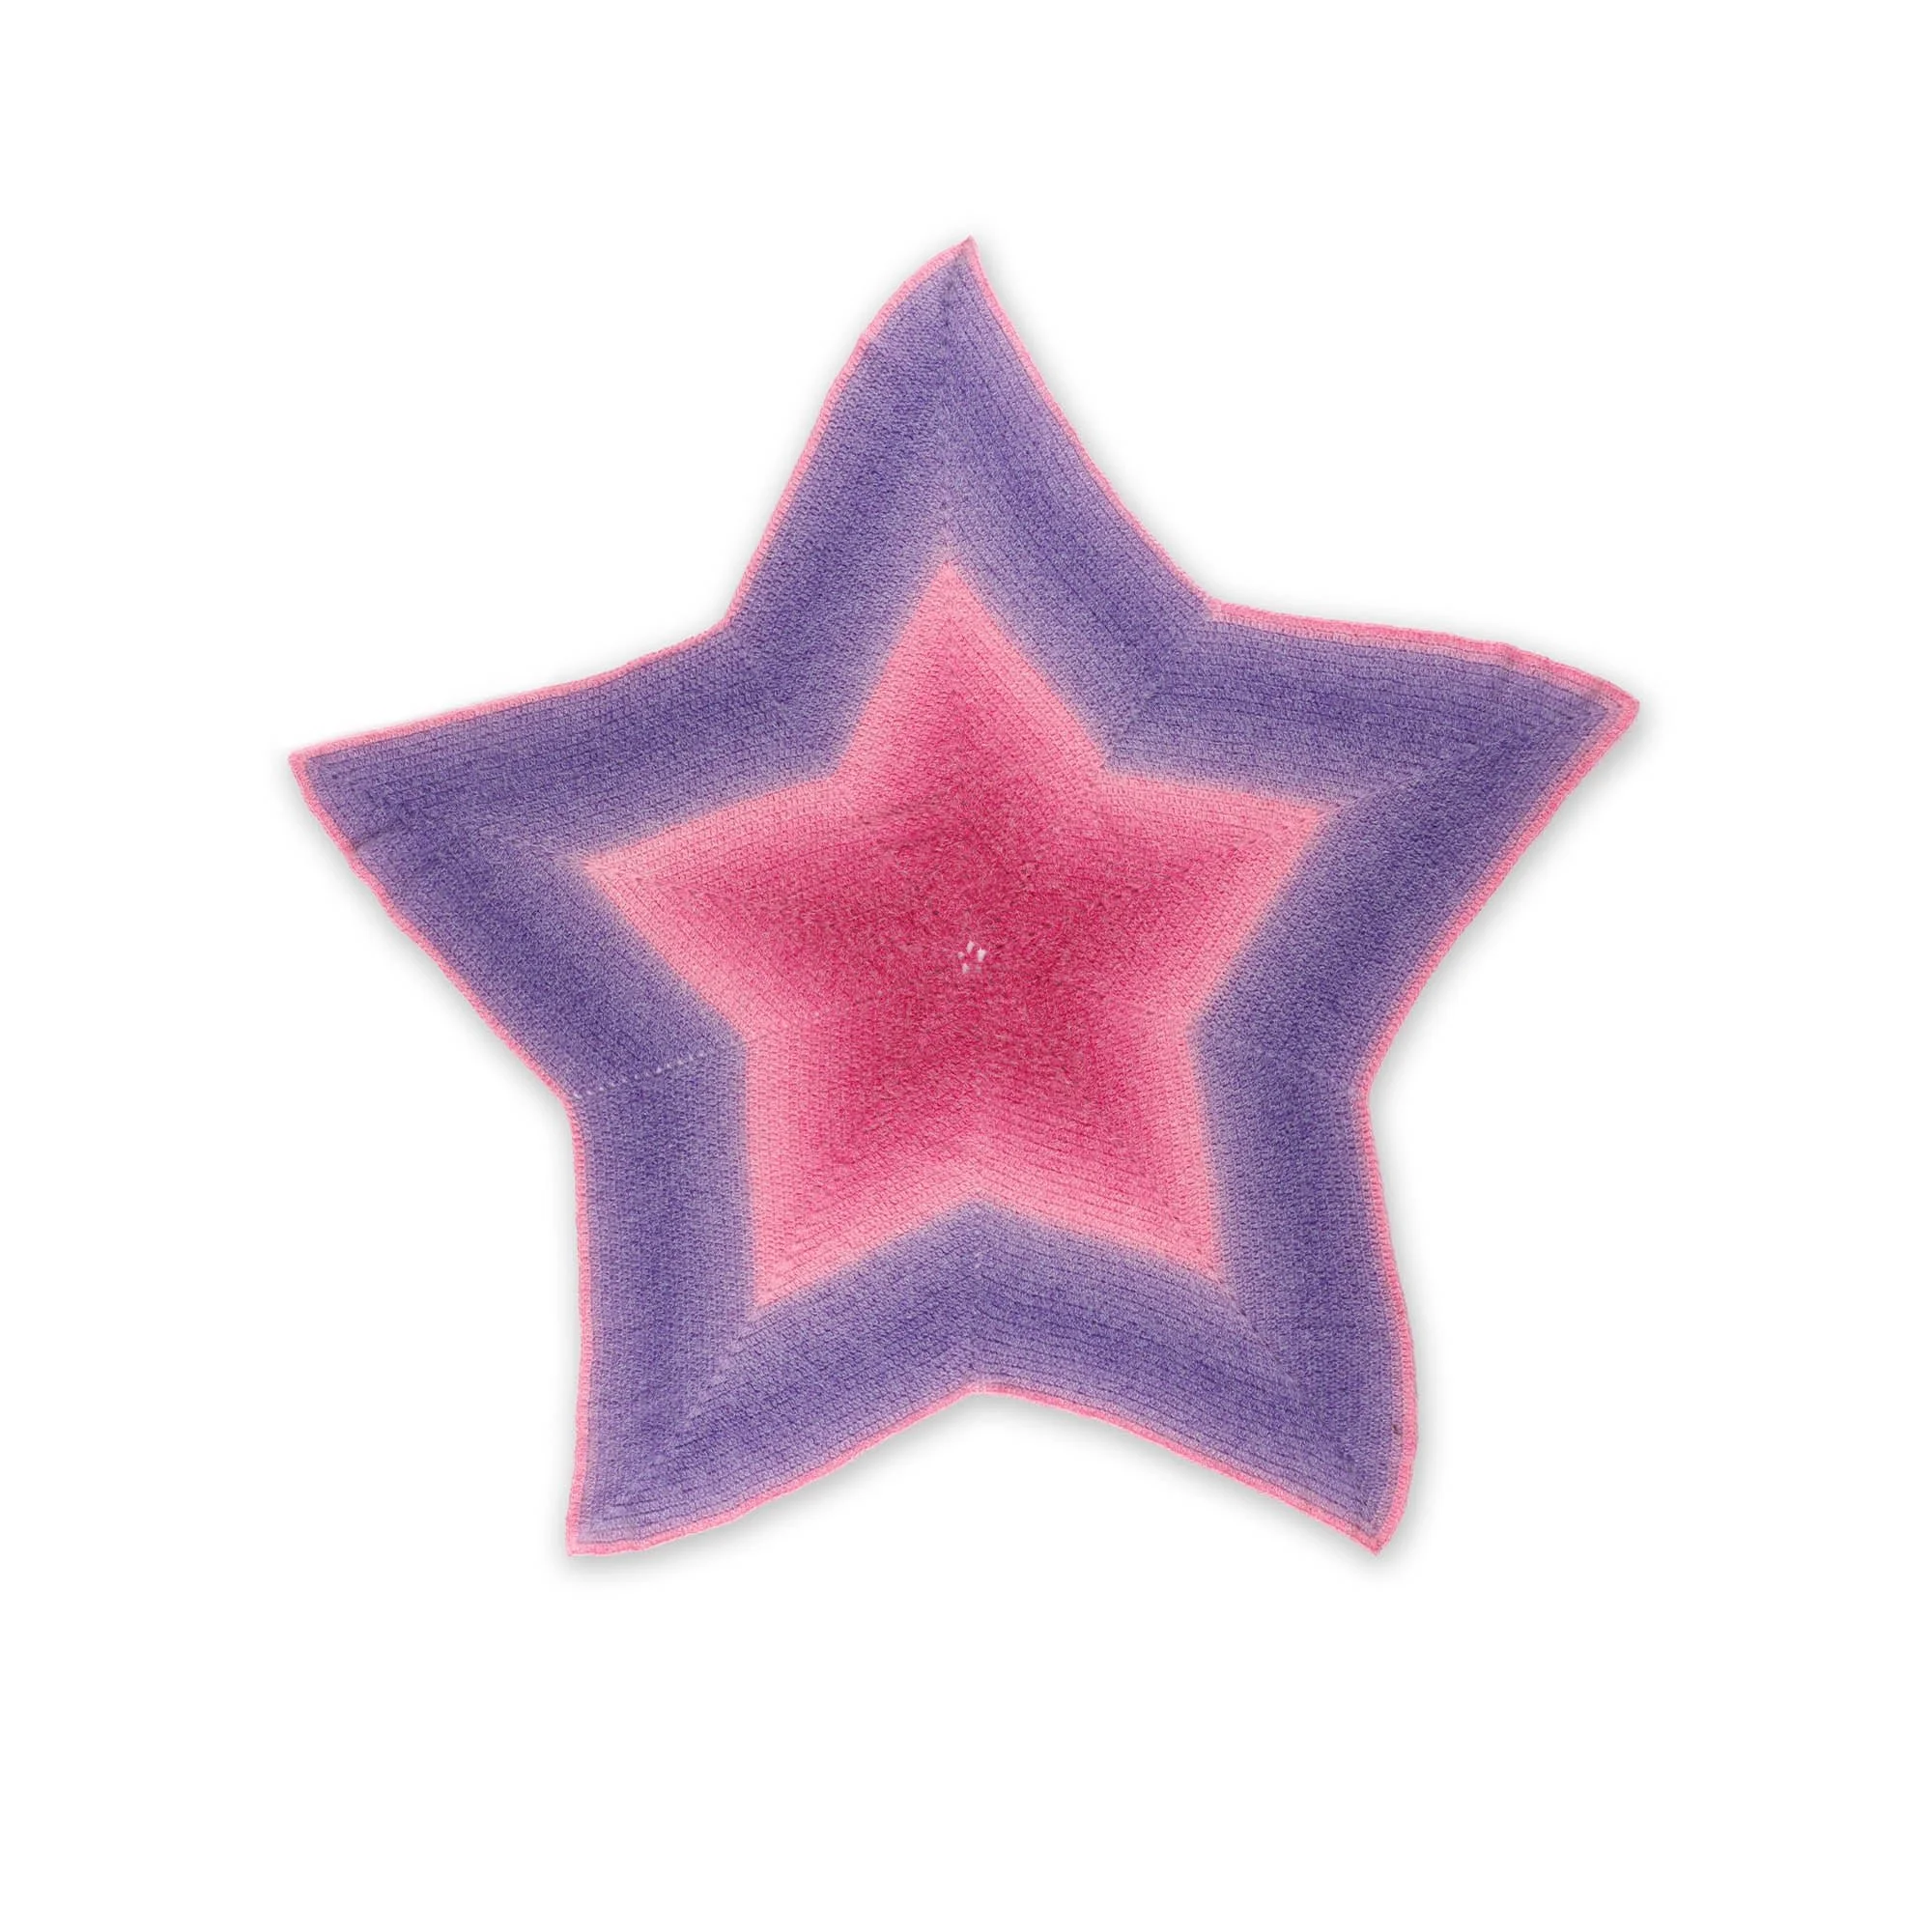
This star-shaped crochet blanket grows outward in repeating rounds of double crochet clusters, creating a striking centerpiece for a bed, sofa, or reading nook. The color-changing yarn adds visual interest without requiring frequent color changes, making the project satisfying for crocheters who enjoy watching a pattern emerge one round at a time.
Why you’ll love this pattern
The repeating cluster pattern gives the blanket its distinctive star shape while offering practice with double crochet, chain spaces, and joining rounds. It’s a good choice for crocheters comfortable with basic stitches who want to build confidence working in the round. The gradual growth makes it easy to check the shape as you go, and the softly shifting colors create a handmade focal point for a living room or bedroom.
“I enjoyed seeing the points take shape as the rounds grew. The color changes did the decorating for me, and it made a lovely blanket to keep on the sofa.”
Before you begin
You’ll make a round star blanket by working double crochet clusters into chain spaces, then adding more stitches between clusters as the rounds expand. The pattern begins with a small center and continues in joined rounds until the blanket measures about 60 inches in diameter.
The main techniques are double crochet, chain stitches, slip-stitch joins, and working into chain spaces. The project is best suited to a confident beginner who can follow a repeating motif and keep track of round joins. Completion time depends on your pace and how often you crochet; the blanket’s size makes it a longer project rather than a quick make.
Materials you’ll need
- Caron® Colorama Halo Perfect Phasing™ yarn in Lavender Punch: 2 balls
- Size U.S. K/10½ (6.5 mm) crochet hook
- Susan Bates® yarn needle
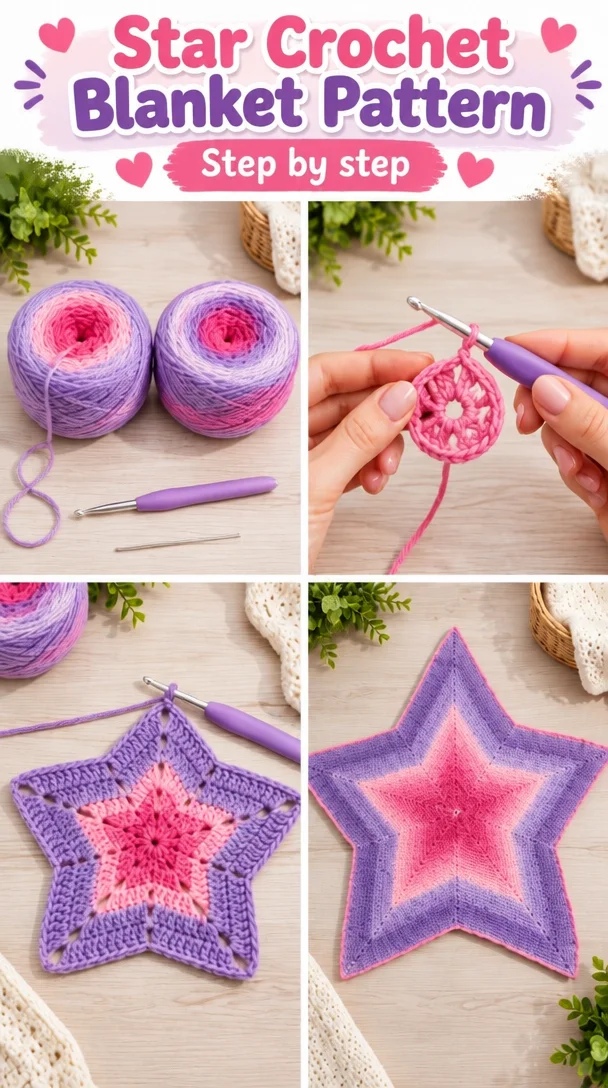
The yarn’s gradual color changes are intended to create a phasing effect across the blanket. If you substitute yarn, choose one with a similar thickness and check its label for the recommended hook and care instructions. A different yarn weight or hook can change the blanket’s size, drape, and yarn requirements.
Step-by-step instructions
Abbreviations: ch = chain; dc = double crochet; sl st = slip stitch.
-
Make the center ring. Chain 4 and join with a slip stitch to form a ring.
-
Work Round 1. Chain 6; this counts as 1 dc and ch 3. In the ring, work (1 dc, ch 3) four times. Join with a slip stitch to the 3rd chain of the beginning chain.
-
Work Round 2. Slip stitch into the next ch-3 space, then chain 3. In that same space, work (2 dc, ch 2, 3 dc). Repeat (3 dc, ch 2, 3 dc) in each of the next 4 ch-3 spaces. Join with a slip stitch to the top of the beginning chain 3.
-
Work Round 3. Slip stitch into the next dc and chain 3. Make 1 dc in the next dc. Continue the established pattern until you have made 3 more clusters. Finish with 1 dc in each of the last 2 dc before joining with a slip stitch.
-
Work Round 4. Continue in the same general pattern, increasing the number of dc between clusters as specified by the established pattern.
-
Work Rounds 5 and 6. Follow the same pattern, adjusting the number of dc between clusters as specified for each round.
-
Continue the blanket. After Round 6, keep working in the established pattern until the blanket measures approximately 60 inches in diameter. When you need to join a second cake of yarn, join from the outside of the cake to help maintain the color-phasing effect.
-
Finish. Fasten off. Use the yarn needle to weave in all ends on the wrong side.
The instructions provided specify the general increase pattern for Rounds 4–6 and later rounds, but do not give exact stitch counts for those rounds. Follow the established pattern without adding extra increases, and check that the star lies flat as it grows.
Ways to use your finished project
Drape the blanket over a sofa or armchair to show off its star silhouette, or spread it across a bed as a decorative layer. It also makes a thoughtful handmade gift for someone setting up a home, celebrating a birthday, or welcoming a new family member. Because the finished blanket is approximately 60 inches across, check the intended recipient’s space if you’re making it to fit a particular bed or seating area.
How to care for your crochet project
Follow the care instructions on the yarn label, since the recommended washing method depends on the yarn’s fiber content. When in doubt, use gentle handling and cool water. Avoid twisting or wringing the blanket, which can stretch the points or distort the shape.
After washing, support the blanket from underneath as you lift it and reshape it flat to dry. Keep it away from direct heat. Store it clean and completely dry, folded rather than hung, to help prevent stretching. If you notice pilling, remove pills gently instead of pulling at the yarn.
Tips for success
- Use a stitch marker to mark the beginning of each round, especially while you’re learning where each join belongs.
- Check that the joining slip stitch lands in the correct chain or stitch. A misplaced join can shift the round and make the star’s points look uneven.
- Count the ch-3 spaces before working each round’s clusters. It’s easier to spot a missed space early than to correct the shape several rounds later.
- Keep your chain-2 spaces at the points consistent. These spaces define the star’s corners.
- Lay the blanket flat from time to time. If it starts to cup or ruffle, pause and check that you’re following the increase pattern evenly rather than adding or missing stitches.
- When joining a second yarn cake, pull from the outside as directed to help preserve the color progression.
- Weave in ends securely on the wrong side, following the yarn path without pulling tightly enough to pucker the fabric.
Creative variations
- Choose another colorway: A different phasing yarn can change the blanket’s overall mood without changing the stitch pattern.
- Make a larger or smaller blanket: Stop earlier for a smaller throw or continue for a larger one. Additional rounds require more yarn, and the finished diameter will vary with your tension and yarn.
- Add a simple border: A border can give the edge a more finished look, but it may change the blanket’s drape and shape. Check that it lies flat as you work.
- Use a contrasting edging color: This can frame the star points clearly. Allow extra yarn for the border and expect the final look—and possibly the edge tension—to differ from the original.
- Try a different yarn: A different weight or fiber can make the blanket thicker, lighter, or more drapey, and will likely change the finished size and yarn amount. Make a small test swatch first if you want to compare the fabric.
Frequently asked questions
Is this crochet blanket suitable for beginners?
It can suit a confident beginner who knows double crochet, chains, and slip-stitch joins. The star shape requires attention to the repeating clusters and increases, so marking the start of each round is helpful.
What yarn and hook does the pattern use?
The listed materials are Caron® Colorama Halo Perfect Phasing™ yarn in Lavender Punch, 2 balls, and a U.S. K/10½ (6.5 mm) crochet hook.
How large is the finished blanket?
The instructions aim for approximately 60 inches in diameter. Your result may vary with your tension, yarn, and hook.
How can I make the blanket larger or smaller?
To make it smaller, stop before reaching the target diameter. To make it larger, continue in the established pattern, allowing for additional yarn. The provided instructions do not include exact stitch counts for the later rounds, so keep the increases consistent and check that the blanket lies flat.
Why is my star blanket curling or ruffling?
Curling or ruffling can signal that the increases are not balanced for your tension or that a cluster or chain space was missed or added. Check your joins and repeat pattern, then lay the blanket flat to assess its shape before continuing.
Can I use a different hook size?
Yes, but changing the hook can affect the blanket’s size, texture, and drape. A larger hook generally creates a looser fabric, while a smaller hook makes a tighter one. Check the fabric as you work and expect the finished measurements to differ.
How much yarn do I need?
The materials list calls for 2 balls of the specified yarn. A larger blanket, a different yarn weight, or a border may require additional yarn.
May I sell blankets made from this pattern?
The instructions provided do not state the designer’s usage terms. Check the original designer’s terms before selling finished items.
Print
Star-Shaped Crochet Blanket
Description
This star-shaped crochet blanket grows outward in repeating rounds of double crochet clusters, creating a striking centerpiece for a bed, sofa, or reading nook. The color-changing yarn adds visual interest.
Materials
- Caron® Colorama Halo Perfect Phasing™ yarn in Lavender Punch: 2 balls
- Size U.S. K/10½ (6.5 mm) crochet hook
- Susan Bates® yarn needle
Instructions
- Make the center ring. Chain 4 and join with a slip stitch to form a ring.
- Work Round 1. Chain 6; this counts as 1 dc and ch 3. In the ring, work (1 dc, ch 3) four times. Join with a slip stitch to the 3rd chain of the beginning chain.
- Work Round 2. Slip stitch into the next ch-3 space, then chain 3. In that same space, work (2 dc, ch 2, 3 dc). Repeat (3 dc, ch 2, 3 dc) in each of the next 4 ch-3 spaces. Join with a slip stitch to the top of the beginning chain 3.
- Work Round 3. Slip stitch into the next dc and chain 3. Make 1 dc in the next dc. Continue the established pattern until you have made 3 more clusters. Finish with 1 dc in each of the last 2 dc before joining with a slip stitch.
- Work Round 4. Continue in the same general pattern, increasing the number of dc between clusters as specified by the established pattern.
- Work Rounds 5 and 6. Follow the same pattern, adjusting the number of dc between clusters as specified for each round.
- Continue the blanket. After Round 6, keep working in the established pattern until the blanket measures approximately 60 inches in diameter. When you need to join a second cake of yarn, join from the outside of the cake to help maintain the color-phasing effect.
- Finish. Fasten off. Use the yarn needle to weave in all ends on the wrong side.
Notes
The instructions specify the general increase pattern for Rounds 4–6 and later rounds, but do not give exact stitch counts for those rounds. Follow the established pattern without adding extra increases, and check that the star lies flat as it grows.