

This post contains Amazon affiliate links. As an Amazon Associate I earn from qualifying purchases.
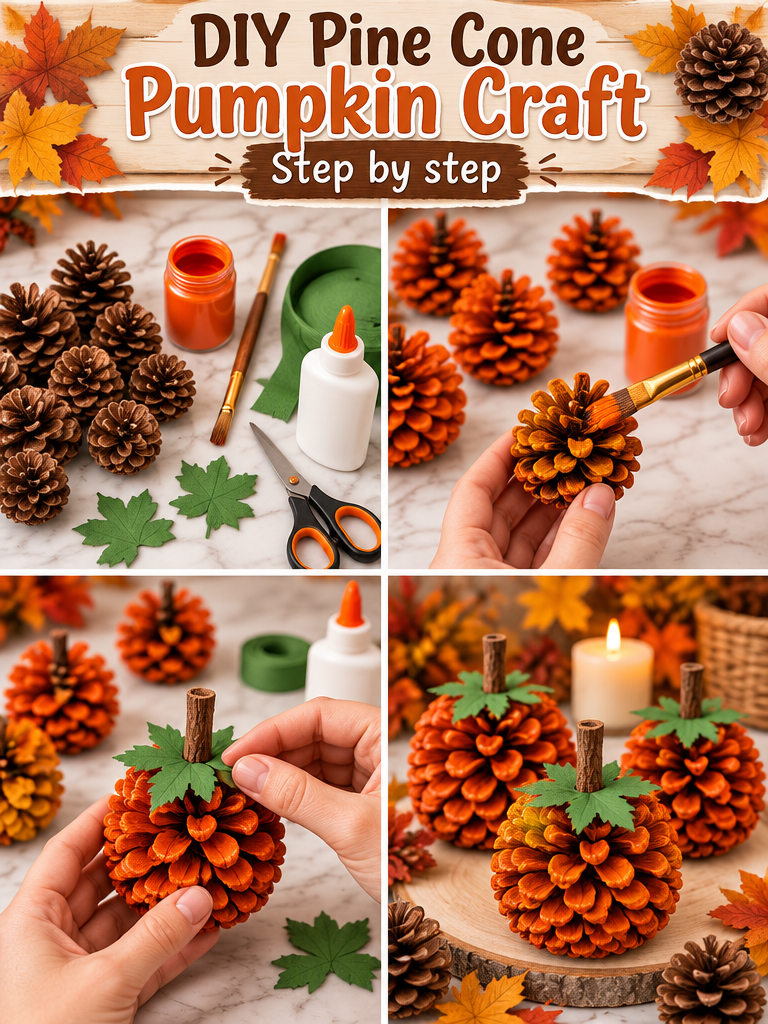
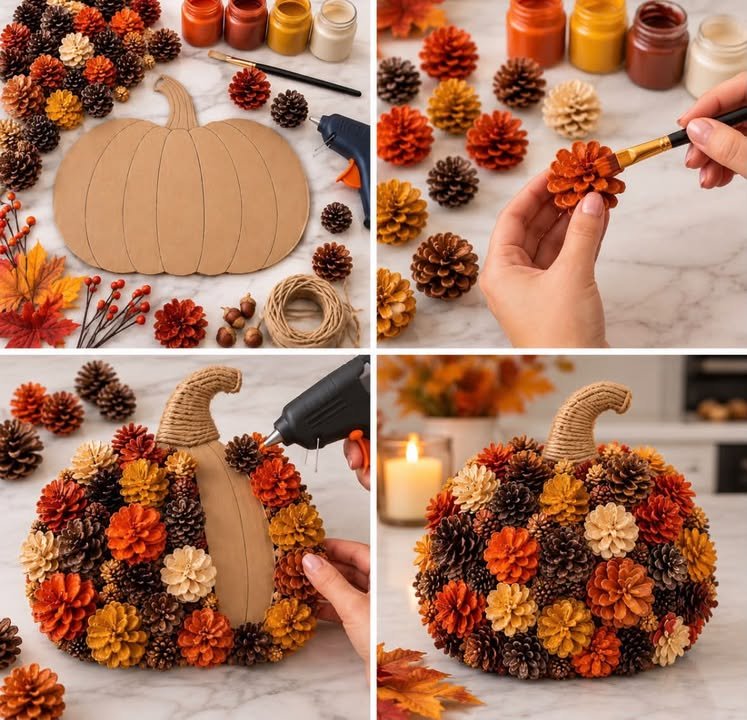
The first few rounds of a crochet pumpkin feel wonderfully small: a soft strand sliding over your fingers, the hook making its quiet click, and the little shape gathering weight in your palm. I made this DIY Pine Cone Pumpkin 🎃 🌲 on a cool afternoon with a mug of coffee beside my yarn basket, and watched the ridges appear one by one. It is a small seasonal project with enough repetition to settle your attention without asking for a whole weekend. By the end, you have a gently textured pumpkin that can sit on a mantel, rest in a basket, or become a thoughtful autumn gift.
Why DIY Pine Cone Pumpkin 🎃 🌲 Is So Soothing to Crochet
This pumpkin uses a simple stitch rhythm that gives your hands something steady to follow. You work across short rows, turn the piece, and repeat the same movements until the fabric begins to curl naturally into a rounded shape. The texture comes from working through the back loop only, which leaves a raised line across each row.
That repetition suits a rainy evening on the couch or a quiet hour on the front porch when the air first turns cool. You do not need to keep making decisions. Once the first few rows settle, your hands can remember the pattern while your attention moves gently between the yarn, the room, and the little shape growing in your lap.
The first rows may curl more than you expect. Mine looked like a narrow ribbed strip that could not possibly become a pumpkin, but the fabric gained weight as the rows accumulated and finally began to fold into itself. That change feels satisfying because the shape comes from ordinary stitches rather than complicated shaping.
You can make one pumpkin in an evening if you crochet steadily, or stretch it over two or three slower sessions. Many people find crocheting calming because a repeated motion gives the mind a quiet place to rest. This project leaves room for that feeling without making grand promises about what crafting can do.
How DIY Pine Cone Pumpkin 🎃 🌲 Comes Together
The main stitch is half double crochet, abbreviated hdc. A half double crochet gives you more height than a single crochet but creates a denser fabric than a double crochet, so the pumpkin keeps its shape without looking stiff. Working in the back loop only, or BLO, creates the soft horizontal ridges that suggest the layered surface of a pumpkin.
You begin with a foundation chain, which is the first chain of stitches that supports the rest of the work. Each row uses the same stitch multiple, then you join the finished strip into a tube, gather the ends, and add polyester fiberfill. The process is simple, but joining and gathering are the fiddliest parts, so give yourself a little patience there.
This pattern uses US crochet terms. UK readers often find these posts too, and the same word can mean a different stitch in UK terminology. Here, a chain is ch, a slip stitch is sl st, and half double crochet is hdc in the US sense.
The finished pumpkin measures about 5 inches tall and 6 inches wide (13 cm tall and 15 cm wide), depending on how firmly you stuff it. Plan on about two to three hours of hands-on crochet time, with a little extra time for sewing, stuffing, and shaping. The difficulty is easy, though the final gathering takes a little care.
Pattern at a Glance
Keep these details nearby while you work.
- Skill level: Easy
- Finished size: 5 inches tall by 6 inches wide (13 cm by 15 cm)
- Gauge: 14 half double crochet and 10 rows measure 4 inches (10 cm)
- Yarn: Worsted weight (weight 4, medium), about 180 yards total
- Hook size: H-8 (5.0 mm)
- Other supplies: Polyester fiberfill, yarn needle, scissors, tape measure, and one stitch marker
- Stitch multiple: Any multiple of 2 stitches, plus 1 extra chain for turning
- Estimated time: 2 to 3 hours
Gathering Your Materials
- Worsted weight yarn (weight 4, medium), preferably acrylic, about 180 yards total, or one 170-yard skein plus a small amount from another skein (easy to find)
- One H-8 (5.0 mm) crochet hook (a half size up or down is fine depending on your tension)
- Polyester fiberfill, about 2 to 3 ounces (55 to 85 g), for a softly firm pumpkin
- Yarn needle with a blunt tip (for sewing seams and weaving in ends)
- Scissors
- Tape measure
- One stitch marker, optional, for marking the first stitch or the joining point
- Small scrap of brown or green worsted weight yarn, optional, for the stem and leaf
- One small wooden button, optional, for the top of the pumpkin
I used worsted weight acrylic yarn because it is affordable, washable, and holds the ridges clearly. A type of yarn such as Lion Brand or Red Heart is easy to find in the United States, but you can use any similar worsted weight acrylic yarn with about 170 yards per 100 g skein. The exact brand matters less than the yarn weight and your comfort with the strand.
The gauge is 14 half double crochet and 10 rows measuring 4 inches (10 cm). A swatch takes about twenty minutes, and that small pause can save you from making a pumpkin that turns out much wider or tighter than you want. Measure the swatch after letting it rest flat, since your stitches may relax slightly.
If you substitute cotton, the pumpkin may feel firmer and show sharper ridges. Cotton also weighs more and can stretch differently. A wool blend will give a softer, springier shape, but untreated wool can felt with warm water or agitation. Superwash wool tolerates a washing machine better, while untreated wool needs gentler handling.
Step by Step
- Difficulty and stitch multiple: This is an easy project using a stitch multiple of 2, plus 1 extra chain for turning. You will work 31 foundation chains for a finished strip of 30 stitches.
- Make a foundation chain of 31 ch. A chain is formed by pulling the yarn through the loop on your hook, and each small link counts as one stitch. Keep the chain relaxed rather than pulling it tight.
- Row 1: Work 1 half double crochet, or hdc, in the second chain from the hook and in each chain across. A half double crochet starts with a yarn over, inserts the hook, pulls up a loop, then yarns over and pulls through all three loops. You have 30 stitches.
- Row 2: Chain 1 to turn, then work 1 hdc in the back loop only, or BLO, of each stitch across. The back loop is the strand farther from you at the top of the stitch. You still have 30 stitches.
- Rows 3 through 40: Repeat Row 2. At the end of every row, chain 1 to turn before beginning the next row. Each row has 30 stitches, and the ridges will run across the strip like soft corduroy.
- Pause after a few rows and check the edge. The first rows may curl, but the strip should keep a fairly even width. If you miss a stitch, the end of the row will look shorter or the edge will pull inward. Count the stitches before moving on.
- If you find a mistake several rows back, do not yank the yarn. Pull out one row at a time until you reach the missed stitch, then place the hook back into the loop and continue. The quiet click of the hook returns quickly once the error is behind you.
- After Row 40, fasten off with a yarn tail about 18 inches long. This longer tail will help you sew the side seam and gather one end. Leave the tail attached until the tube is assembled.
- Fold the crocheted strip in half so the short edges meet. With the right side, or RS, facing inward, line up the ridges and sew the short edges together with the yarn needle. Use a simple whip stitch through both layers, keeping the seam neat but not overly tight.
- Turn the tube so the right side faces outward. Thread the remaining yarn tail through the yarn needle and make running stitches around one open edge. A running stitch passes over and under the edge in a loose circle. Pull gently to gather the opening.
- Once the opening is mostly closed, add polyester fiberfill in small handfuls. Push the filling into the corners with the blunt end of your hook or the back of the yarn needle. Fill it firmly enough to hold a round shape, but leave a little give so the ridges remain visible.
- Pull the gathered yarn tight and stitch across the opening several times to secure it. Shape the pumpkin with your hands, turning it as you press the filling into an even oval. If a hollow spot appears, loosen the stitches slightly, add a little more fiberfill, and close it again.
- Use a second length of yarn to make a simple running stitch around the remaining open edge. Gather it, secure it, and weave in the ends by passing the needle through the center of the pumpkin for an inch or two before trimming. Weaving in the ends means securing yarn tails inside the fabric so they do not unravel.
- For a stem, chain 6, slip stitch in the second chain from the hook and in each chain across, then fasten off. A slip stitch, or sl st, moves across the work without adding height. Roll the small stem and sew it to the top.
- For an optional leaf, chain 6, then work 1 slip stitch, 1 single crochet, 1 half double crochet, 1 double crochet, and 1 slip stitch along the chain. A single crochet is sc, a compact stitch made by pulling through two loops; a double crochet is dc, a taller stitch made by pulling through two loops twice. Sew the leaf beside the stem.
- Check the pumpkin from every side and trim only the tails you have securely woven in. You can block the piece lightly if the ridges look uneven, but acrylic yarn should not touch a hot iron. Shape it by hand or use a little steam from a distance, then let it cool completely.
Where DIY Pine Cone Pumpkin 🎃 🌲 Finds Its Place
This pumpkin feels at home in small spaces. Set it in a shallow bowl on the coffee table, tuck it into a basket beside the armchair, or place it on a kitchen shelf with a few pine cones and a folded linen towel. Its ridges catch the light without becoming too bright or fussy.
It also works well on a covered porch in fall, though acrylic yarn should not sit outside in rain or prolonged sun. I like the way one pumpkin looks slightly lonely on a mantel, while three different sizes create a fuller seasonal grouping without taking over the room.
For gifting, make a small set in cream, rust, and muted green. Wrap each pumpkin in tissue paper and place them in a shallow gift box for a host gift, a fall birthday, or a little autumn surprise for someone who keeps a basket of handmade things near the couch.
If you sell finished pieces, my policy is simple: I am comfortable selling items I personally make from my own patterns, and I credit any designer whose pattern I use.
Making It Last
This version uses acrylic yarn, so wash the pumpkin only when it needs freshening. Place it in a mesh bag and use a gentle cycle with cold water, then reshape it and dry it flat. Never hang it wet, because the stuffing and damp yarn can pull the shape downward.
For a small spot, dab with a cloth and cool water rather than soaking the whole piece. Keep the pumpkin away from high heat. Acrylic can melt or flatten under a hot iron, so use hand shaping or steam from a distance and never press the iron directly onto the fabric.
Store the pumpkin folded or resting in a basket rather than hanging it. Choose a breathable shelf or fabric bin, and avoid sealing it damp in plastic. If you make a wool version, add cedar or lavender nearby for moth protection, but do not place oily cedar directly against a pale finished piece.
Keep leftover yarn with its label so you know the fiber, care instructions, and dye lot. Even a small label can help if you later make matching pumpkins or need to repair the stem.
Small Ways to Make DIY Pine Cone Pumpkin 🎃 🌲 Your Own
You can change the character of this pumpkin with very small adjustments. Think of these as invitations rather than requirements, since the simple shape leaves plenty of room for your hands to make it yours.
- Try a thicker yarn with a larger hook for a wider, softer pumpkin. A bulky yarn will make the piece grow quickly, but the ridges may look broader and the fabric may drape more. A thinner yarn will create a smaller, firmer pumpkin and may need more stuffing.
- Use two or three colors in short sections. Work 10 rows in one shade, 10 in another, and repeat. Carrying the unused yarn up the side can create a small ridge, so weave those tails in neatly before sewing the tube.
- Swap the half double crochet for single crochet if you want a denser surface. Single crochet will make the pumpkin shorter and firmer, with less stretch between the ridges. You may need extra rows to reach a similar height.
- Resize the pumpkin by changing the foundation chain and the number of rows. Keep the foundation chain at any multiple of 2 plus 1, and use the same number of rows as stitches for a balanced shape. A 24-stitch strip with 24 rows makes a smaller pumpkin, while 36 stitches and 36 rows makes a larger one.
- Add a simple border before joining the strip. Work one round of single crochet around the rectangle, placing one stitch in each row end along the long edges. This makes the edge firmer and gives the pumpkin a more finished outline.
You can also make a flatter version by using less stuffing, or a taller version by pulling the end gathers more tightly. If you use buttons, wooden beads, or safety eyes, remember that small parts and long loose stitches are unsafe for children under three. Anything placed in a crib or car seat must stay snug and secure, so this decorative pumpkin belongs on a shelf rather than with a baby during sleep or travel.
Frequently Asked Questions About DIY Pine Cone Pumpkin 🎃 🌲
Can I use a different hook size for this crochet pumpkin?
Yes, you can use a hook half a size up or down from H-8 (5.0 mm). A smaller hook makes a denser fabric, which helps keep polyester fiberfill from peeking through, while a larger hook creates a softer and slightly larger pumpkin. Check your gauge if the finished size matters to you.
What yarn can I substitute for the worsted weight acrylic?
Choose another worsted weight yarn, also called weight 4 or medium, with about 170 yards per 100 g skein. Cotton, acrylic, or a washable wool blend can work, but each changes the feel. Cotton makes a firmer pumpkin, while wool creates more spring. Untreated wool needs gentle washing because warm water and agitation can felt it.
What should I do if I find a mistake several rows later?
Pull back calmly one row at a time until you reach the mistake. Look for the missing stitch at the row edge or compare the ridges across the fabric, then place your hook through the remaining loop and continue. If the mistake does not affect the shape, you can also leave it. Handmade objects can hold a quiet record of their making.
Is this pumpkin pattern suitable for a beginner?
Yes, this project suits a beginner who knows how to make a chain and a half double crochet. The main fabric repeats one row, so the stitch practice stays manageable. Joining the seam, gathering the ends, and shaping the stuffing take the most care, but none requires advanced crochet techniques.
How long does it take to crochet one pumpkin?
Plan on 2 to 3 hours, including the crocheted strip, sewing, stuffing, and shaping. Your speed and tension will change the timing. You may finish the rows in one evening and leave the assembly for the next morning, especially if you prefer to work while a pot of coffee cools beside your chair.
Does this pattern use US or UK crochet terms?
This pattern uses US crochet terms. The main stitch is US half double crochet, abbreviated hdc, and the instructions also use US chain, slip stitch, single crochet, and double crochet. UK readers should check a conversion chart because a US half double crochet corresponds to a UK half treble, not a UK half double crochet.
Take the Time You Need
Let the pumpkin grow at the pace your hands choose. The rows do not need to hurry, and a missed stitch does not undo the quiet time you already spent making. Settle into the repeated motion, notice the yarn warming between your fingers, and let this small seasonal piece become a gentle reminder that useful, beautiful things can take their time.
Print
DIY Pine Cone Pumpkin
- Total Time: 180 minutes
Description
Create a gently textured crochet pumpkin that can sit on a mantel, rest in a basket, or become a thoughtful autumn gift.
Materials
- Worsted weight yarn (weight 4, medium), preferably acrylic, about 180 yards total
- One H-8 (5.0 mm) crochet hook
- Polyester fiberfill, about 2 to 3 ounces (55 to 85 g)
- Yarn needle with a blunt tip
- Scissors
- Tape measure
- One stitch marker (optional)
- Small scrap of brown or green worsted weight yarn (optional)
- One small wooden button (optional)
Instructions
- Make a foundation chain of 31 ch.
- Row 1: Work 1 half double crochet (hdc) in the second chain from the hook and in each chain across, totaling 30 stitches.
- Row 2: Chain 1 to turn, then work 1 hdc in the back loop only (BLO) of each stitch across, maintaining 30 stitches.
- Rows 3 through 40: Repeat Row 2, maintaining 30 stitches at the end of each row.
- After Row 40, fasten off with a yarn tail about 18 inches long.
- Fold the crocheted strip in half, aligning the short edges, and sew the edges together with a whip stitch.
- Turn the tube right side out and gather one open edge with running stitches using the remaining yarn tail.
- Fill the pumpkin with polyester fiberfill, pressing it into the corners, and secure the gathering.
- Shape the pumpkin and weave in the ends.
- For a stem, chain 6, slip stitch across and fasten off, then sew to the top.
- Optional: For a leaf, chain 6 and work slip stitch, single crochet, half double crochet, double crochet, and slip stitch before sewing beside the stem.
Notes
The yarn should be soft and not too firm to maintain the pumpkin's shape. Avoid using high heat when shaping.
- Active Time: 180 minutes