

The finished Custom Crochet Photo Phone Case rests lightly in your palm, with the soft yarn warm from your hands and the phone tucked safely inside. I made mine on a quiet afternoon beside the living room window, listening to the small click of the hook and watching the fabric grow one steady row at a time. It is a modest project, but that is part of its comfort. You can finish it over several evenings, personalize it with a favorite color or photo, and carry a little handmade softness with you.
Why Custom Crochet Photo Phone Case Is So Soothing to Crochet
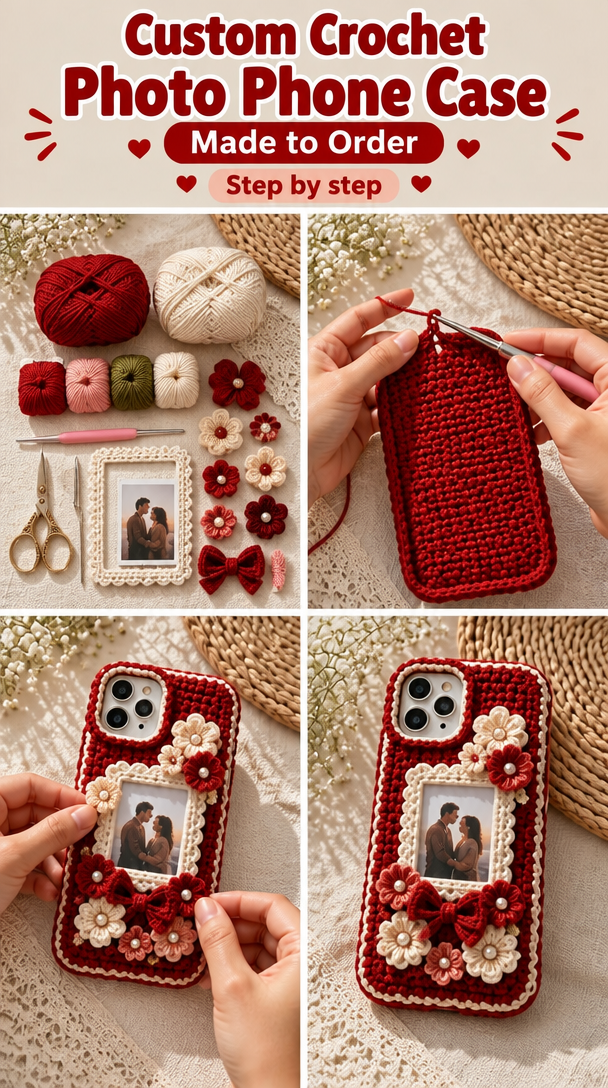
This project gives your hands a simple path to follow. The rows are short, the texture stays pleasantly even, and the finished fabric becomes sturdy enough to protect a phone without feeling stiff. I like the way the case gradually gains weight across my lap, especially during a rainy evening when the coffee mug sits beside the yarn basket and the rest of the house feels unhurried.
The main stitch has a gentle rhythm. You make a chain, work across the row, turn, and begin again. After the first few rows, your hands often remember the movement before your thoughts do. Many people find crocheting calming because the repeated motions create a small, quiet focus, and this case gives you that feeling without asking for a large time commitment.
The shape also leaves room for personal choices. You can use a single calm shade, make the flap a contrasting color, or add a small crocheted pocket for a photo insert. I kept the design simple because a phone case needs practical fabric more than complicated decoration. The first rows may curl slightly, but once the fabric grows heavy enough, they settle across your knees.
How Custom Crochet Photo Phone Case Comes Together
This case begins with a foundation chain, which is the first row of connected chains that sets the width. You will work half double crochet, or hdc, across the chain. A half double crochet sits between a single crochet and a double crochet in height, so it creates a compact fabric with a little softness and stretch.
The body is worked in rows, then folded and stitched along the sides. A short flap closes the top, and a button gives you a simple closure. The pattern uses US crochet terms, because readers in the United States and the United Kingdom often see the same stitch word used for different stitches. Here, chain means the US chain, single crochet means the US single crochet, and half double crochet means the US half double crochet.
You do not need advanced skills. You should feel comfortable making a chain, working a half double crochet, turning your work, and counting stitches. If you have never made a half double crochet, the first few stitches may feel fiddly while you learn where the yarn-over sits, but your hands usually settle into the motion quickly.
Plan on about two to three evenings, or roughly 3 to 4 hours of relaxed making time. The stitching itself moves steadily, while sewing the sides and attaching the button take a little more attention. I pulled back one row when I noticed a missed stitch near the edge, and the correction took less time than trying to hide the uneven side later.
Pattern at a Glance
Keep this small overview nearby while you gather your supplies and check your progress.
- Skill level: Easy
- Finished size: 4.25 inches wide by 7.25 inches tall (11 cm by 18.5 cm)
- Gauge: 14 hdc and 10 rows measure 4 inches (10 cm)
- Yarn: Worsted weight (weight 4, medium), about 170 yards per 100 g skein, 120 yards total from one skein
- Hook size: H-8 (5.0 mm)
- Other supplies: Yarn needle, scissors, tape measure, one 0.75-inch button, stitch marker optional
- Stitch multiple: Any multiple of 2 stitches plus 1 for the turning chain
- Estimated time: 3 to 4 hours over two to three evenings
What You Need for This Project
- Worsted weight yarn, weight 4 medium, in a smooth acrylic fiber, about 170 yards per 100 g skein. You need about 120 yards from one skein. A smooth yarn makes the stitch tops easy to see.
- H-8 (5.0 mm) crochet hook. A half size up or down is fine depending on your tension, but check the finished width if you change hooks.
- Yarn needle with a large eye for sewing the sides and weaving in the ends.
- Sharp scissors for cutting the yarn cleanly.
- Tape measure for checking the gauge and finished size.
- One 0.75-inch button for the flap closure. Choose a securely sewn button, or swap it for a short crocheted loop and a wooden button.
- Stitch marker, optional, for marking the first stitch or the button-loop placement.
For the yarn, I used a worsted weight acrylic because it is affordable, easy to find, and holds its shape well for a phone case. A smooth acrylic such as an everyday worsted yarn from Lion Brand works nicely, though you can use another brand with the same weight and similar yardage. You do not need the exact yarn I used. A worsted weight cotton or wool blend can work too, but it may change the drape, stretch, and care instructions.
Make a small gauge swatch before you begin. Twenty minutes spent checking 14 hdc and 10 rows against 4 inches (10 cm) can save you from making a case that is too narrow for your phone. If your swatch is smaller, use a larger hook. If it is larger, try a smaller hook. A phone case should fit snugly, but it should not stretch so tightly that the seams pull.
Keep the fiber choice practical. Cotton gives you a firm fabric and suits items that need frequent washing, while acrylic keeps this little project light and easy to care for. Do not use a hot iron on acrylic because it can melt. If you need to smooth the finished piece, use gentle steam from a distance or block it cold with pins.
Step by Step
- Difficulty: Easy. The stitch multiple is any multiple of 2 stitches plus 1 for the turning chain. Check that your phone measures no more than about 3.75 inches wide and 6.75 inches tall before beginning, allowing room for the case fabric and seams.
- Make a foundation chain of 31 chains. A chain, abbreviated ch, is made by pulling a loop of yarn through the loop already on your hook. This chain creates 30 working chains plus one turning chain, giving the case its 4.25-inch width. Count: 31 ch.
- Row 1: Yarn over, insert your hook into the second chain from the hook, yarn over and pull up a loop, yarn over again, then pull through all three loops on the hook. This is a half double crochet, abbreviated hdc. Work 1 hdc in each chain across, then chain 1 and turn. Count: 30 hdc.
- Rows 2 through 18: Work 1 hdc in each stitch across, placing your hook under both loops at the top of each stitch. The chain 1 at the edge is your turning chain and does not count as a stitch. Chain 1 and turn after every row. Count: 30 hdc in each row.
- Pause and check the edges. The top of each stitch looks like a small V, and the final V at the row end should sit clearly on the edge. If a row has 29 stitches, look for a missed stitch near the beginning or end. Pull back one stitch at a time without rushing, then work the row again.
- Continue Rows 19 through 34 in the same way, working 1 hdc in each stitch across, chaining 1, and turning. The fabric should measure close to 7.25 inches tall. If your hands warm up after the first ten minutes and your stitches loosen, measure before continuing because relaxed tension can change the size. Count: 30 hdc in each row.
- At the end of Row 34, fasten off by cutting the yarn and pulling the tail through the final loop. Leave an 18-inch tail for sewing if you plan to use that end along one side. The main rectangle should measure about 4.25 inches wide by 7.25 inches tall (11 cm by 18.5 cm).
- Fold the lower part of the rectangle upward, bringing the bottom edge to Row 18. This creates a pocket with 18 rows for the front and 16 rows left above it for the flap. Match the side edges carefully. Use stitch markers if they help hold the layers together.
- Thread the yarn needle with a fresh length of matching yarn. Sew the two side seams with small, even whip stitches, working through both layers. Keep the stitches secure but not tight enough to pucker the fabric. When you reach the top of the pocket, knot discreetly and weave in the end through several nearby stitches.
- Shape the flap by folding the remaining upper section over the phone pocket. The flap will be about 3 inches long. If the phone sits higher or lower than expected, adjust the fold before sewing the button. A snug flap should cover the phone opening without bending sharply at the fold.
- Mark the button position near the center of the front pocket, about 1 inch below the flap edge. Sew the 0.75-inch button firmly through the front layer only. Keep the stitches away from the inside space where the phone rests, and make several passes so the button does not loosen with use.
- Make the button loop by attaching yarn to the center of the flap edge. Chain 8, then slip stitch, or sl st, back into the same edge area to form a loop. A slip stitch joins yarn without adding much height. Test the loop around the button and add one chain if it feels too tight.
- Weave in the ends with the yarn needle, passing each tail through several stitches on the wrong side. The wrong side, or WS, is the inside or less visible side of the work. Trim the tails only after they feel secure. If you want a smoother edge, gently shape the case with your hands rather than stretching it.
- Block the case only if it needs a little help settling into shape. Blocking means dampening the crochet and arranging it to dry in the desired measurements. For acrylic, use a light mist and let it dry flat, or use steam from a distance without touching the iron to the fabric. Once fully dry, insert your phone and check the fit.
Where Custom Crochet Photo Phone Case Finds Its Place
This case works well in the everyday places where a phone tends to collect small scratches: the basket beside an armchair, the table near the front door, or the pocket of a tote bag. The fabric adds a little cushion without making the phone feel bulky. I like mine on the couch arm during quiet evenings, where it keeps the phone close but makes it less tempting to check every few minutes.
You can make a second one for a family member by changing only the color. A deep green or rust shade suits cool fall evenings, while pale blue or natural cream feels light on a summer porch. For a holiday gift, pair the case with a small handwritten note and a matching crocheted cord, but keep the cord short and secure rather than leaving a long loose strand.
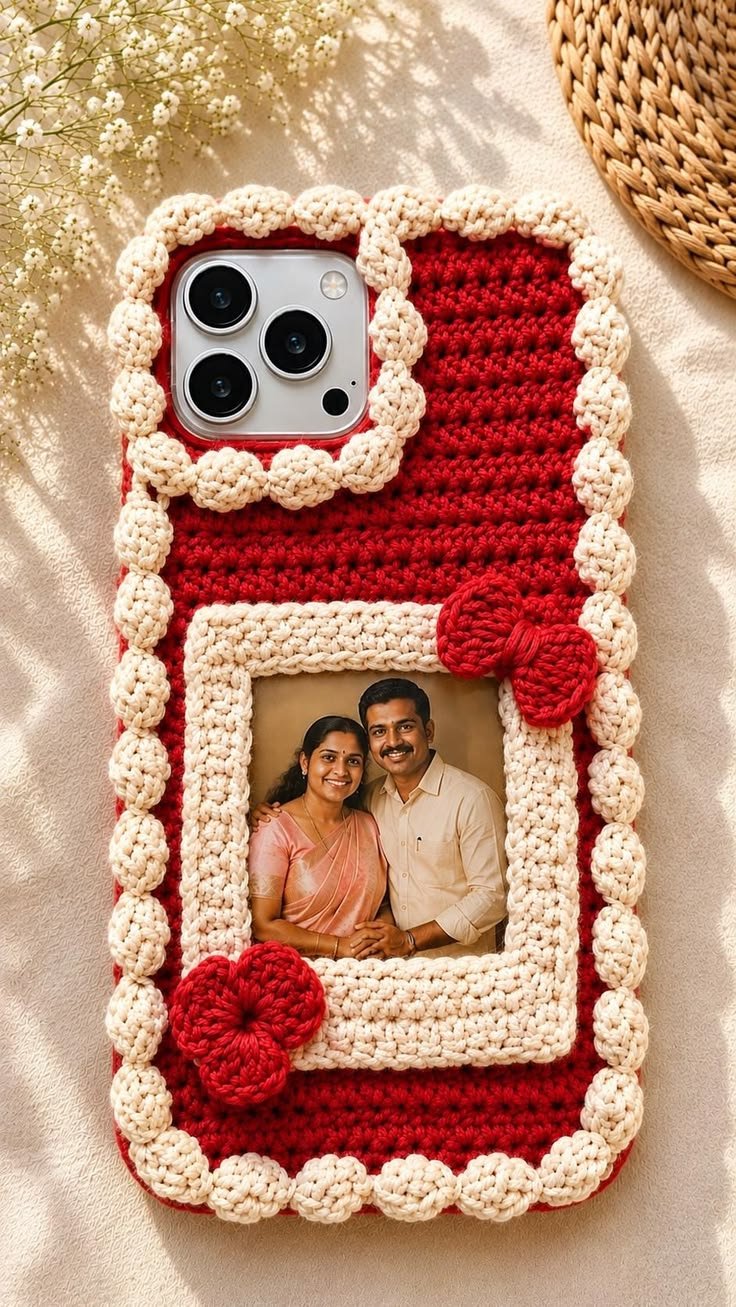
A photo insert gives the case its personal touch. Print a small picture, trim it to fit behind the front pocket, and slide it into place without gluing it permanently. If the case will be used by a child, skip buttons and other small parts because they can be unsafe for children under three. For anything attached to a car seat, keep the item snug and secure, and never let it interfere with the seat straps or buckles.
Caring for Your Crochet
This version uses acrylic yarn, so wash it by hand or in a washing machine on a gentle cycle with cold or warm water. Place the case in a small mesh bag if you use a machine, and choose a mild detergent. Avoid hot water because it can encourage the fabric to lose its shape, especially if the case has a loosely sewn button.
Press out excess water gently instead of twisting the case. Lay it flat on a clean towel, shape the sides and flap with your fingers, and let it dry completely. Never hang it wet because the weight of the water can stretch the pocket and pull the button area out of line.
If the case needs blocking after washing, smooth it to 4.25 inches wide by 7.25 inches tall while damp. Acrylic can melt under a hot iron, so do not press it directly. Cold blocking or distant steam works better. Store the case folded or lying flat somewhere breathable, not crammed under heavy objects.
Keep leftover yarn with its paper label in a small bag. The label records the dye lot, which helps you match the color if you make another case later. Acrylic does not need moth protection, but a breathable storage box still keeps dust and dampness away.
Small Ways to Make It Your Own
You can make this case feel different without changing its basic rhythm. Think of these ideas as gentle invitations rather than rules.
- Try a thicker yarn with a larger hook for a roomier, softer case. The finished size will grow, and the fabric may drape more. A thinner yarn with a smaller hook creates a lighter case, but you will need to measure your phone and adjust the starting chain.
- Use two colors for quiet color blocking. Work Rows 1 through 18 in one shade and Rows 19 through 34 in another, carrying the unused yarn only if the color change stays neat. Cutting the yarn at each change gives cleaner stripes but creates more ends to weave in.
- Swap the half double crochet for single crochet, or sc, if you want a firmer fabric. Single crochet is made by pulling through two loops at once, and it creates a denser case. You will need more rows to reach 7.25 inches because single crochet is shorter than half double crochet.
- Resize the width by changing the starting chain while keeping the stitch multiple. Add or remove stitches in groups of 2, then subtract 1 from the total if you want to preserve the same turning-chain setup. Measure the actual phone rather than relying on a standard phone size.
- Add a simple border after sewing the case. Work single crochet around the flap and opening, placing one stitch in each row end and two stitches in each corner when needed. A contrasting border makes a thoughtful gift, especially when you match it to the recipient’s favorite color.
Frequently Asked Questions About Custom Crochet Photo Phone Case
Can I use a different hook size for the Custom Crochet Photo Phone Case?
Yes, you can use a different hook size if you adjust for your tension. The pattern uses an H-8 (5.0 mm) hook and a gauge of 14 hdc and 10 rows per 4 inches (10 cm). If your stitches feel tight, try an I-9 (5.5 mm) hook. If the fabric feels loose and your phone slides inside, try a G-6 (4.0 mm) hook and check the measurements again.
What yarn can I substitute for the yarn in this phone case?
Choose another smooth worsted weight yarn, weight 4 medium, with about 170 yards per 100 g skein. Acrylic, cotton, and wool blends can all work, but each fiber changes the feel and care. A cotton case feels firm, while acrylic feels lighter and easier to wash. Check your gauge before committing to the full piece, especially when changing fiber.
What should I do if I find a mistake several rows later?
First, place the piece flat and compare the row to the stitches below it. If one stitch went missing, you can pull back calmly to that row, correct it, and continue. If the mistake does not affect the phone fit and you can secure the loose strand safely on the wrong side, you may leave it. For a side edge, fixing it usually gives the neatest result.
Is this Custom Crochet Photo Phone Case suitable for a beginner?
Yes, this project suits a beginner who knows how to chain and make basic stitches. The main stitch is half double crochet, and every row has 30 stitches, which makes counting manageable. The fiddliest parts are sewing the side seams and positioning the button loop. Take your time there, and use stitch markers if the folded layers shift.
How long does this crochet phone case take to make?
Expect about 3 to 4 hours of relaxed making time over two to three evenings. Your pace, yarn, and tension will change that range. The rows themselves move fairly quickly, while checking measurements, sewing the seams, and attaching the button take more focus. If you stop after the body, keep your hook with the project so you can return without losing your place.
Does this pattern use US or UK crochet terms?
This pattern uses US crochet terms. That means hdc refers to the US half double crochet, not the UK half treble crochet. The instructions also use ch for chain, sl st for slip stitch, and sc for single crochet. If you usually read UK patterns, compare the stitch names before beginning so your fabric reaches the expected size.
Take the Time You Need
Let the case grow at the pace your hands choose. You can pause after a row, set the hook beside the yarn, and return when the next small stretch of quiet feels welcome. The finished piece does not need to be perfectly even to carry the warmth of the time you gave it, and each careful stitch is enough for this moment.
—META—
SEO Title: Custom Crochet Photo Phone Case Pattern
Meta Description: Make a calm Custom Crochet Photo Phone Case with simple US stitches, one skein of yarn, and a few quiet evenings of mindful making.
Slug: custom-crochet-photo-phone-case
Category: Crochet Patterns
Tags: crochet phone case, crochet gifts, beginner crochet, mindful making, handmade accessories
Image Alt Text: Close-up of a crochet phone case in progress with a hook and cream yarn
Folded crochet phone case beside a phone, yarn needle, button, and scissors
Finished crochet phone case resting on a living room chair
Pinterest Title: Custom Crochet Photo Phone Case
Pinterest Description: Make a soft Custom Crochet Photo Phone Case with simple stitches and one skein of yarn. A quiet handmade project for slow evenings and thoughtful gifts.

Custom Crochet Photo Phone Case
- Total Time: 240 minutes
Description
Create a soft and personalized phone case using simple crochet stitches. This project provides a calming crafting experience, perfect for customizing with your favorite colors or photos.
Materials
- Worsted weight yarn, weight 4 medium, about 170 yards (1 skein)
- H-8 (5.0 mm) crochet hook
- Yarn needle
- Sharp scissors
- Tape measure
- One 0.75-inch button
- Stitch marker (optional)
Instructions
- Make a foundation chain of 31 chains.
- Row 1: Work 1 half double crochet (hdc) in each chain across, then chain 1 and turn.
- Rows 2 through 18: Work 1 hdc in each stitch across, then chain 1 and turn after every row.
- Continue Rows 19 through 34 in the same way, working 1 hdc in each stitch across.
- At the end of Row 34, fasten off by cutting the yarn and pulling the tail through the final loop.
- Fold the lower part of the rectangle upward to create a pocket.
- Sew the two side seams with small, even whip stitches.
- Shape the flap by folding the remaining upper section over the phone pocket and mark the button position.
- Sew the button firmly through the front layer.
- Make the button loop by chaining 8, then slip stitching back into the same edge area.
- Weave in the ends with the yarn needle and trim the tails.
- Block the case only if needed to settle into shape.
Notes
For a more personal touch, consider adding a small photo insert behind the front pocket. Adjustments can be made to yarn type or hook size if desired for different drapes or fits.
- Preparation Time: 20 minutes
- Active Time: 180 minutes