

The bright, translucent colors of tinted school glue catch the light just right, transforming simple drops of adhesive into vibrant flowers etched against a sunlit window. Each petal curves gently, whispering stories of creativity and joy. As the sun pours through the glass, the surrounding room glows in warm hues, inviting a sense of calm and wonder. Making these flower window clings allows hands to indulge in playful design, one careful stroke at a time. It’s a lovely way to explore colors, shapes, and patterns while grounding yourself in a moment of mindful making.
The Heart Behind This DIY
Creating with tinted school glue brings a quiet joy to both the maker and the space it fills. As you engage in this simple process, there’s an opportunity to slow down and embrace the gentle rhythm of your hands at work. The soft squeeze of the bottle, the smooth glide of glue on parchment, and the gentle lifting of the finished piece from the paper all combine to create a sensory experience that calms the mind and nourishes the soul.
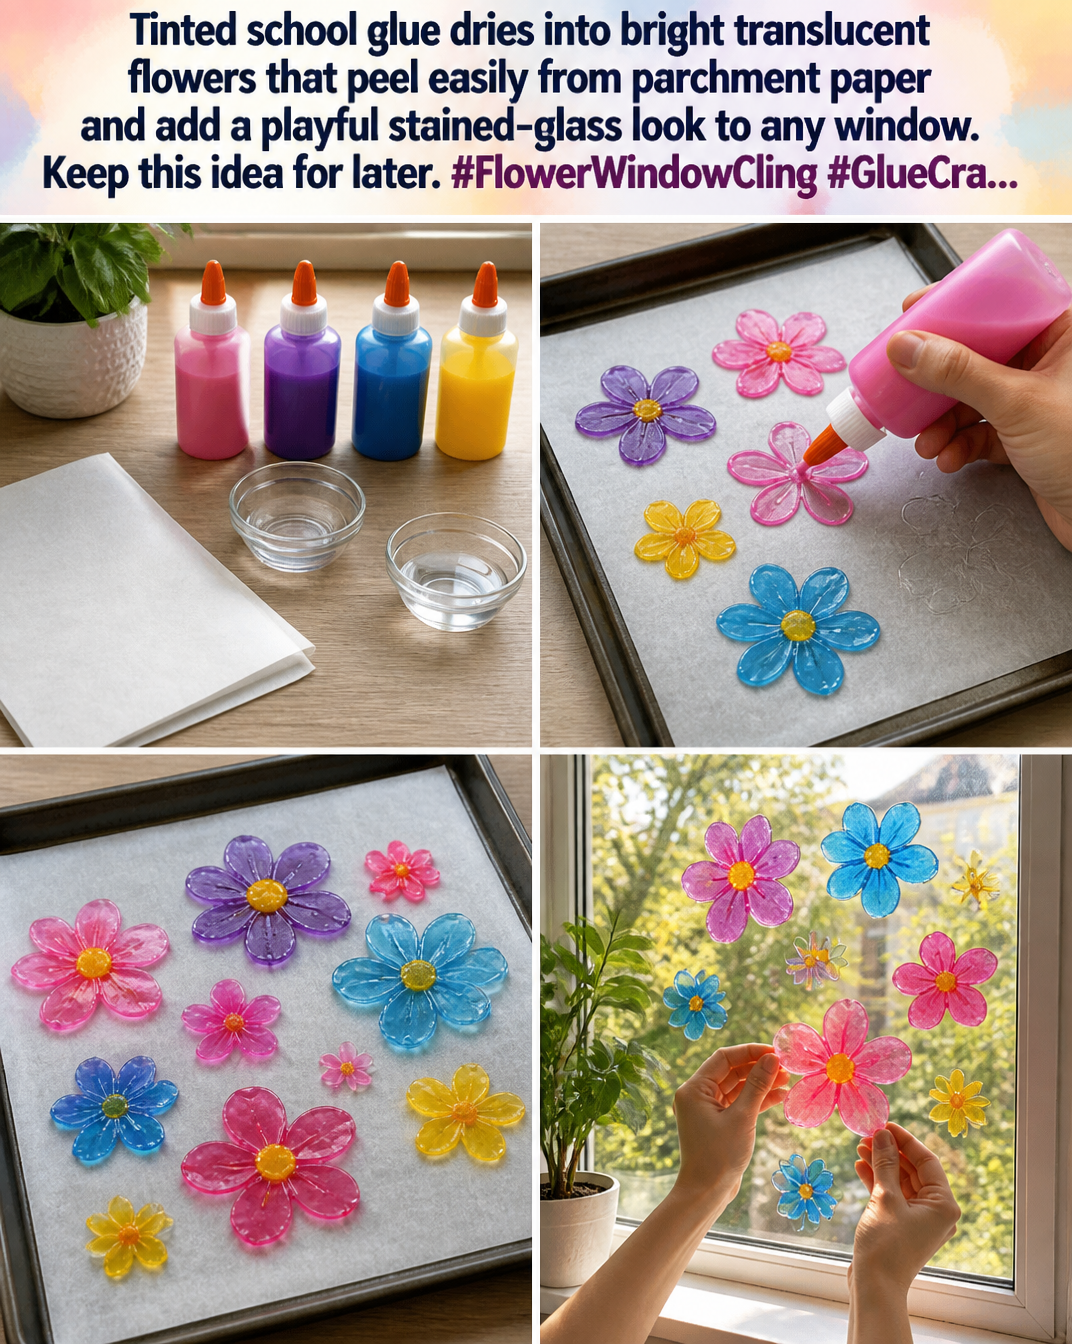
The act of crafting these translucent flowers allows us to focus on the here and now. When we immerse ourselves in such simple tasks, we find a moment of peace amid daily chaos. The tactile sensations—the flexibility of the glue, the feel of the parchment beneath your fingers—draw us deeper into our surroundings. This connection between our physical actions and our emotional state is what makes this DIY project truly enriching.
A Gentle Look at the Process
As you prepare to make your flower window clings, imagine a dance of colors and shapes unfolding in front of you. The process is engaging but gentle, offering the chance to enjoy every moment. You’ll see colors blend, shapes form, and eventually, the beautiful suncatchers emerge. Each step unfolds like a whisper, inviting you to focus on the sensations rather than the outcome.
When you settle into this creating space, the sounds of the project become a sort of meditation. You may hear the soft squirt of glue, the crinkle of parchment, and perhaps the call of birds outside as you work. This harmony encourages a flow, allowing you to lose yourself in the act of making as you embrace the textures and movements involved.
Materials You’ll Need
Gathering the materials for your flower window clings becomes an adventure in itself. Each item plays its part in this cozy project, and many of them are easy to find around your home or local store:
- Tinted school glue (various colors)
- Parchment paper or wax paper
- Small container for mixing colors (optional)
- A squeezable bottle for the glue
- Scissors (optional, for cutting designs)
- Plastic wrap or a thin sheet to protect surfaces (optional)
Feel free to substitute colors or adjust sizes to make the flowers uniquely yours. This flexibility enhances the personal touch of each creation.
Step-by-Step Directions
-
Prepare your workspace by laying down parchment paper, which will act as a base for your flowers. Ensure you have a flat surface where you can easily access your materials.

-
Take a bottle of tinted school glue and give it a gentle shake. Once shaken, remove the cap and squeeze a small amount onto the parchment paper, letting it form a petal shape. Notice the smooth, cool texture as you apply.
-
You can blend colors by mixing drops of different glues in a small container if you desire a more intricate design. The combining shades create beautiful hues, much like a watercolor painting.
-
Continue adding petals until you are satisfied with the flower shape. Focus on the flow of your movements—the slow, deliberate pressure of the glue that makes each shape unique and personal.
-
Allow these creations to dry completely. This could take a few hours or longer, depending on the thickness. The wait invites you to appreciate your work and the opening possibilities for how to use them.
-
Once dried, gently peel away the flowers from the parchment paper. Feel the coolness of the glue against your fingers as you lift each piece carefully, enjoying their lightweight nature.
-
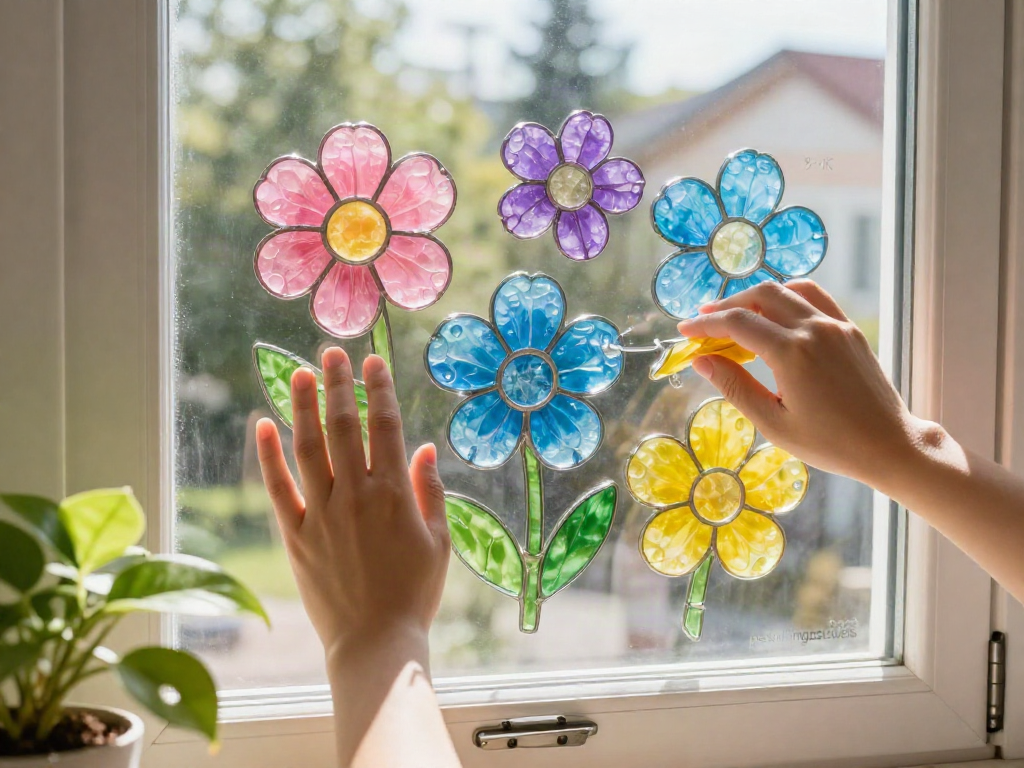
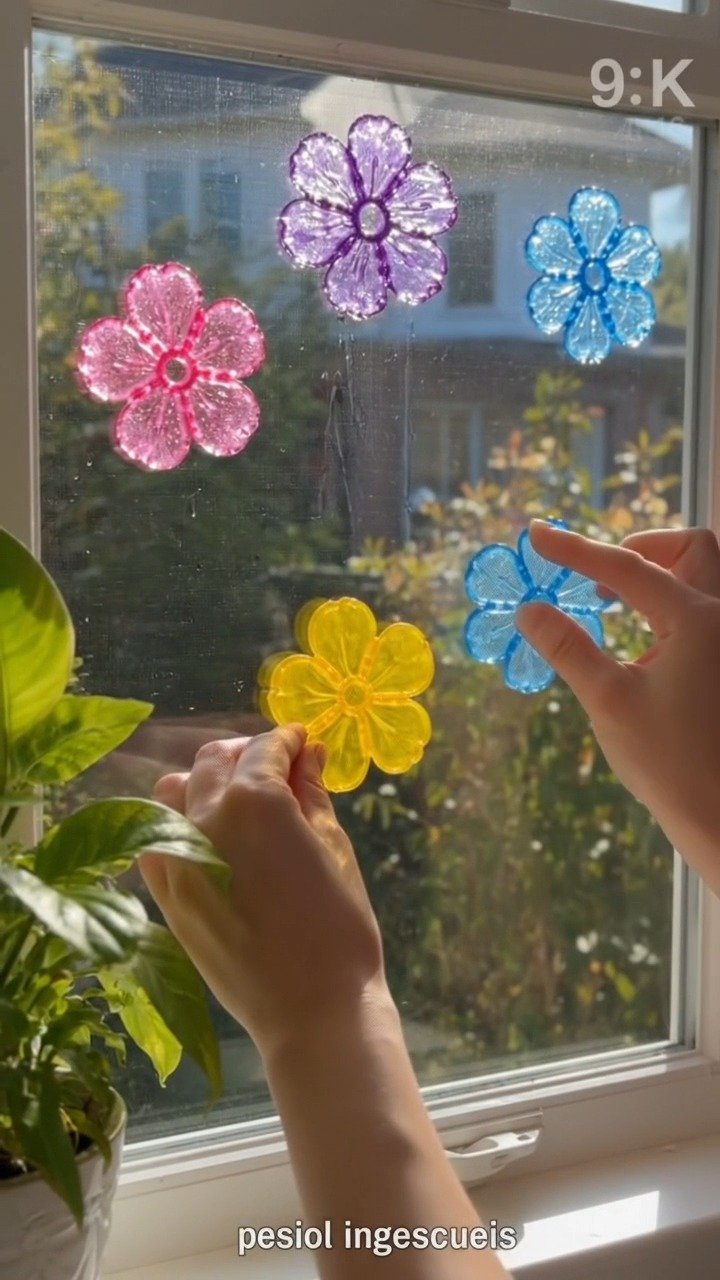
Display your flowers by pressing them against a clean window. Watch as the sunlight streams through, casting colorful patterns that bring joy to your space.
Enjoying the Finished Piece
Once the flowers are complete and displayed, they can infuse your home with warmth and a sense of cheer. Their bright, translucent colors transform ordinary light into something magical. This playful stained-glass effect dances across the walls, igniting a sense of wonder that can uplift the spirit.
You can use these delightful creations in various ways, from brightening up a child’s room to adding color to kitchen windows. The flowers serve not just as decorations, but as reminders to embrace creativity and enjoy the beauty of everyday life. When you glance at them, let them remind you of the calm moments spent making, a gentle pause in a busy world.
How to Store or Reuse Tinted School Glue Flowers
If you wish to keep your creations for future use, consider the following gentle methods of storage. These lovely flowers can last, but they also hold potential for new projects or displays.
-
When storing your flowers, place them in a cool, dry location. A flat box or an envelope can protect them from getting bent or damaged.
-
You can reuse the petals by repositioning them on different surfaces or in new arrangements. If they begin to lose their stickiness, you can apply a small dab of clear adhesive to keep them secure.
-
Check on the flowers periodically; they may become less vibrant over time. If they do, consider recycling the materials for a fresh batch of colors and designs.
Small Ways to Make It Your Own
As you embrace the calming process of making these crafty delights, consider these gentle tips for personalizing your experience:
-
Add a bit of glitter to the glue before applying it to add a touch of sparkle to your flowers. This can bring a fun dimension to your designs.
-
Experiment with different shapes; while flowers are lovely, think about creating leaves or even abstract shapes that suit your style.
-
Mix in some natural elements, like dried flower petals, for added texture. This fusion of materials can elevate the overall aesthetic and tie your crafts closer to nature.
-
Consider setting a tranquil backdrop while you work. Soft music or ambient sounds can enhance the sensory experience of your crafting time.
FAQs About Tinted School Glue Flowers
Can I use regular school glue instead?
Regular school glue doesn’t have the same translucence as tinted glues. However, if you want to color it, you can mix it with food coloring to achieve a similar effect.
How do I keep the flowers looking fresh for longer?
Storing them flat in a light-protected box can help maintain their shape and color. Avoid direct sunlight for extended periods, as it may fade the colors.
Are there any safety concerns with using school glue?
Generally, school glue is safe and non-toxic. Still, it’s always wise to supervise younger crafters and ensure they understand not to put the glue in their mouths and to wash hands after crafting.
What if the flowers don’t stick well to the window?
If the adhesive weakens, you can always use a small amount of clear tape or lightweight adhesive to help them stick better.
Can I create designs beyond flowers?
Absolutely! The beauty of this project lies in its flexibility. Feel free to explore other shapes—hearts, stars, or whatever your imagination conjures.
Final Reflections on Making Tinted School Glue Flowers
As you finish this project, allow yourself to linger in the joy of creation. Each flower embodies not just the colors and shapes you chose, but the serenity of the time spent crafting. Embrace the calm and quiet satisfaction that comes from nurturing your own creativity, and let it flow into other areas of your life.
Return to this gentle project whenever you seek a moment of peace, and remember that the joy lies as much in the process as in the brightly colored results. Enjoy watching the seasons change through your windows adorned with these lovely creations, and allow the colors to remind you of the magic found in simple, mindful moments.
Print
DIY Tinted School Glue Flower Window Clings
- Total Time: 195 minutes
- Yield: Various flower clings
- Diet: N/A
Description
Create vibrant flower window clings using tinted school glue for a playful and artistic touch to your home.
Ingredients
- Tinted school glue (various colors)
- Parchment paper or wax paper
- Small container for mixing colors (optional)
- A squeezable bottle for the glue
- Scissors (optional, for cutting designs)
- Plastic wrap or a thin sheet to protect surfaces (optional)
Instructions
- Prepare your workspace by laying down parchment paper, which will act as a base for your flowers.
- Take a bottle of tinted school glue and give it a gentle shake.
- You can blend colors by mixing drops of different glues in a small container if desired.
- Continue adding petals until you are satisfied with the flower shape.
- Allow these creations to dry completely.
- Once dried, gently peel away the flowers from the parchment paper.
- Display your flowers by pressing them against a clean window.
Notes
Feel free to substitute colors or adjust sizes for a unique touch. Adding glitter or natural elements can enhance aesthetics.
- Prep Time: 15 minutes
- Cook Time: 180 minutes
- Category: Crafts
- Method: DIY Crafting
- Cuisine: N/A